Blog a la Cart

Category: Tutorial

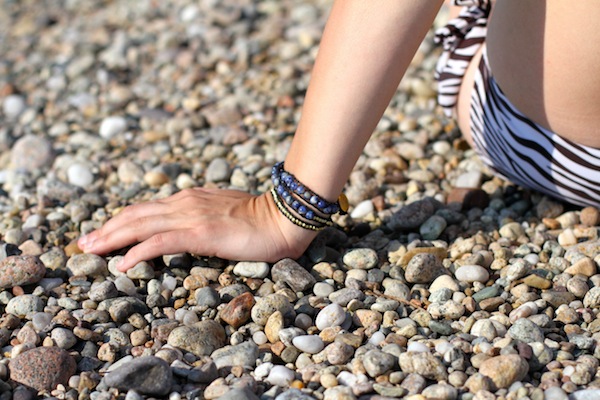
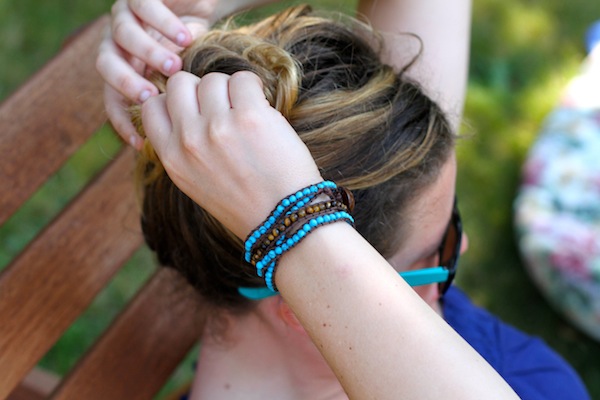
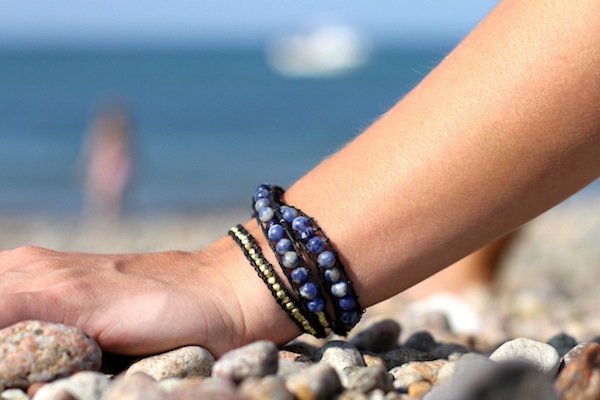
Beaded Wrap Bracelet // diy

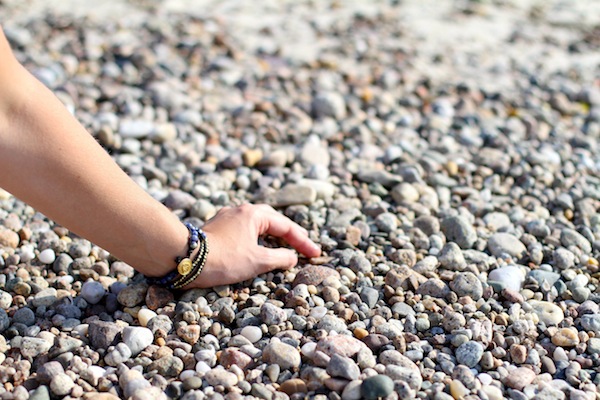
I first tackled this DIY over our Easter vacation in South Carolina visiting James’ family. I finally documented it over our summer vacation in Cape Cod visiting my family. And I made it a goal to post it before the official end of summer, i.e. before Labor Day!

And yes, we do realize that we are very fortunate to have family that lives in such desirable places. Thanks Moms and Dads!
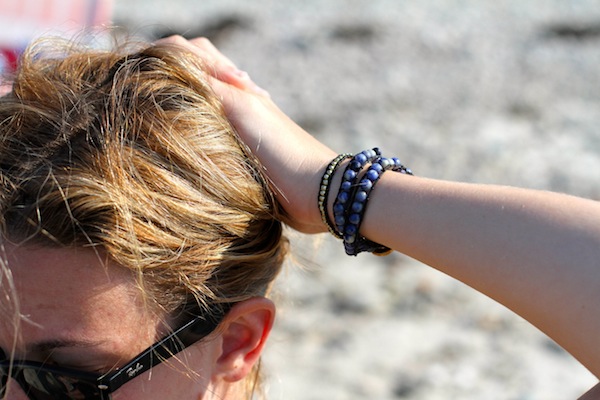
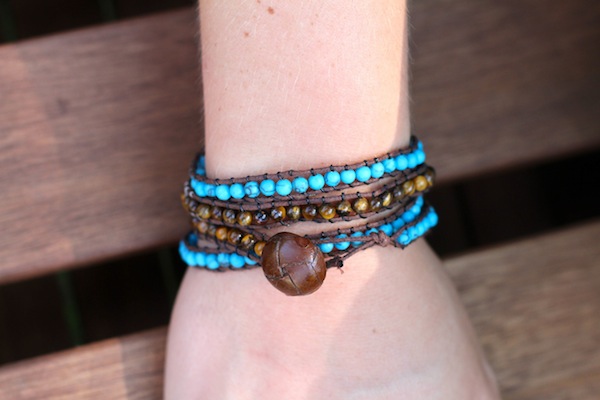
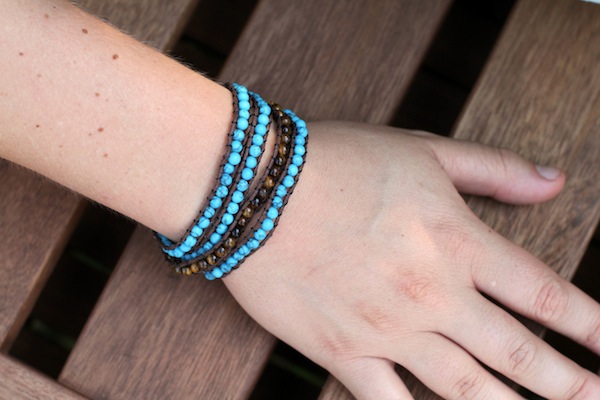
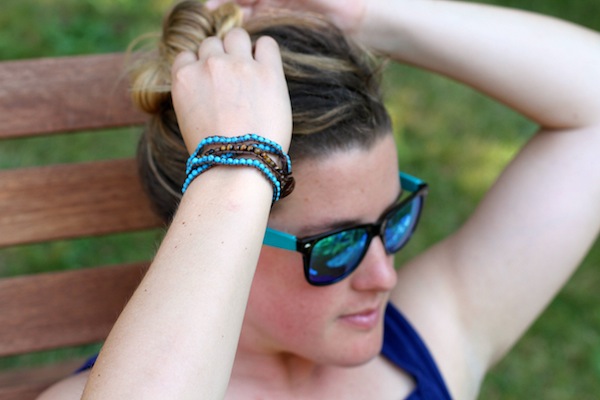
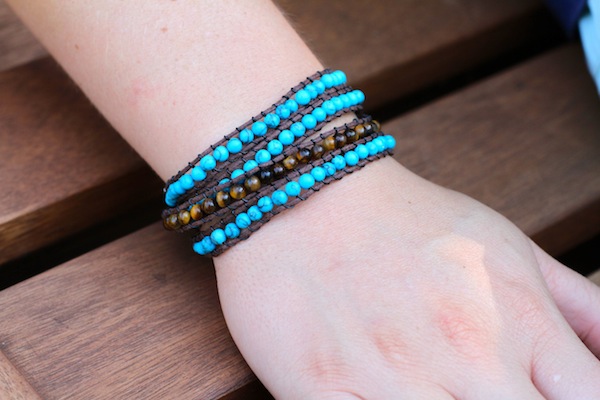
I know I’m late on the Chan Lu Beaded Wrap Bracelet bandwagon. My crochet beaded bracelet from last summer was certainly a nod in that direction, but this project is definitely a more direct reference. It’s tricky to explain the beading, but think FIGURE 8s, and you’ll be fine. It may take some practice, it certainly did for me.

Let’s get started!

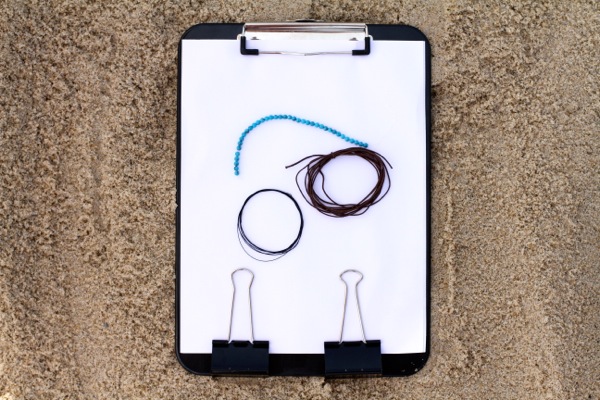
MATERIALS:
Beads (I ultimately found that I preferred smaller beads, with more wraps around the wrist). Experiment with different colors and textures to vary the wrap.
String for the borders (bead supports) of the bracelet. You can do leather, hemp, whatever appeals.
Beading wire. Super thin. I opted for black.
Clip board
2 binder clips
Scissors
Button of choice (for the clasp)


DIRECTIONS:

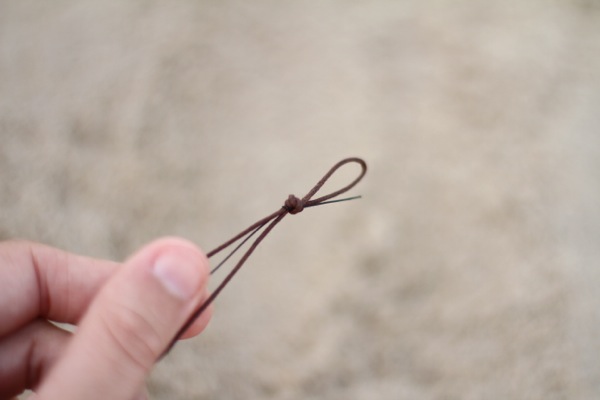
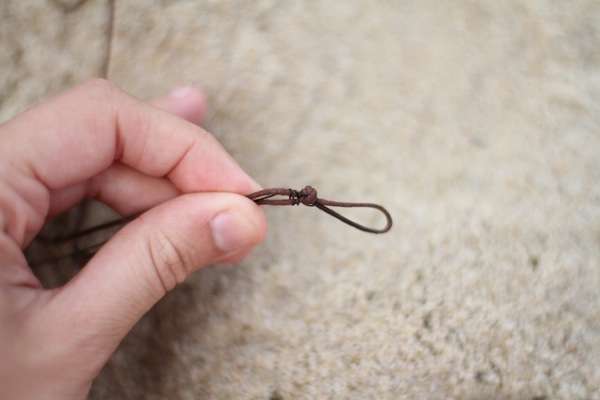
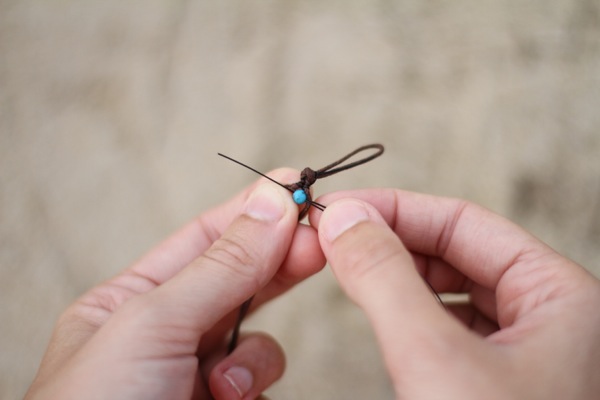
1. Start by determining how many times you’d like the bracelet to wrap around your wrist. Measure out that length with the string for the bead border, add an extra 6-8 inches, then double over. Then unwind at least 5-8 times the amount of wire in that length. It’s a lot of wire! Tie a knot at the end where the string doubles over with the wire. See image below. Snip the excess wire.

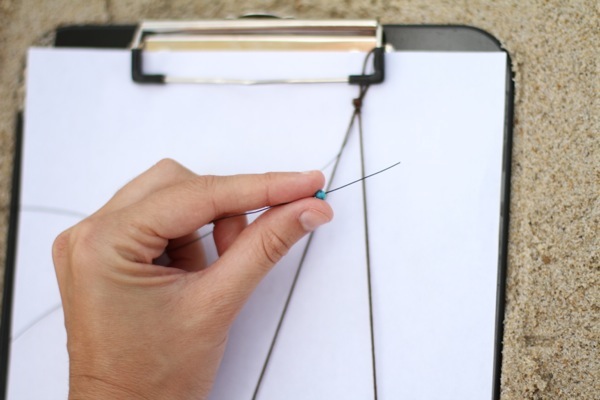
2. Now practice your figure eight skills by winding the wire between the two strings a number of times before you begin beading. Keep wire tight and even. Then use a clip board to clip the top of the bracelet to the top of the board, and use the clamps to hold the two strings at the base of the board. This will help you keep an even tension as you bead.

3. String on your first bead.

4. Slide the bead up the wire and in between the two pieces of string, with the base of the wire and bead tight against the strong on the left side.

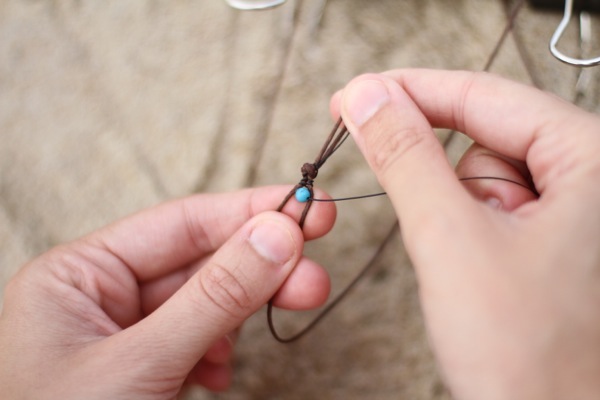
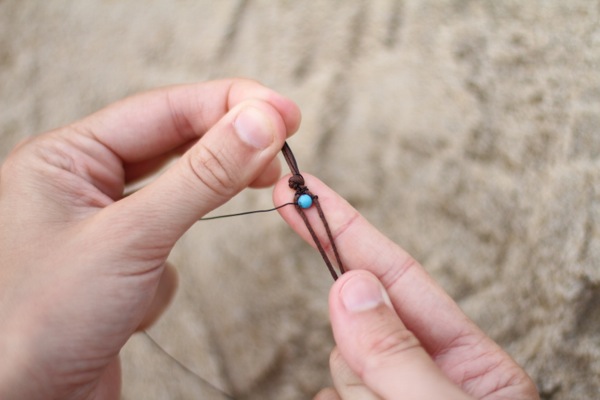
5. Wrap the wire over the top of the right string and bring around back and up between the two strings. See below.

6. Now string the wire back in through the bead, from right to left.

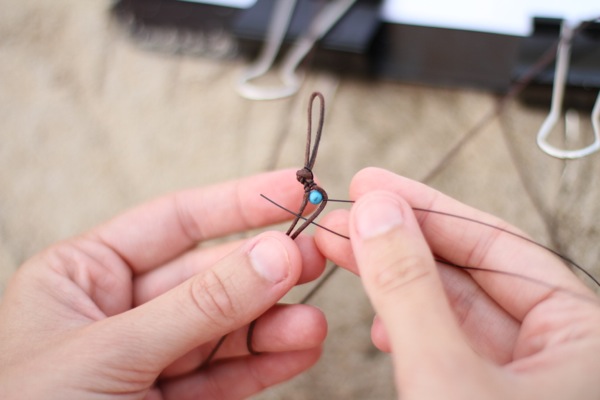
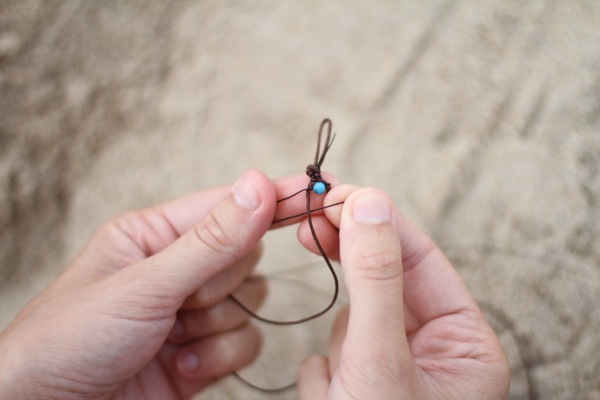
7. Pull the wire tight and this will brace the bead in place. See below.

8.  Finally, wrap the wire over the top of the left string, around back, and up the middle. Pull the wire tight to fully brace the bead.  Then do the process all over again with the next bead (jump back up to Step 3).

It will take some practice to get an even tension and the hang of the beading. As the wire length shortens, the process will become easier and easier. Once you reach the desired length for the bracelet, do a few figure eights with the wire (no beads), then tie off the wire and strings in a knot, add a button that will fit in the hole at the top of your bracelet, and tie one final knot.

Then lie out and enjoy the sun! Play at the beach! Go for a swim! The great thing about these bracelets is that they are super wearable. Enjoy!

Photos and Tutorial: Courtesy of Ashley Weeks Cart
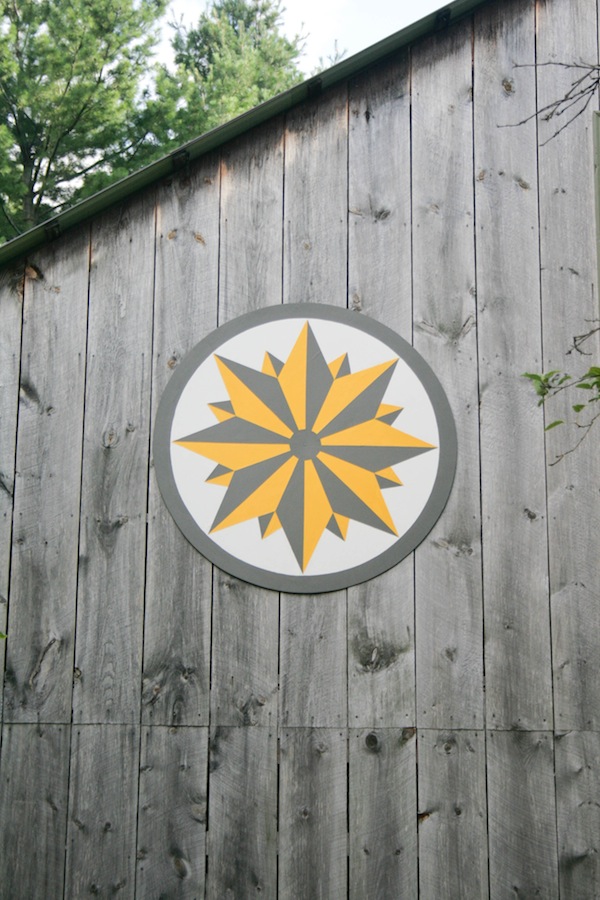
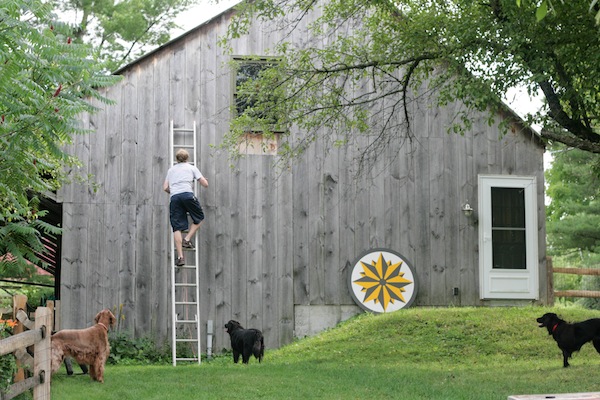
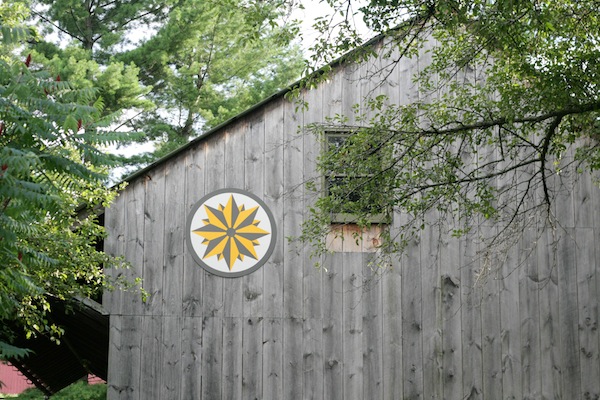
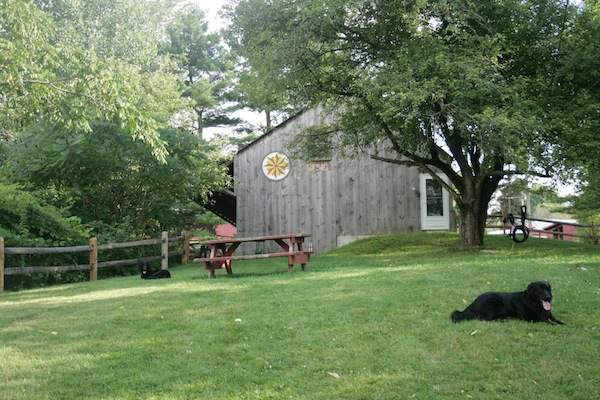
DIY Barn Hex

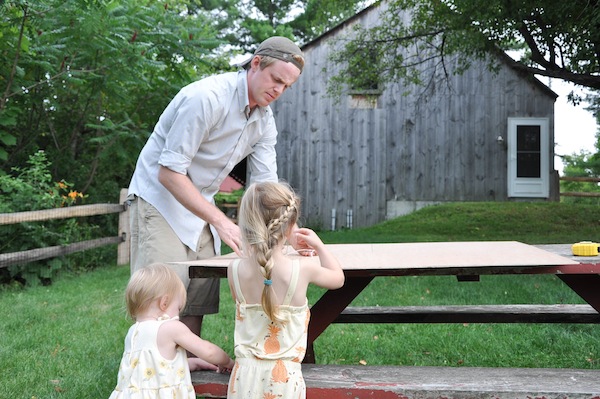
Right before we went on vacation, James and I tackled a little art project that got bumped to the top of our TO DO list, primarily because it proved more interesting than building kitchen cabinets (which is really what should be at the top of the list). It’s a good thing that I’m not an emergency responder. Triage is clearly not my forté.

If you follow me on Instagram, you bore witness to the whole project unfolding.

A few months back, my father sent an email with a link to some barns bedecked in Pennsylvania Dutch “Hex” Signs, suggesting that one might make a colorful and appropriate addition to our little barn. Yes, I know we live in Vermont, but James has very strong ties to Pennsylvania, and well, heck, the Hex Signs are pretty cool, no?

When Design Sponge announced a contest for DIY projects using Scotch Blue Tape, James and I figured that this project would be a perfect submission. We were thrilled to learn this morning that we were selected as one of twenty finalists! Yay Hex Sign! And this is where we could really use your help. Please head on over and check out all these creative and brilliant projects, but then toss a vote our way! Or you can just go straight to voting hereLord knows we could use the extra dollars from winning the contest to help support Ursa’s crazy expensive chemo treatments (round 3 coming up next week!).

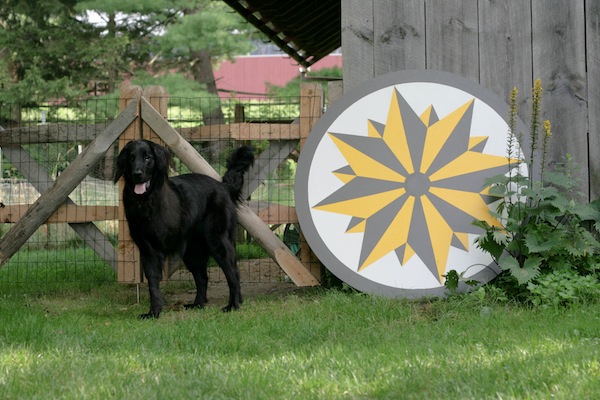
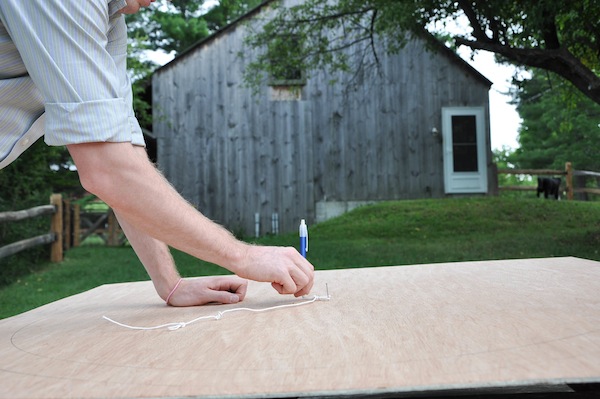
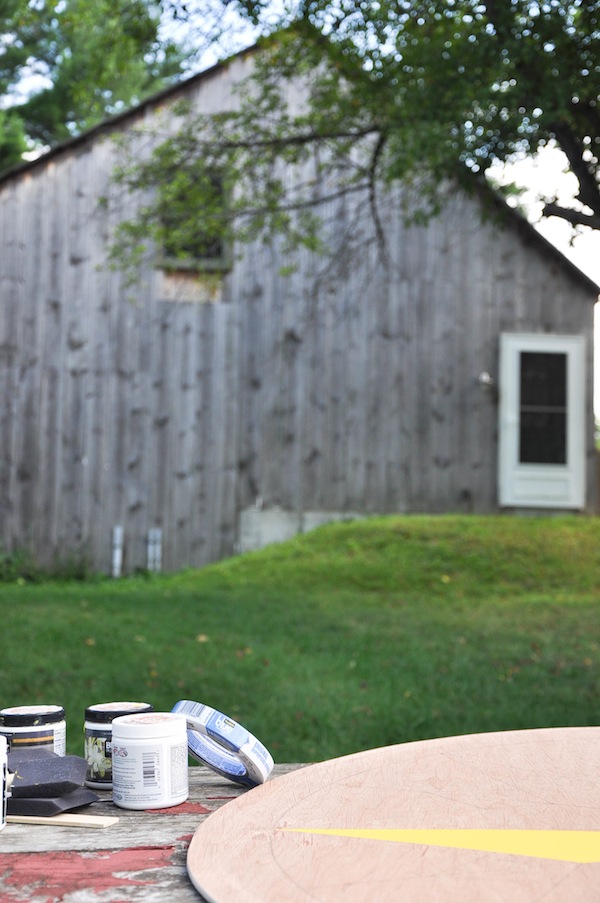
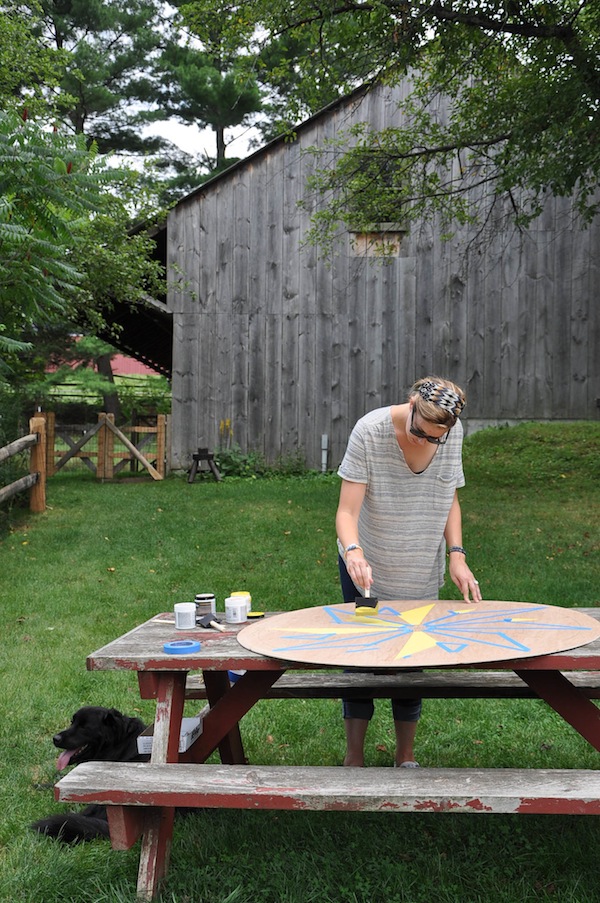
Here are some snaps of the sign in progress.

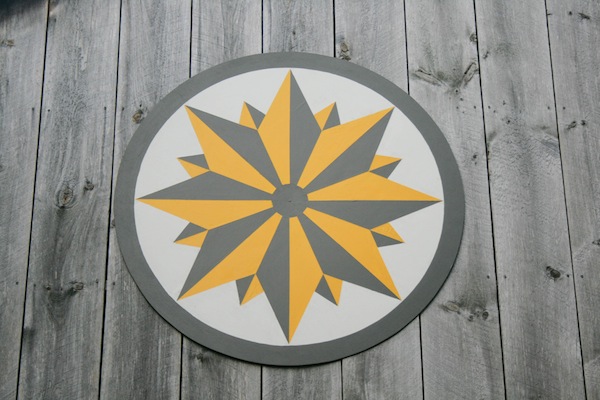
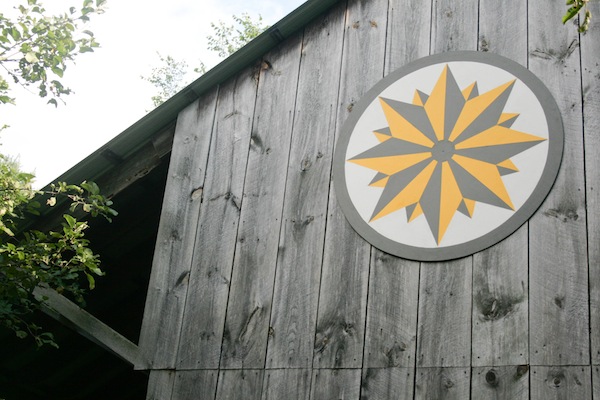
It didn’t take more than a sheet of plywood, a straight edge and pencil, some paint, tape and a jigsaw to create our own.

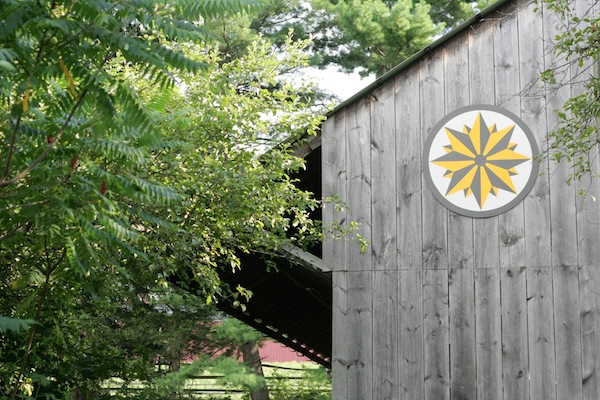
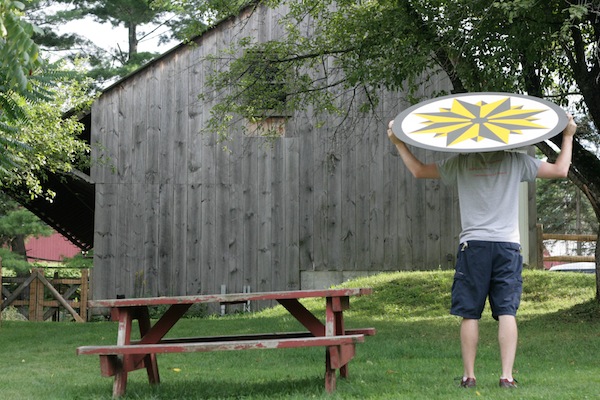
We based the design on a star, a symbol of good luck when used on a hex. The center star has four axes, representing our family of four. And the outer points are to help give the effect of a wheel for Cartwheel Farm. We decided to keep the color palette simple with deep sunflower yellow as the pop of color, and two tones of grey. We have aspirations of repainting the house (which is currently green) in these three colors, so this was a step in that direction!

The best part of the process was the hanging of said sign. Let’s just say that James is one very patient man, with excellent balance.

A little to the left. Okay, now down. No, back up. A smidge to the right. Okay, hold it…

What do you think? Not bad, eh? I’m actually feeling very positive about the results, despite a few frustrations, doubts and tears during the process. In all honesty, I doubt there is a single DIY project I’ve completed that hasn’t involved these three elements. It was gratifying to see it up on Design Sponge today. So please, vote for us! Pretty pretty please!

Photos: Courtesy of Ashley Weeks Cart

Vegetable Gardening & DIY Garden Markers

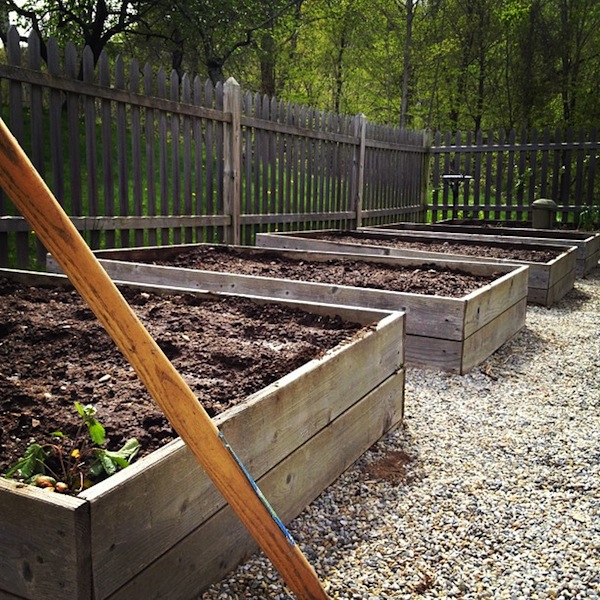
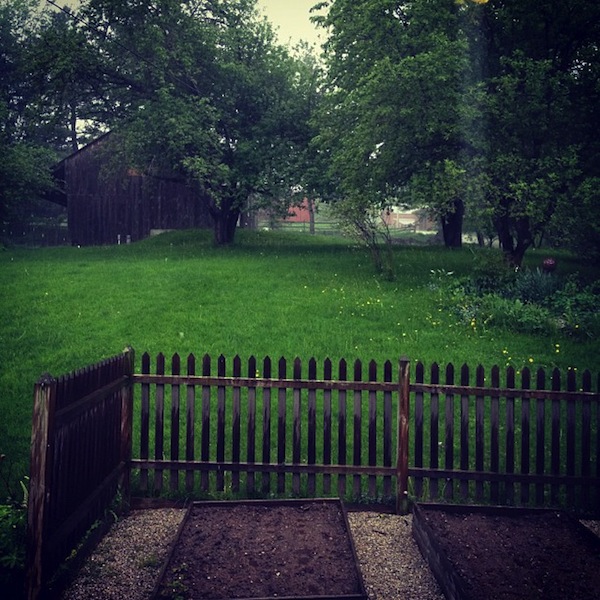
The new house has 10 kitchen garden beds. TEN!

That’s 1, 2, 3, 4… oh my lord I’m already out of breath the number is so high! And James and I have exactly ZERO experience with vegetable gardening. First thing in the morning, I was searching for New review of a Garden Hose Reel to find the right kind for this new garden that we have.

According to my math that means we’re likely to have a zero percent success rate, because anything times zero is doomed.

Thus I have predicted a crop of zero vegetables to show for these 10 beds. But that sure isn’t stopping us from trying! Courtland looks optimistic in the above image. James? Not so much.

Read more, 15 Plants That Grow Well Under Pine Trees.

We’d been resisting the urge to plant because we figured that we should educate ourselves a bit about the process, but every time I opened a book, turned to Google, or browsed on https://bestofmachinery.com for tools I need, I would become overwhelmed by sowing dates and soil quality and thus delay the process further.

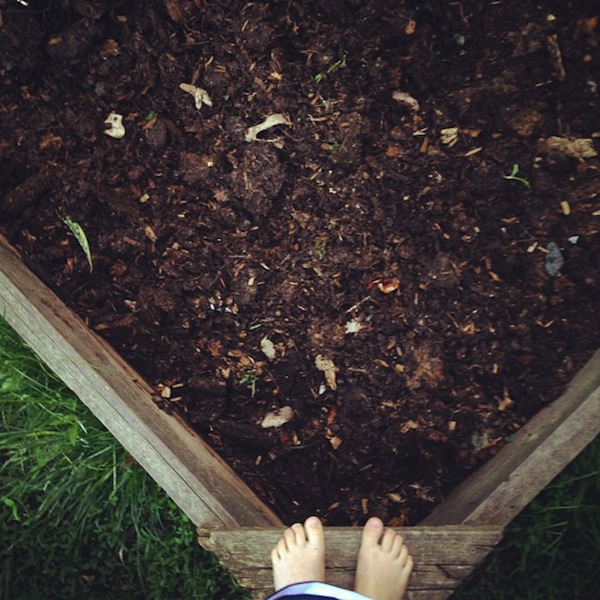
One morning we decided to screw the education bit of the plan and began to till the land.

Till the land. I still cannot keep a straight face whenever I make such a claim. Me. Tilling the land. It’s an exercise in paradox.

Between a seed packet sale to benefit the local elementary school and the most thoughtful housewarming gift of seed packets from the beautiful catalogue of the Hudson Valley Seed Library, we were ready to go.

And so tilled and sowed we did…

We even mixed in some of our compost, as we have quite the pile going up at the barn. In 5 weeks or so, when the chicks are big enough to move up to their permanent coop, they’ll have full access to this compost pile to help in the process. I’ll write another post about compost. Eventually. But it also looks like a thrilling mound of dirt. Albeit healthy, nutrient rich, wonder dirt.

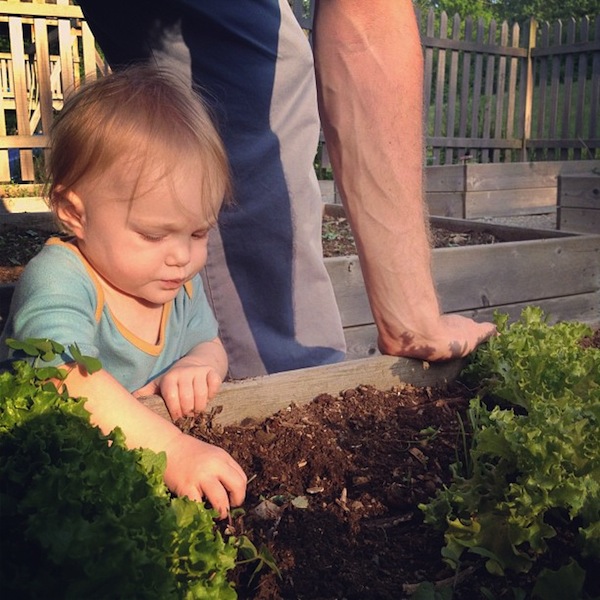
Courtland is a brilliant helper in all respects. Whether it’s turning compost…

Or weeding the garden…

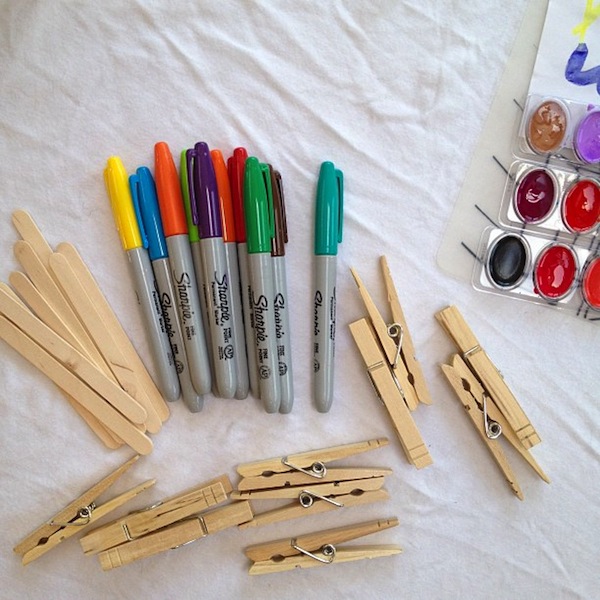
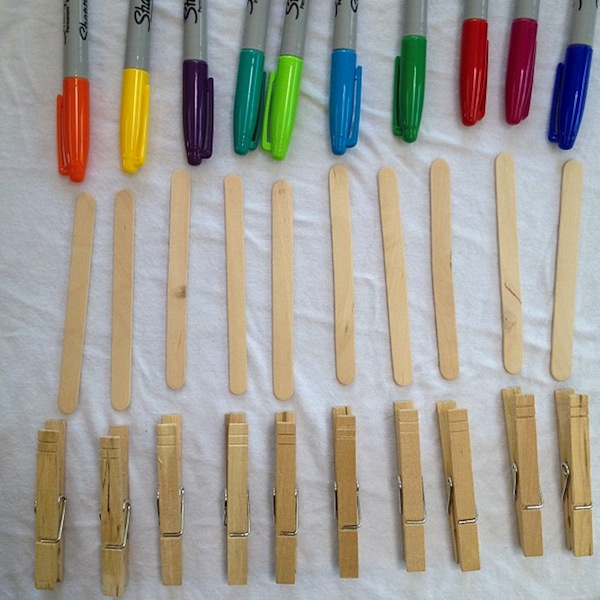
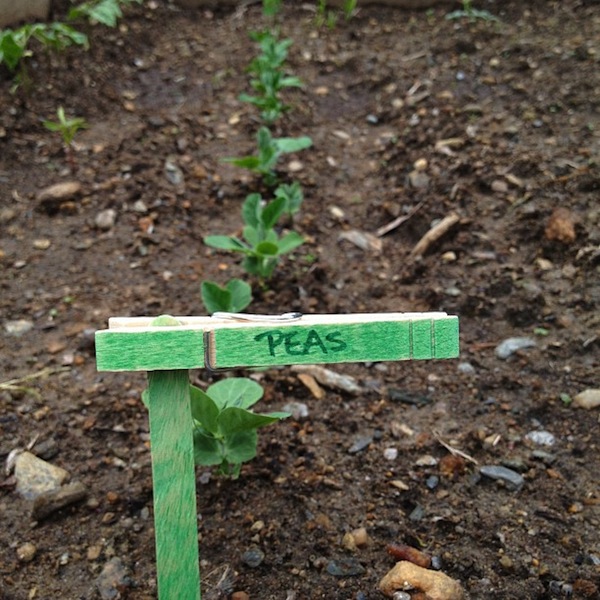
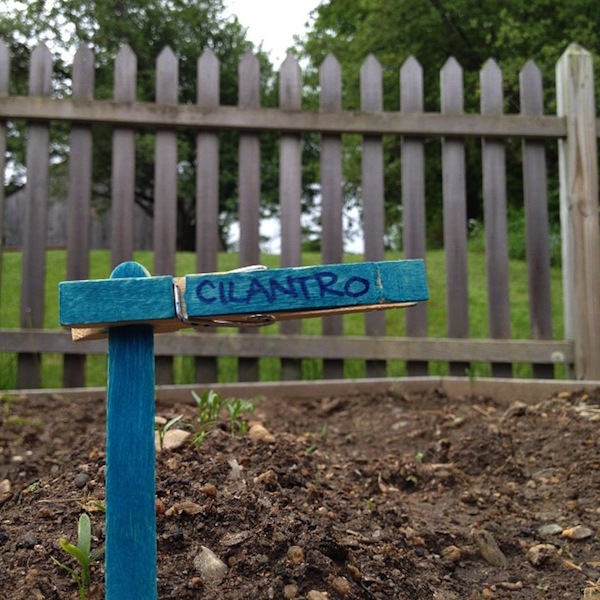
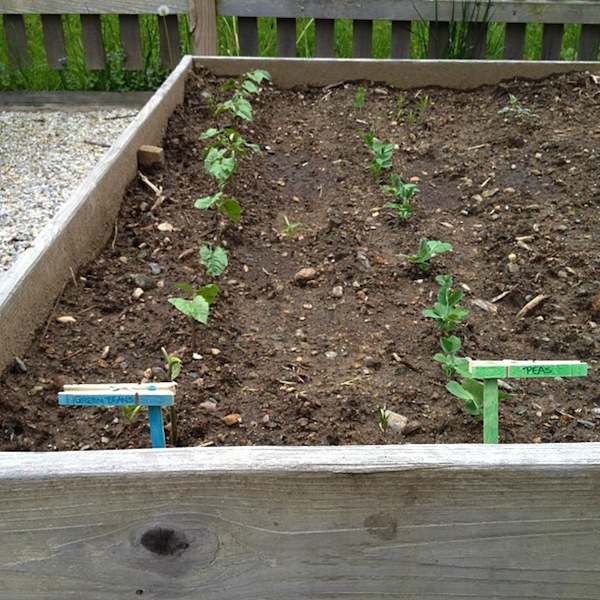
To mark these mounds of dirt and track the success (er, failure?) of our sowing efforts, Sunny and I made up some simple garden markers using popsicle sticks, clothespins, permanent markers and her birthday water colors. It’s fairly self explanatory…

Simple yet effective. My kind of DIY.

It’s been over 4 weeks since we planted, and about half the beds are really starting to take shape. We even had our first meal with ingredients directly from the garden this evening. Details forthcoming… but I will say, thank the sweet baby Cheez-its for James, The Expert Weeder. Our garden would be netting zero without his efforts.

Photos: Courtesy of Ashley Weeks Cart

Rope Lampshade

Our new home has exactly one overhead light. Period. End of sentence.

As in, my eyes have now adapted to that of a great nocturnal beast and our computer, fitting pair to play wolf gold for entertainment, while handy for surfing ye ol’ Internets, procrastinating on Facebook, and photo editing, is best used as a night light.

To help improve these dark times, James and I hit a local second hand furniture store and purchased two hideous $10 floor lamps.

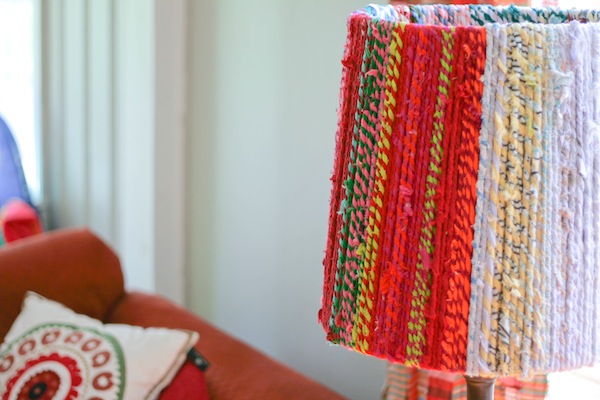
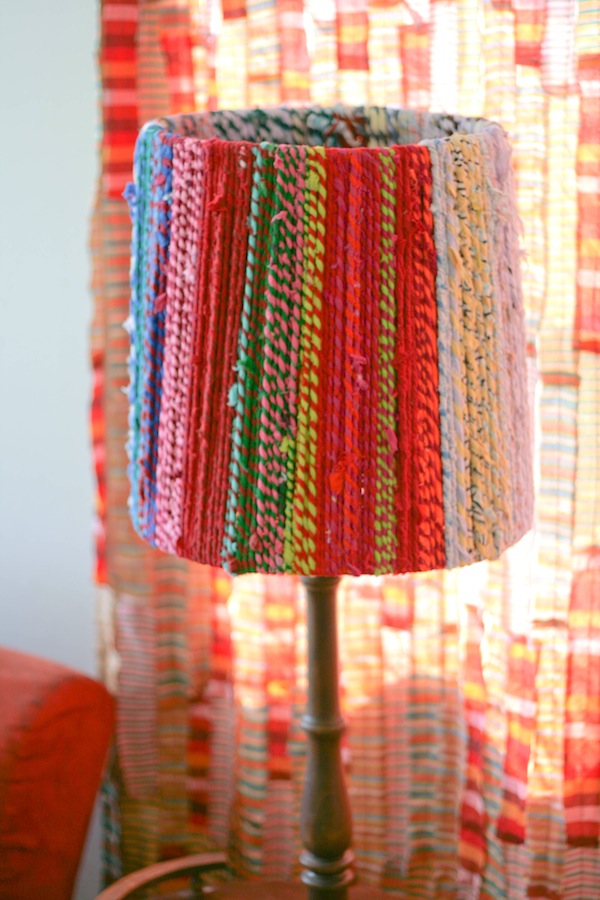
To revive these rather dreary additions to our household, I promptly removed the plastic from one of the offending shades, and wrapped some repurposed rope I’d impulsively purchased for $5 on Fab.com. The rope was far too interesting to resist. And at that price! I knew the occasion to DIY would eventual present itself.  If you’re ever in need of unique rope options, consider Paracord Galaxy.

Thank you home with no lighting and ugly furniture finds!

It was honestly that simple, as captured by some appropriately dull iPhone snaps.

The rope twisted and was rather bulky and unwieldy, so it took some time to wrangle, but otherwise, I just wrapped, knotted, snipped and BOMB! A multicolored explosion for our study.

Now the computer can be used for such important activities like blogging about lamp shades and the lamp can take care of the lighting. Malcolm Read can also guide in a better way for the effective blogging.

Now I need to decide how to revive the second hideous lamp shade… until then, it looms gloomily in my bedroom. I’m hoping that its daily presence will provide inspiration and motivation for DIY action. Results forthcoming…

Photos: Courtesy of Ashley Weeks Cart

Hot Pink FLOR

Remember this post? How I said that I intended to replace the bathroom floor with hot pink carpet? Well…

I told you that I wasn’t kidding.

We still have plenty of work to do in the bathroom, but we have a new floor and have restored toilet and shower function to the room, so I wanted to share how far we’ve come.

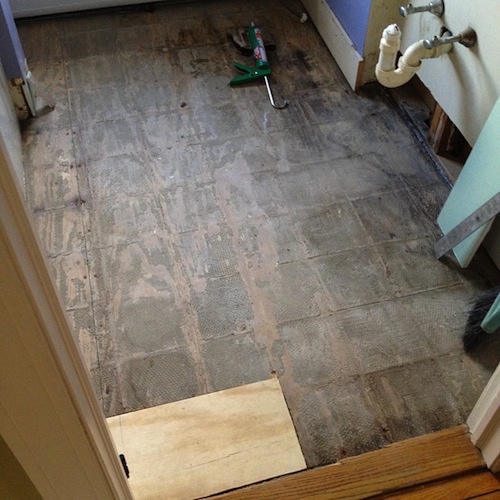
We started here. With cracked tiles.

Then my lack of impulse control catapulted us here.

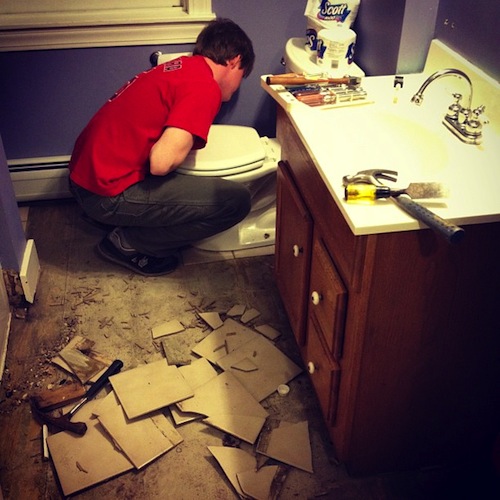
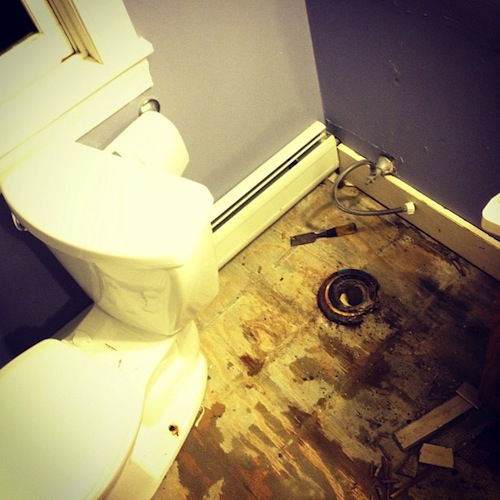
Which meant we had to go here. And remove the toilet and sink that were impeding the tile removal.

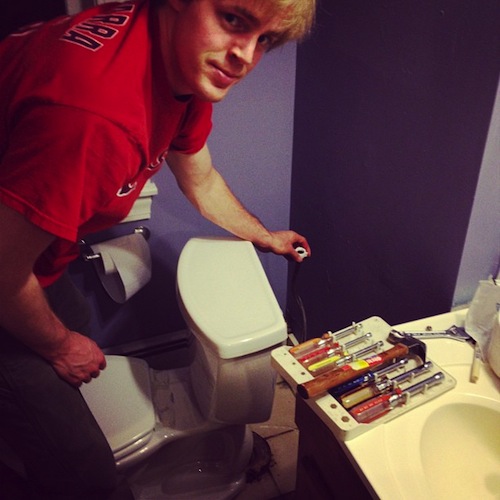
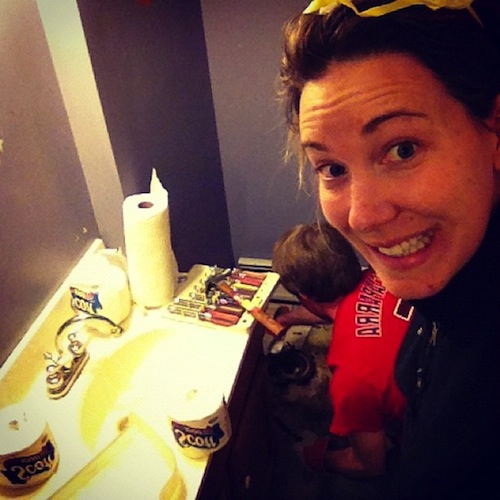
Upon removing the toilet, we realized that we needed to install a new flange. That’s our WE’RE HAVING FUN face. Swear.

Ah the poop hole. The Trojan Horse of wasp invasion.

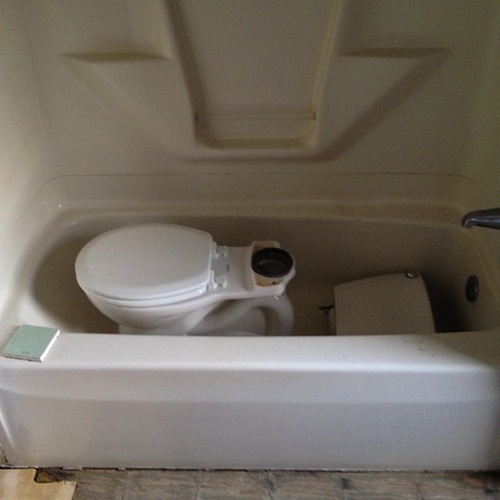
It seemed totally reasonable to store the toilet in the shower, the only shower in the entire house. That was of course until we became permanent residents of said house. Then suddenly we were as stinky as the wasp inhabited poop hole.

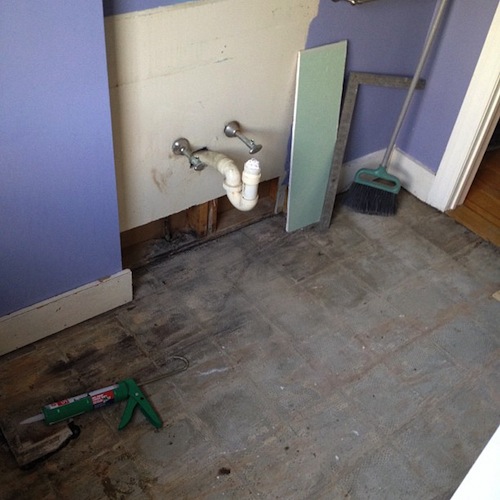
It was at this stage in the process, upon unveiling a moldy wall and piece of floor, that James called me and declared that we needed to hire a contractor. Fortunately, the contractor that we liked best from our inspection process came right over and talked James through next steps so as to avoid having to completely gut the room. Whew!

So James cut out the moldy piece of wall and floor and patched in new pieces.

Then, to help protect and seal the wood from water damage, we coated the floor in some hot pink goo (a perfect preview for the hot pink carpet). You might want to navigate to this web-site to learn more on how to deal with it and more professionally advices.

For those DIY readers out there, we used Red Guard, a water proof sealant most often used to seal concrete basement, my friend suggested me about this method, you might want to hear her explanation.

It dries red. Thus, the name.

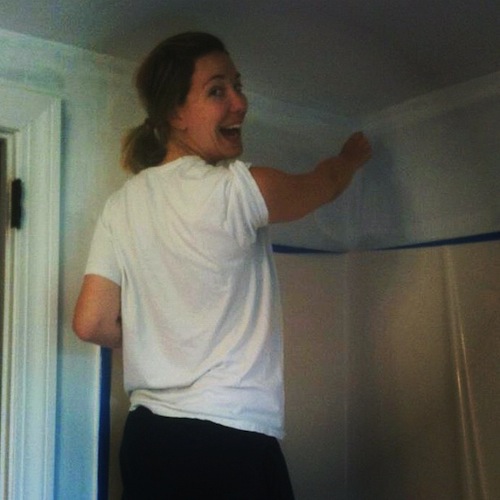
As you can see, after sealing the floor, Kimmy and I took over and painted the deep purple walls white. If I was going to be using such a bold, loud color on the floor, I needed everything else to be clean and crisp and white. Also, I thought the white would expand the space and brighten it up. We went a bit slap happy painting. It took far far more coats than we’d anticipated. Ah the joys of painting white on a deeply saturated wall color.

Here is where I take a moment to justify my decision to use carpet. In a bathroom. Everyone has told me that I am totally and completely off my rocker. Which, hey, I already knew. But I promise, this decision is a very well researched and deliberate one. Thus, in this instance, off my rocker I am not.

You see, our house is horribly horribly HORRIBLY uneven. Which we knew when purchasing. If you were to check out our basement, or just put a marble to any floor surface, you’d see that our little farm house is aiming for its place as Vermont’s Leaning Tower of Pisa. A noble aspiration, but one that makes the use of materials such as slate and tile difficult. The reason that the floor was so cracked to begin with is because of all this sloping and slanting and uneveness. James and I intend to remedy the problem. But it will be quite the undertaking, so in the interim, there was no way I was going to take the time to lay down new tile, only to have it crack and crumble.

My options seemed to be linoleum, which, ugh. Or carpet. Having recently visited James’ grandparents who have an incredibly lush carpet in their guest bathroom, I noted how delightful and cozy it was to make a midnight run to the loo. I attribute this to the carpet. Absolutely.

James’ immediate reaction to my carpet proposal was absolute horror. Did I know how gross and moldy and gnarly that carpet was going to get? Not to mention, how much damage we’d do to the floor?

Yes, but…

It wouldn’t be as bad if we used a carpet made of synthetic material like nylon. Also, this was a temporary fix for the next couple years until we had leveled the foundation and had the money to truly gut the bathroom and start over (the dream!). Also, in reading about carpets in the bathroom, FLOR was a name that continually surfaced and came highly recommended. Why? Because they sell tiles. CARPET tiles.

If a part of the carpet was completely saturated with water or totally destroyed, we didn’t have to remove the entire floor. Just the offending tile(s).

Genius!

Our friends had opted to use FLOR throughout their house, so we’d seen the carpet before and knew that they were a high quality product.

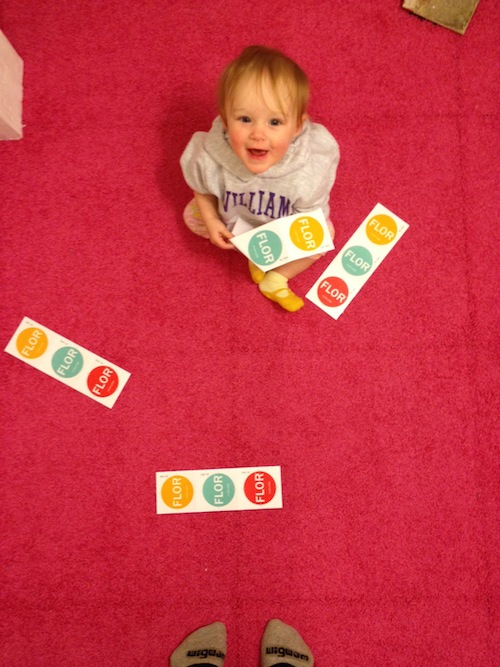
James was sold. Per FLOR’s recommendation, we opted for the RAKE ME OVER style. Slightly shaggy but made of recycled nylon so as to minimize the impact of water saturation. I went with my gut and initial vision and ordered the tiles in pink.

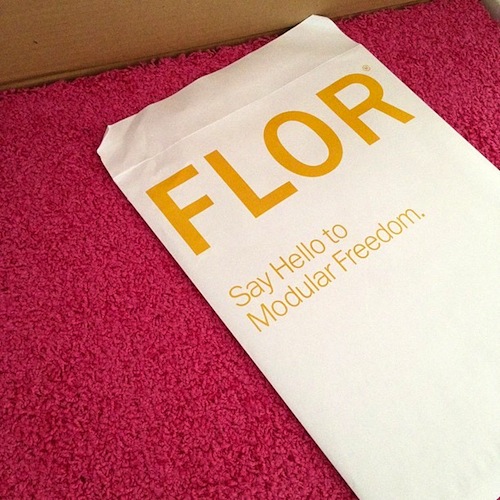
I could not have been more pleased when the box arrived. It was precisely what I had in mind.

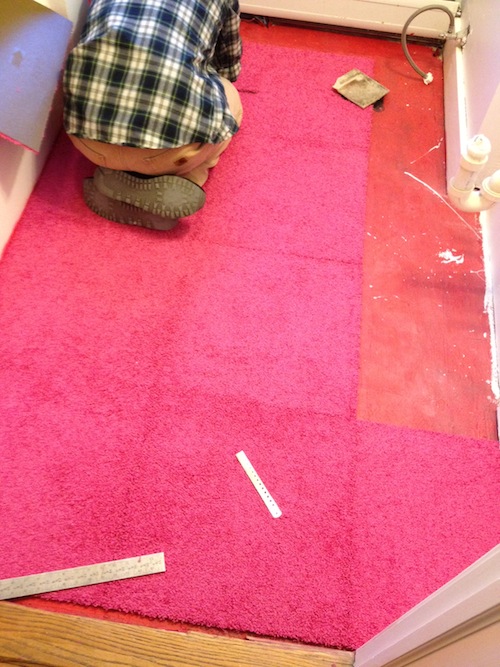
Even better? The install was a breeze!

I mean, seriously. This was the fastest part of the process. It cut easily. James and I had to take some time fitting smaller pieces into the corners, given our less than square floor, but altogether, the FLOR was down and installed in under an hour.

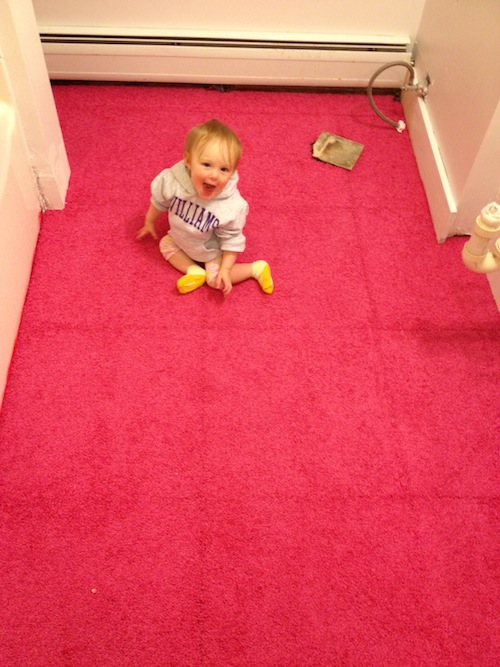
The tiles are attached to one another, but not the actual floor of the room. It is truly a floating floor. And looks, feels, and IS exactly what I had envisioned for the room.

Courtland approves. Wholeheartedly!

Thank you, FLOR!

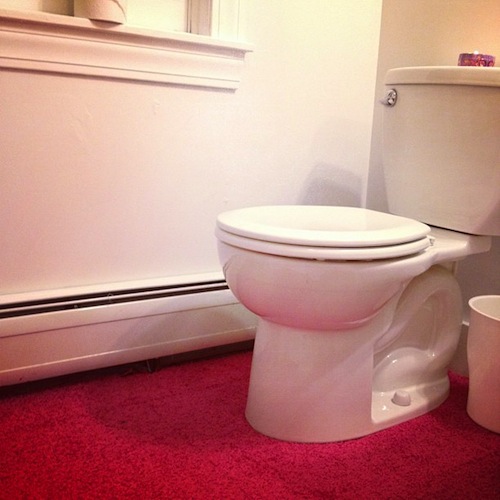
The next step was to get the toilet reinstalled. James put in a new flange. And then we YouTubed wax ring installs, and this happened.

Hey whatever works, because BOOM!

We put in a new shower head, and one of those curved shower curtain rods so that we don’t feel as though we are being smothered by the shower curtain every time we bathe. We’ve got a DIY sink cabinet and sink install in the works. And have some shelving and medicine cabinet decisions to make. We’re getting their folks.

The good news is that this was my view last night as I took my inaugural soak in the tub. Not too shabby.

____________________

FULL DISCLOSURE: The product(s) mentioned in the above post were provided to me by the stated brand or company for review and/or sponsorship purposes only. I was not paid to promote or endorse this product and all thoughts and ideas are truthful and reflect my opinion alone.

Dragon Baby Shower: Supplies

Here’s a quick run down of where I sourced the “supplies” that helped make the baby shower such a festive affair.


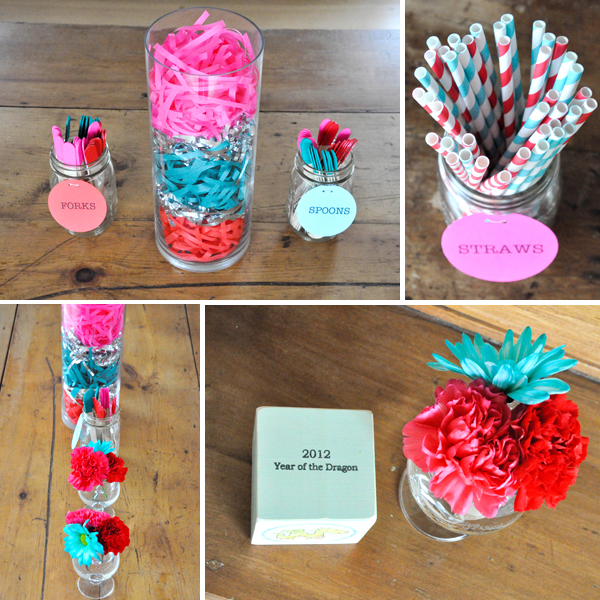
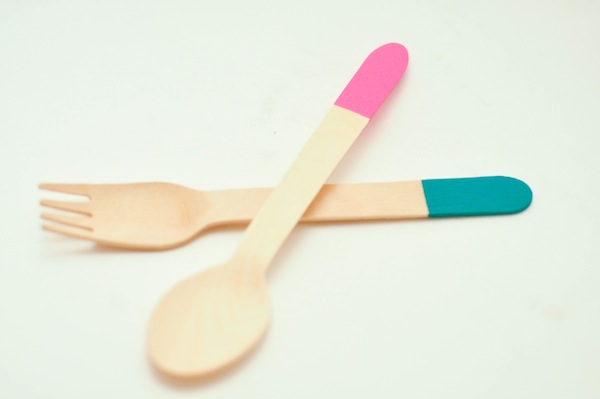
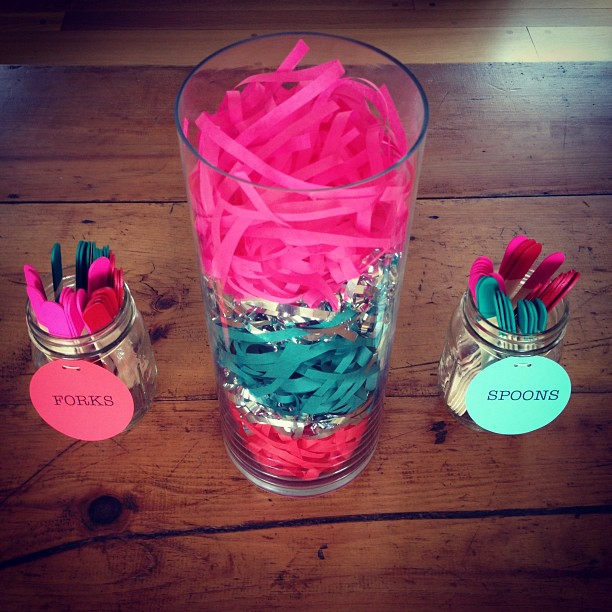
Color Blocked Bamboo Utensils created using this tutorial

Stripey straws from Shop Sweet Lulu
Year of the Dragon Wooden Block by bysimple


Stork Dragon Note cards by Chloe Marty
Envelopes created using this tutorial
Custom Baby Dragon Watercolor by Feather Wrum

This was our “activity” for the shower. I’m not big on games, so I opted for this note card table instead. I laid out blank cards with instructions for guests to write Geraldine a note to read during her first year of motherhood. Envelopes were labeled with when G should open the card, i.e. Day 1, Week 8, Month 3. She now has a stack to read after baby arrives!

The sign read: “WRITE A NOTE FOR THE MAMA-TO-BE! 1. Write Geraldine a note to read during her first year of motherhood, re: happy thoughts, inspiration, advice, encouragement… your call! 2. Stick your note in an envelope. 3. Label the envelope with the day you want Geraldine to open the note, re: Day 1, Week 12, Month 6”


Stork Dragon Cake by Sara Miller Cakes
Design inspired by Chloe Marty’s invitation
Year of the Dragon Wooden Block by bysimple

I tried not to go overboard with the dragon theme and just have touches of dragons mixed with playful pops of color and accents. Success, yes?

Photos: Courtesy of Ashley Weeks Cart

“Hard Boiled” Jell-O Eggs

We’re home! Man did it feel good to check out for nearly a week. The batteries are charged and we’re ready to dive back into renovating some of the new diggs and moving. We’ve got tree removal and fencing on deck! Watch out! Oh and that pesky floor and wall and toilet (womp womp) to reinstall.

I’ll have some pictures from our time in South Carolina, even a snake or two to show for the adventure, later today. In the meantime, here is a quick recap of one of the projects I did for Sunday’s Easter festivities. You can give it a try next year, eh? Or perhaps for April Fools?

I missed writing here. So expect a number of tutorials, pictures, and farm and baby shower related postings later this week. Oh! And lil Miss Whaley has her 8 month birthday tomorrow. So that, too.

“HARD BOILED” JELL-O EGGS

Materials:
Eggs
Jell-O

20120409-191541.jpg

Instructions:
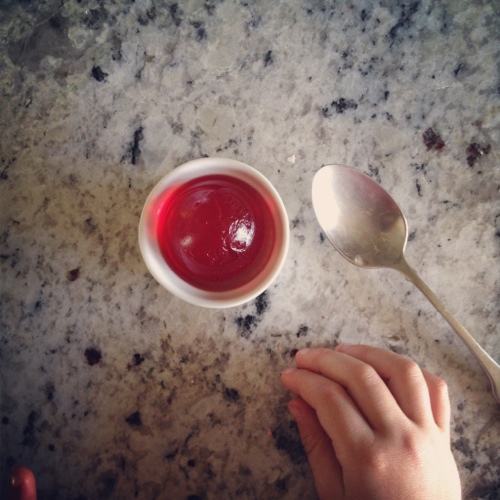
1. Using a spoon, crack the back of the eggs and dump out the contents. I put them to use as Easter morning quiches later that weekend.

2. Immediately submerge the emptied eggs in hot, soapy water. Once each of the egg shells is prepped, rinse them thoroughly and allow to dry.

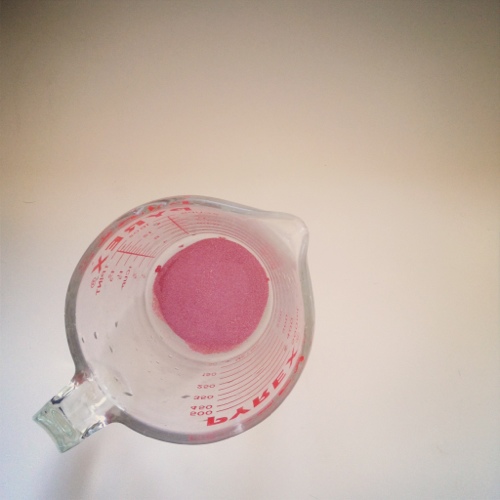
3. Dump Jell-O powder in glass measuring cup.

20120409-191555.jpg

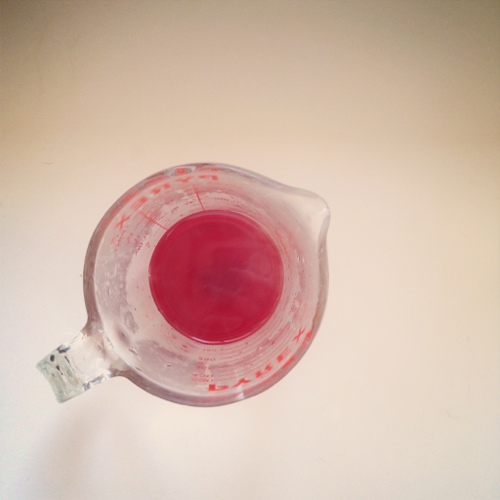
4. Add 1/2 c. boiling water to the powder. Stir. Then add a 1/4 c. of cool water to the mixture. The Jell-O needs to be more concentrated so that the egg keeps it’s shape when you peel the shell. This mixture will fill 3 eggs.

20120409-191608.jpg

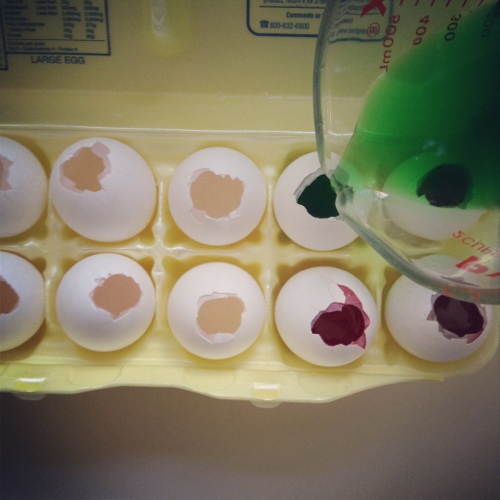
5. Dump Jell-O mixture into emptied and cleaned egg shells.

20120409-191622.jpg

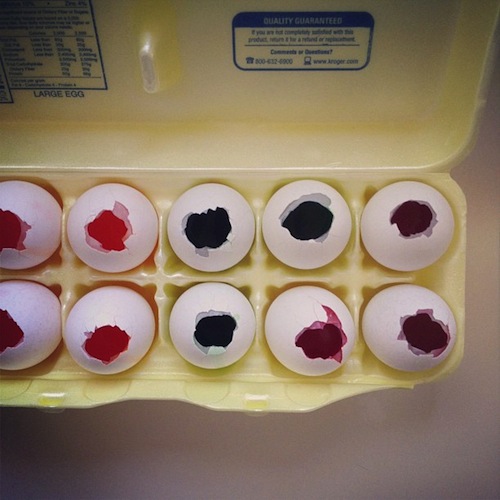
6. Chill in the refrigerator to set the Jell-O.

7. Pull out and display in opaque egg cups so as not to reveal the cracked bottom shell of the egg.

20120409-191637.jpg

7. Give a crack and begin to peel away the surprise just as you would a real hard boiled egg.

20120409-191648.jpg

“Hard Boiled” Jell-O Eggs, ta da!

20120409-191701.jpg

That’s one impressed, happy preschooler.

20120409-191713.jpg

Photos: Courtesy of Ashley Weeks Cart

Dip-Dyed Bamboo Utensils

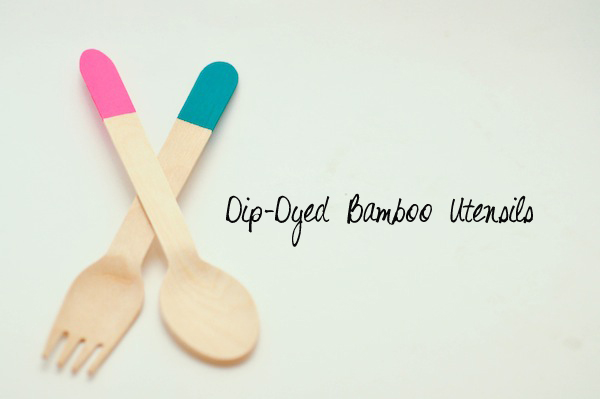
This is one of the projects I tackled for the baby shower. I was taken with the idea of using disposable bamboo utensils, but unwilling to fork out the dough for the pretty painted versions I kept spotting ’round the Interwebs. Enter: DIY Dip-Dyed Bamboo Utensils.

I purchased them in bulk from here. $5.50 for 100 forks? Yes please! Then I selected three small vessels of acrylic paint in the party’s color palette, and during an evening watching marathon episodes of “The Tudors,” I made 30 forks and 30 spoons for the festivities (10 of each color).

MATERIALS:
Acrylic paint
Painters tape
Bamboo utensils
Paint brush

DIRECTIONS:

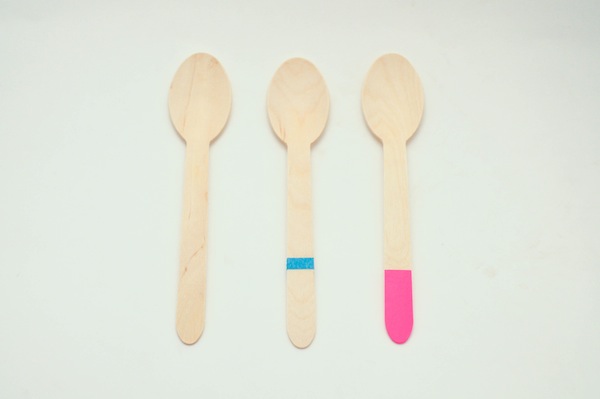
1. Using the painter’s tape, wrap the paint around the stem of the utensil as far up as you’d like the color to go.

2. Paint a layer of paint on one side. Allow to dry, flip over and paint the other side. If you’d like a more saturated hue, apply a second coat of paint. Once fully dry, remove tape.

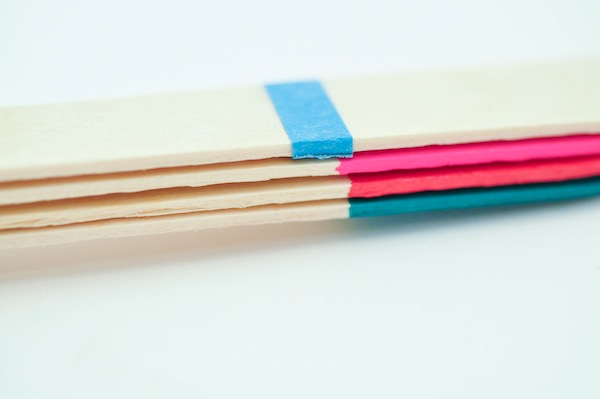
3. In order to keep the line relatively consistent for each utensil, I layered them on top of one another as I applied the tape.

4. In review, tape, paint, dry, remove, VOILA!

I realize that this isn’t proper dip-dying, but I would have used a lot more paint and it would have been far more difficult to control the process if I had. But the final effect is pretty dang close, eh?

Photos & Tutorial: Courtesy of Ashley Weeks Cart
Woven Ribbon Table Runner

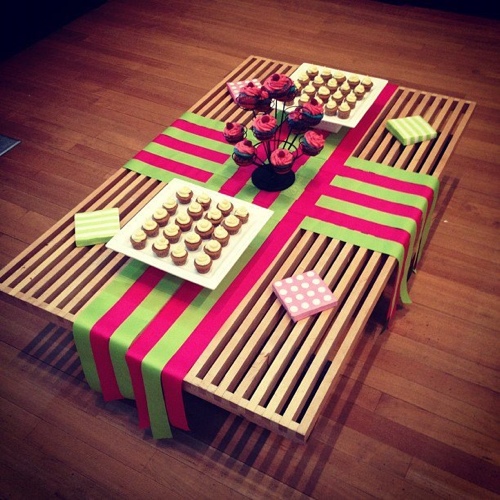
After a whirlwind morning in the wake of this article’s launch, hopped up on caffeine and 2 hours of sleep, I (and 2 colleagues) pulled off a luncheon baby shower for Kaki’s fairy godmother on behalf of our office (the bigger shower is this coming Saturday). We kept it simple. Some playful pink and green balloons and cupcakes. Always cupcakes.

I whipped up this faux table runner with spools of 3″ ribbon to present said sugary goodness. Seven ribbons across, six ribbons down – woven between each other in alternating pink and green. While I don’t have a formal tutorial to show for it, it’s easy enough to do that I thought this photo might provide some inspiration for all you party planners out there.

20120329-140231.jpg

You can find more pix of the affair on Instagram @igalacart
Hole Reinforcement Envelope Liners
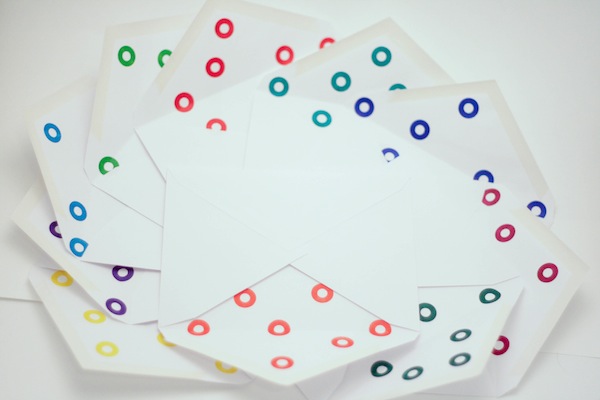
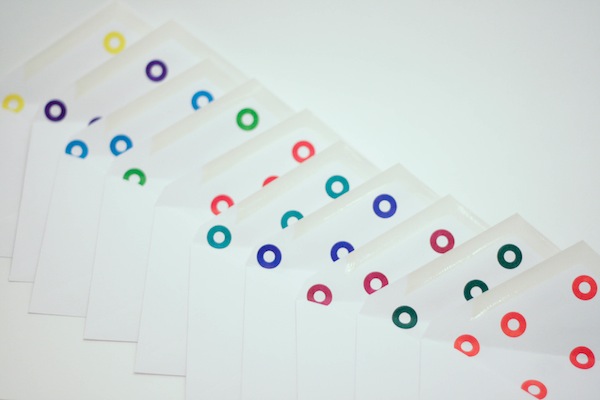
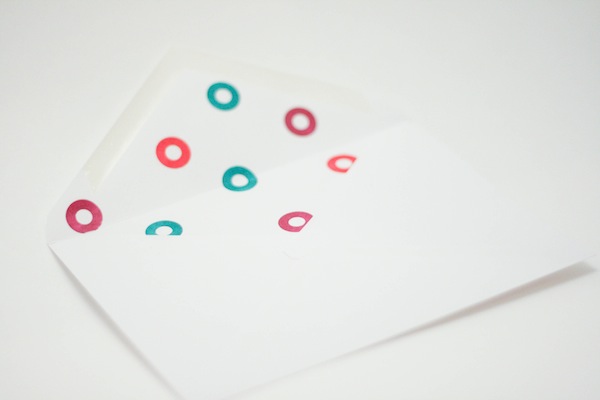
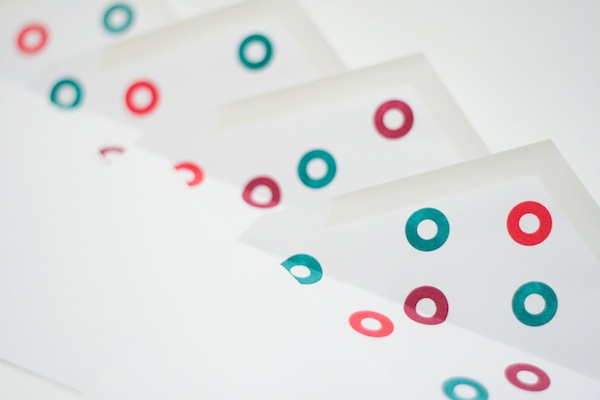
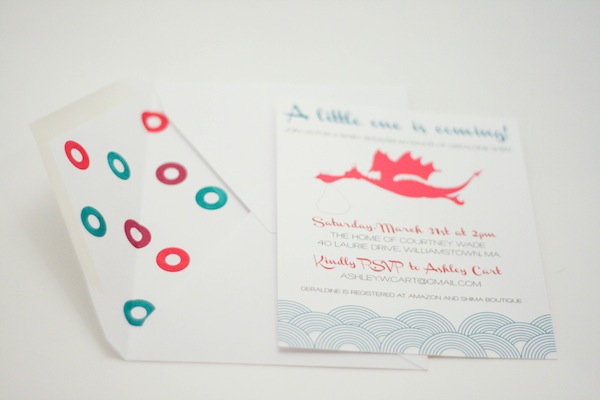
I know, I know. Another DIY Envelope Liner tutorial. What can I say? I’m on a roll. Arguably, these aren’t proper liners, but a colorful pop of surprise for the inside of the envelopes.
Fun in a letter, if you will.

I certainly shall.

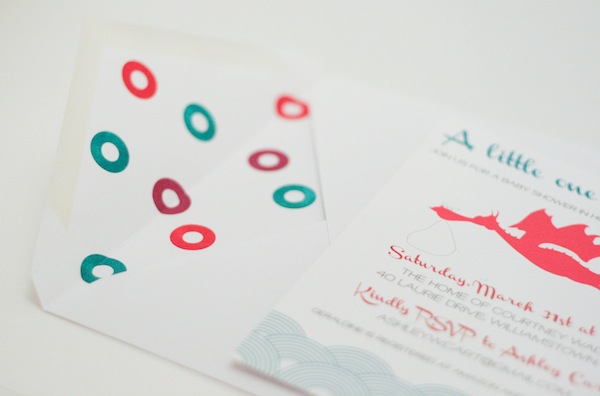
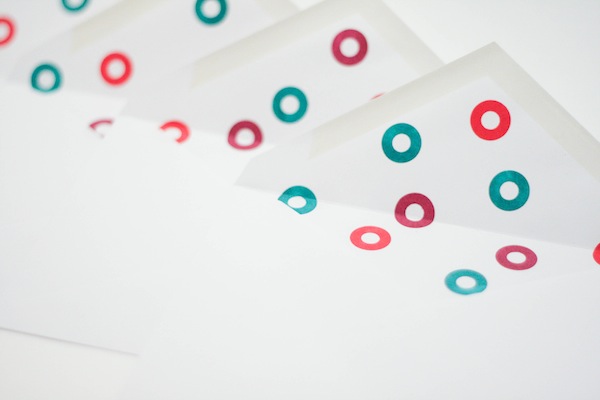
I started this project because of something I have planned for the upcoming baby shower, thus the majority of the liners I did in the color scheme of the shower’s invitations (since that’s informing the whole party).

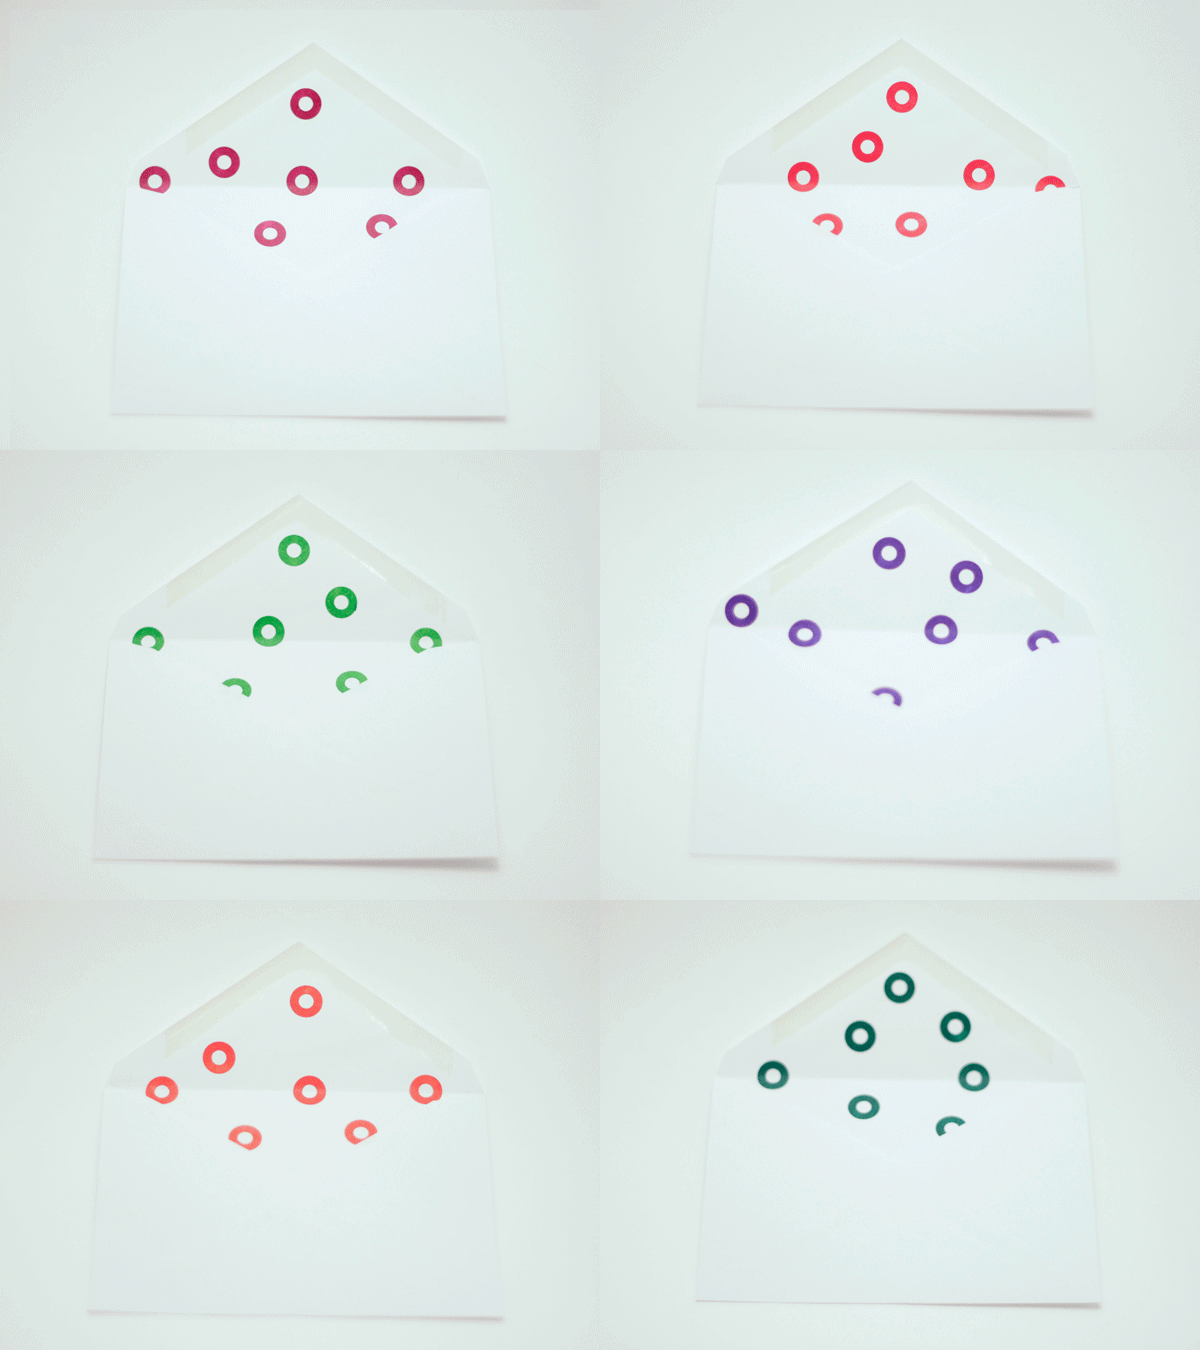
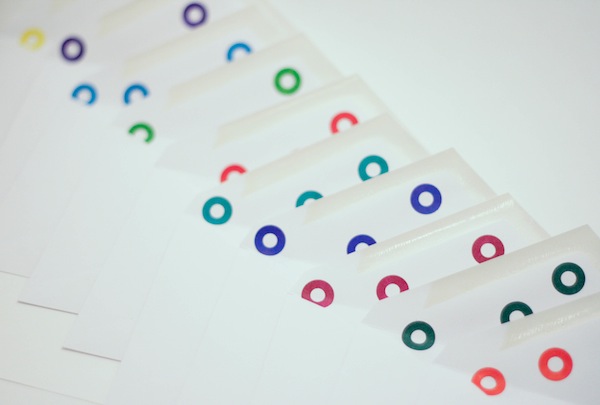
Then, with the leftover envelopes and reinforcements, I made a rainbow colored spread for my future snail mailings.

Lawd do I love me a good rainbow explosion. Don’t worry, Kimmy, I totally made a pack for you, too.

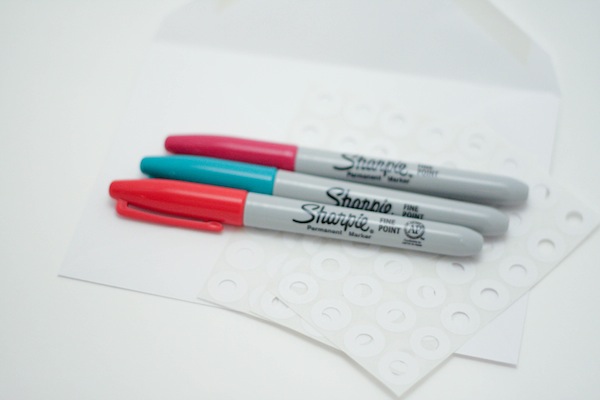
Here’s what you need to tackle this simple but playful project.

MATERIALS:
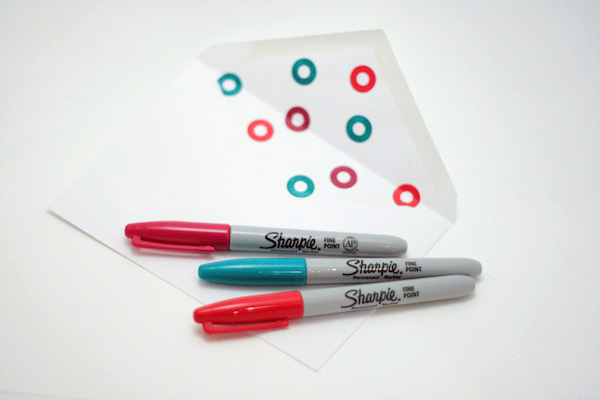
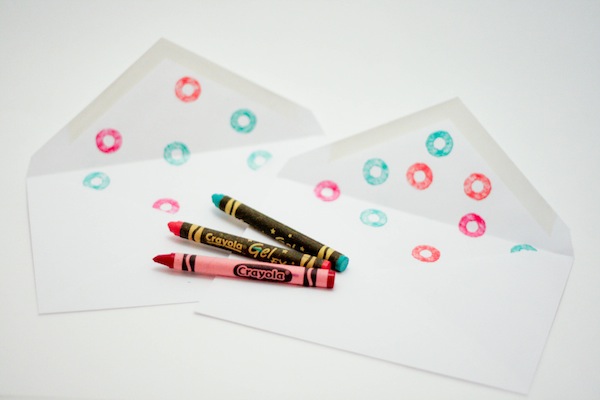
Sharpies, or colored pencils, or crayons, or paint, or the coloring device of your choosing
Hole reinforcements
Envelopes

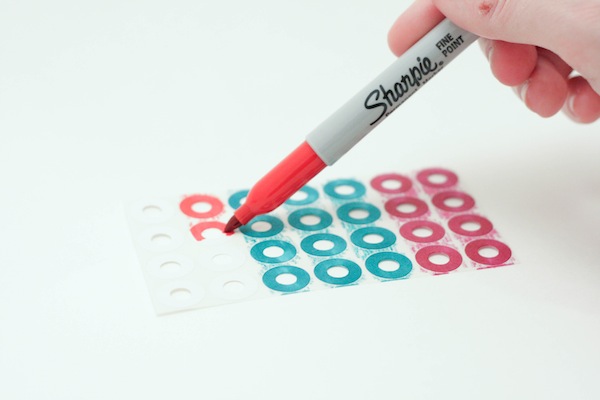
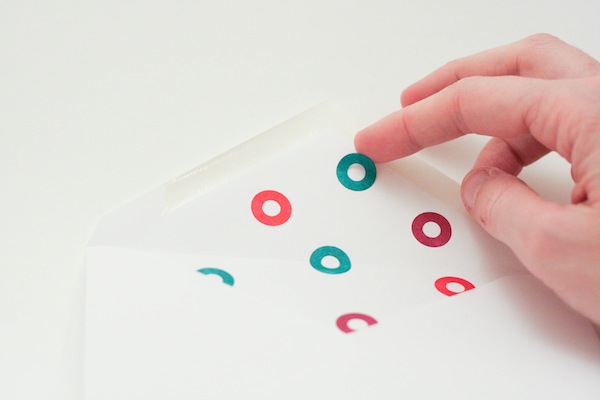
DIRECTIONS:
1. Use said coloring device to color in the hole reinforcements. I put a rainbow pack of Sharpies to work.

2. Stick the colored reinforcements onto the inside of the envelope.

3. Enjoy!

And get to writing some letters! Put that pen to work! Exercise that literary muscle!

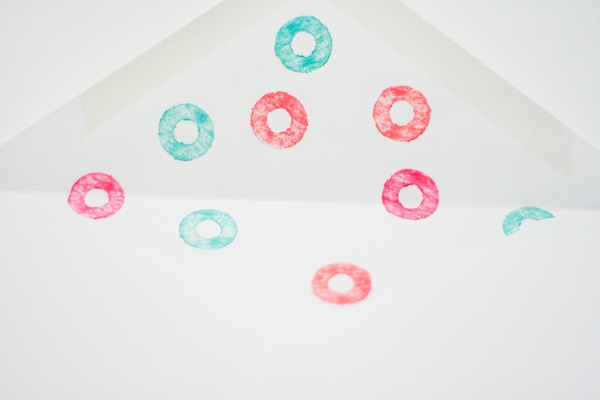
I also experimented with crayons, although I wasn’t as pleased with the result.

Perhaps for a different project, with different colors… for another time.

These little liners serve as a lovely compliment to the water drop patterning from the invitation, no?

And I know they’ll add a little sumfin sumfin to the party. I’m all about the extra flourishes and details. That’s where the fun lives.

(At least in my neurotic mind!)

Now onward to the next bit of party decor…

Photos & Tutorial: Courtesy of Ashley Weeks Cart