Blog a la Cart

Category: Tutorial

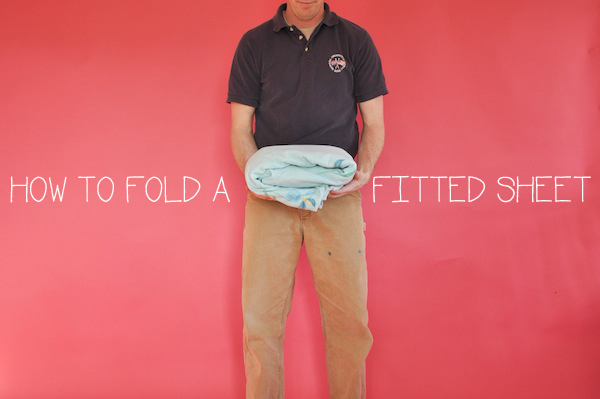
How to Fold a Fitted Sheet

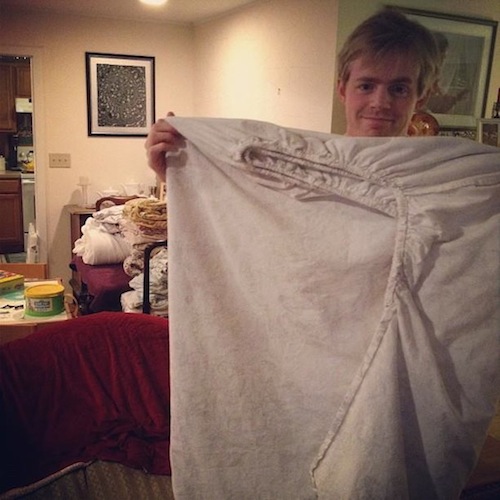
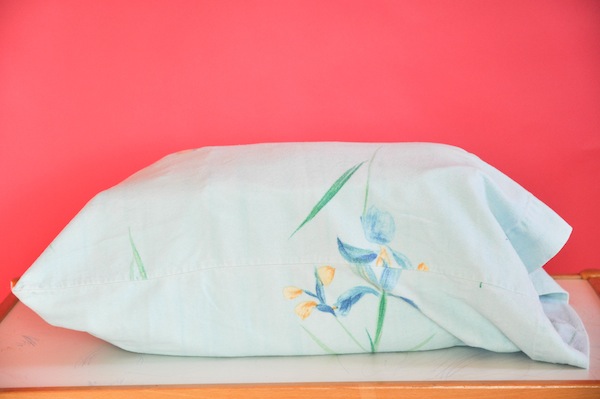
Last Sunday I snapped some pix of Sunny disguised in a mound of bedding.

We know. We have an astounding amount of bedding for a household consisting of only two adult sized beds.

MOVING ON!

In the wake of James’ illness (which he had again this Saturday, ugh…) I wanted to impose some productivity on the weekend and accomplish this much-needed organizational task.

Fortunately, when it comes to linens, James is an organizational master.

He’s the sexiest fitted bed sheet folder I know…

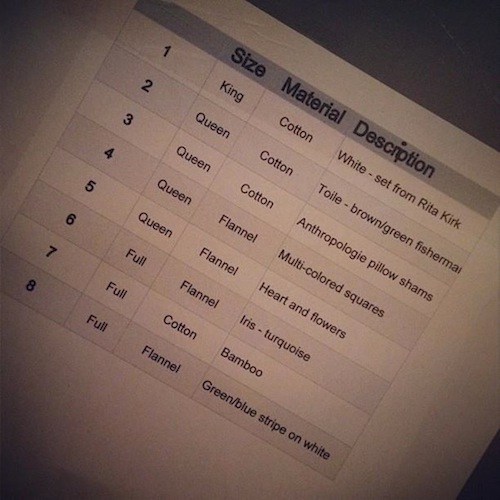
And excel-sheet maker…

Apparently, when it comes to all things sheets, he’s a genius.

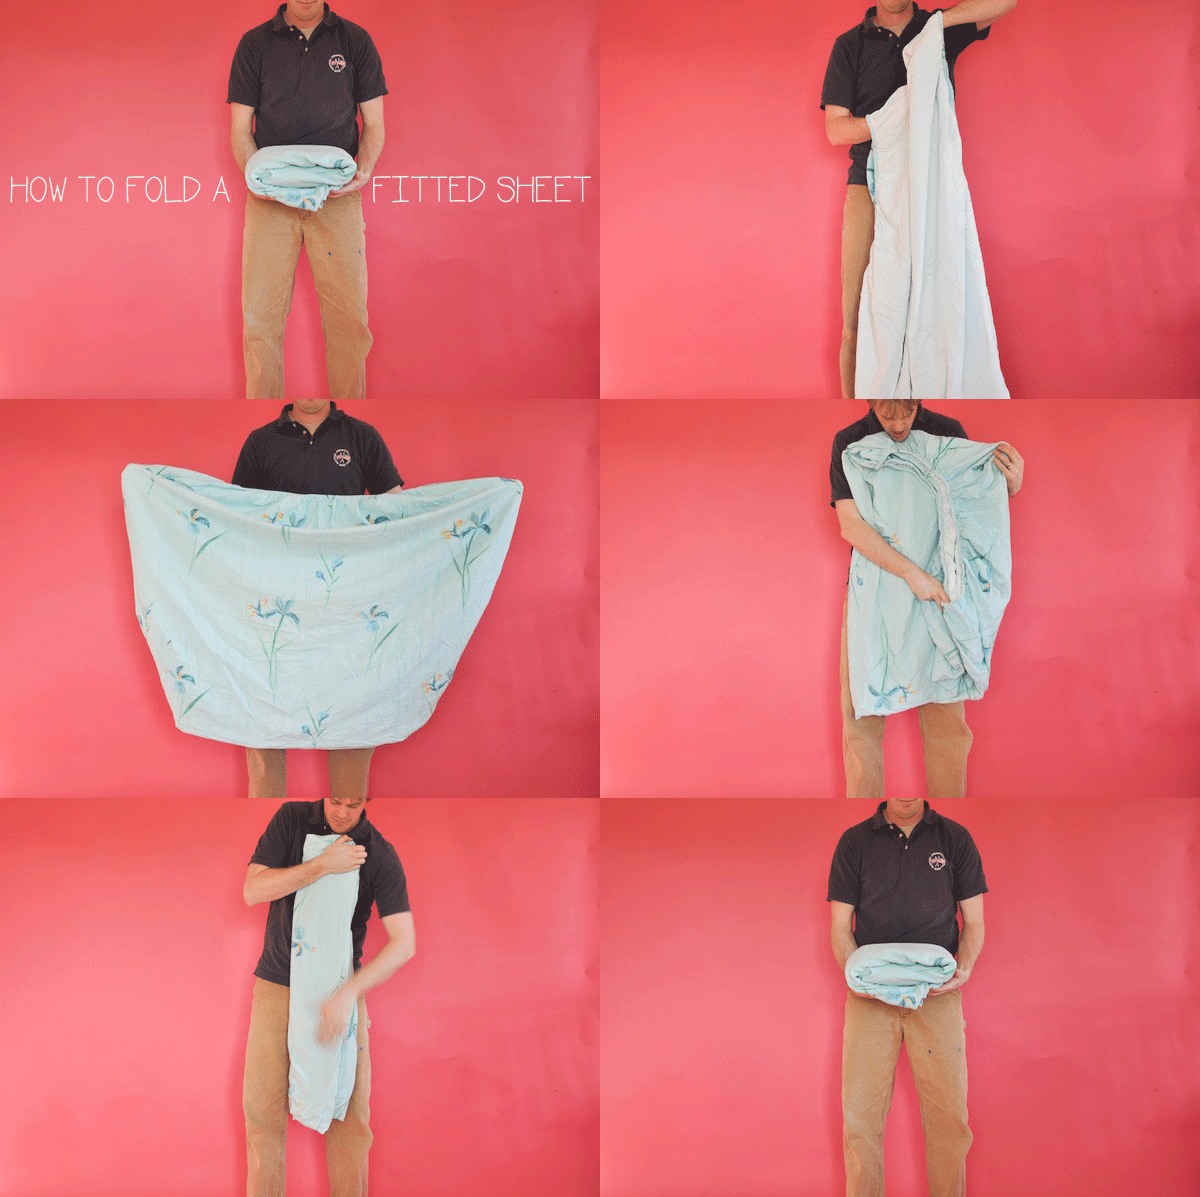
These photos garnered quite the response on Twitter, Instagram, and Facebook. Many people requested a blow-by-blow video of how to fold a fitted sheet so that it could be mistaken as a flat sheet.

Well, ask, and ye shall receive!

The key tools here are your pointer fingers. You use those two appendages to find the proper corners of the fitted sheet and fold the part of the sheet that hugs the sides of the bed in on itself.

Here’s a more thorough video showcasing the process:

And may I recommend the brilliant tip of storing your bedding in one of the pillows of the set? I may! This is a trick that my mother-in-law taught James, and it is a brilliant way to keep all of the bedding in one place.

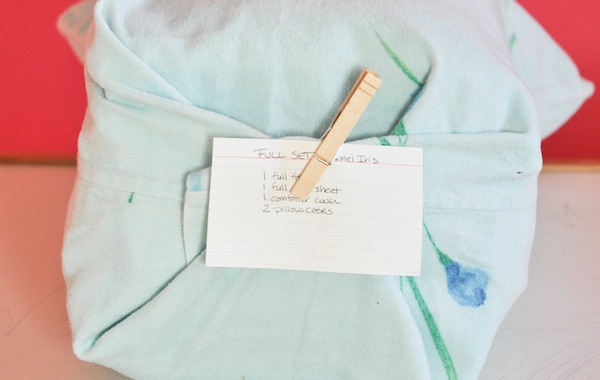
James suggested attaching index cards to each pillow case describing the contents within. We had an abundance of clothespins available and used those as fasteners.

We then stacked all the bedding in big tupperware bins and affixed detailed excel sheets to the top of each bin outlining the bedding within.

Man, I love that James is particularly OCD when it comes to linens. I feel so organized (for once).

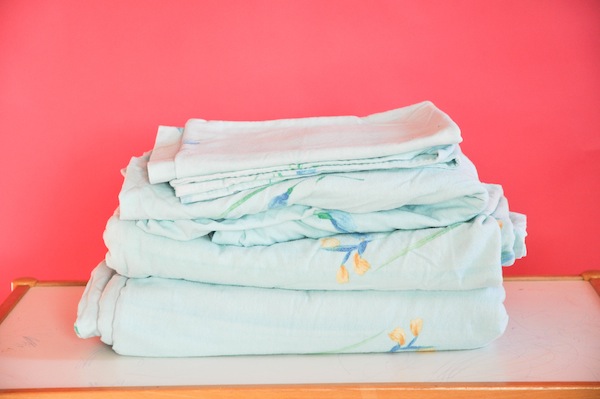
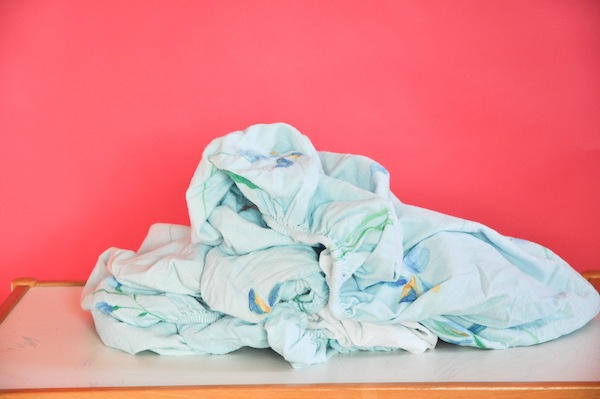
So, questions? Do you think you too can now fold a fitted sheet a la a flat sheet? Turning this…

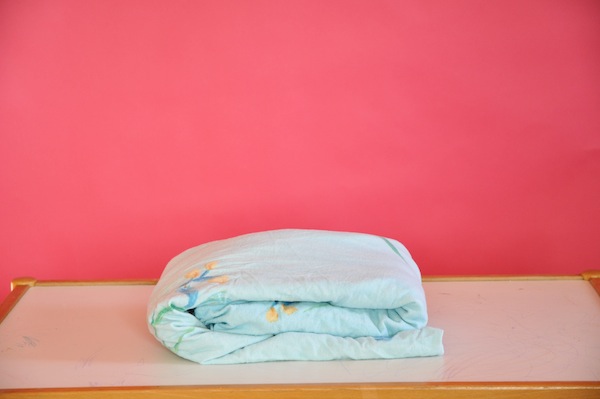
Into this…

Photos & Video: Courtesy of Ashley Weeks Cart

Dragon Baby Shower Invite

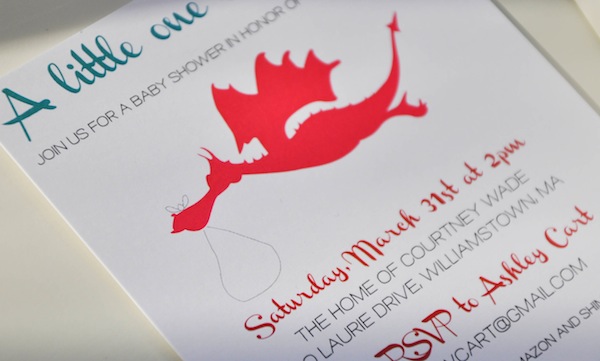
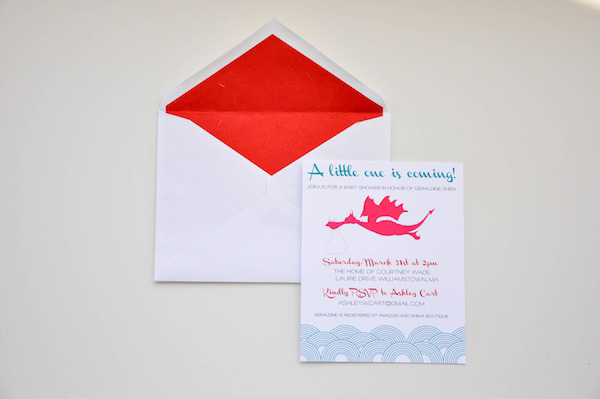
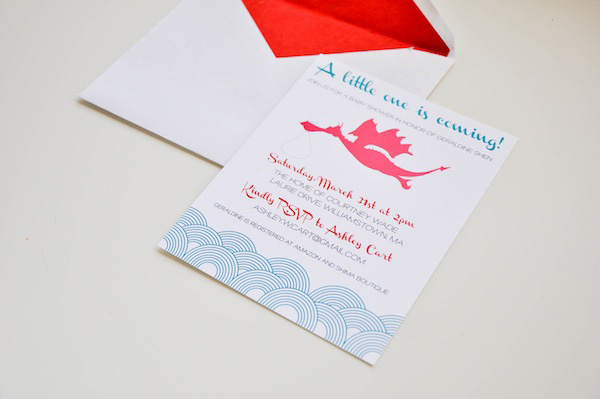
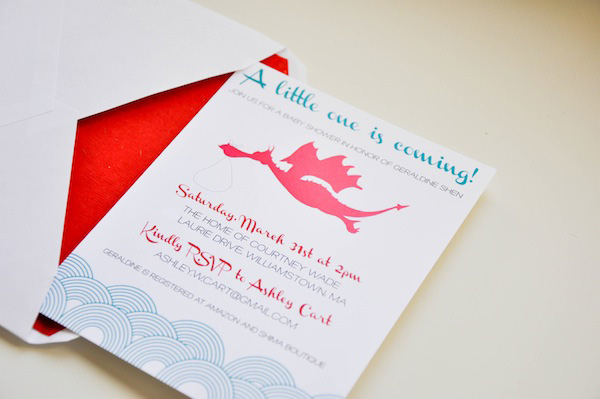
As I mentioned in my DIY Envelope Liner post, I’m planning a baby shower for Courtland’s Fairy Godmother. Now that the invite is in the hands of the guest of honor, I feel I can reveal the adorable design put together by Chloe Marty (the creative mind behind Kaki’s Remember The Day canvas).

I asked Chloe to design a dragon-themed invite because despite many hours spent combing through Google, I had yet to find a dragon design that worked for a baby shower. Why dragons, you ask? Well, this little one is being born in the Year of the Dragon, specifically the Water Dragon (thus the reference to water drops in the design) – so I wanted to run with that reference. I ADORE the idea of the Dragon as Stork! I have Chloe to thank for that brilliant idea, as my mind had been circling around baby dragons.


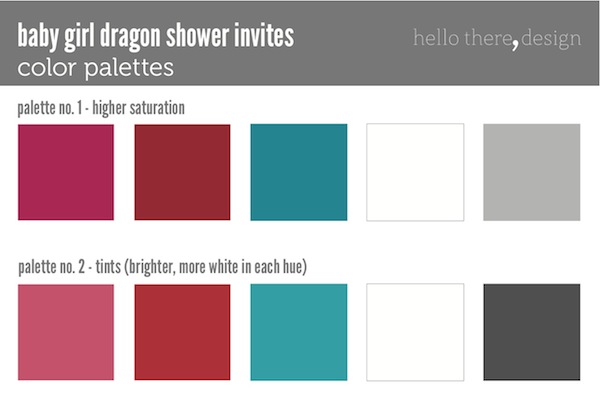
The color palette we developed is what I’ll be using for the shower. I knew I wanted to use a rich pink and turquoise, and dug Chloe’s suggestion of including red as well.

I’m so pleased with the result. And now I’m having a blast scheming the party decor and plans with this invite as my inspiration. I will reveal all those details after the shower so as not to ruin any surprises. But if you know someone expecting in 2012 – may I suggest this theme?  Yes, I may. You can contact Chloe here. If you’re looking for a diaper cake, you can find them at eDiaperCakes.com.

Designs by Chloe Marty
Photos: Courtesy of Ashley Weeks Cart

Pink Ombré Kool-Aid Hair Dye

This is the first of a two part FUN WITH KOOL-AID series. Because this past weekend, I did indeed have fun with Kool-Aid. For dying purposes. Because that stuff is far too creepy to ever allow into my digestive system. It can dye hair and wool, y’all. Clearly not meant for the estomago.

Up first? Pink Ombré Kool-Aid Hair Dye. Because I’ve been having a field day with my hair of late.

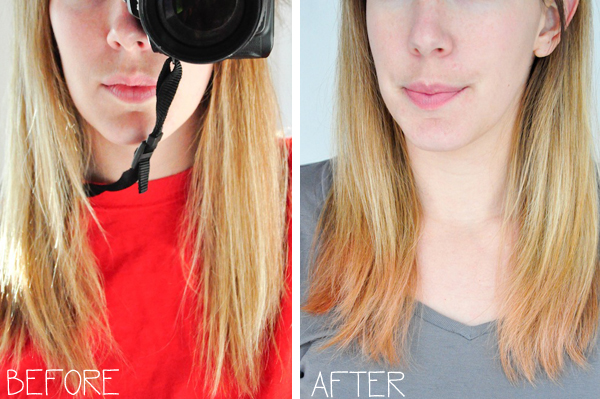
This weekend, my mother commented on the rather dire state of affairs that is my hair. My roots are down to my ears and I have split ends to rival a wheat field. I’m also loosing my hair in clumps thanks to being 5+ months post-partum. This is how I handled the situation when Sunny was a baby. I’m clearly due for a trip to the beauty salon, but thought I’d have some fun with my hair color before it hits the chopping block.

Thus, an experiment in Kool-Aid hair dye (it’s 1998 up in here!) and the new dip dye slash ombre trend.

It’s a really easy, albeit very messy and stain-hazardous project. Here’s what you’ll need and some tips!

MATERIALS:
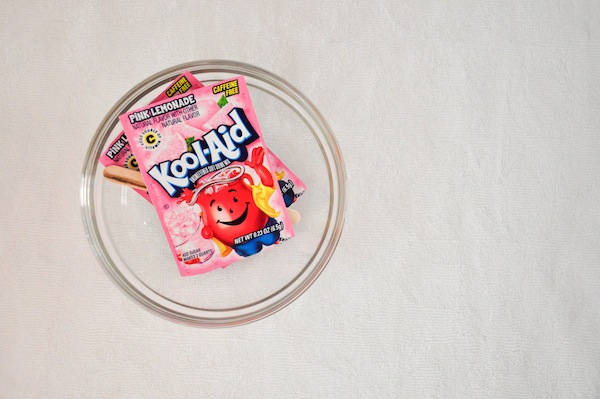
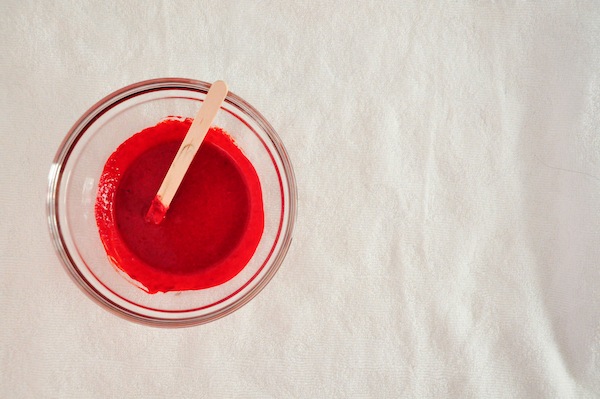
Kool-Aid Packets UNSWEETENED! (I used two pink lemonade and two fruit punch packets to attain this pink hue)
Disposable stir stick (I used a Popsicle stick)
Conditioner
Plastic wrap
Rubber gloves (if you don’t want your skin dyed in the process)
A shirt that you don’t mind staining the intended hair color

You should also consider wearing dallas tape in extensions to provide more layers.

DIRECTIONS:
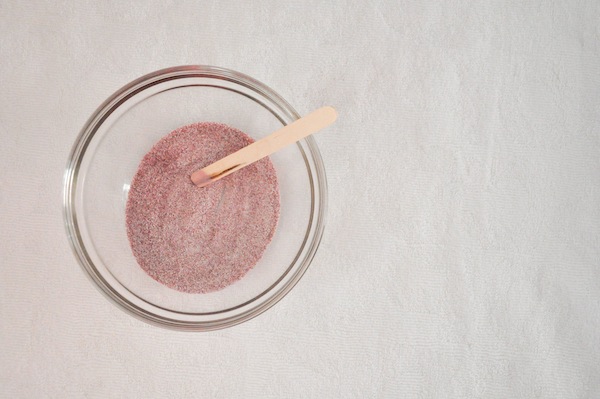
1. Dump the Kool-Aid into a bowl and combine with conditioner. Use only small amounts to start as you’ll be surprised by how watery the conditioner becomes when mixed with the Kool-Aid. You don’t want the mixture too liquidy or it will run everywhere and make an even bigger mess. Be sure to mix until the Kool-Aid is fully dissolved. The consistency should be thick and gloopy (yes, that’s a word) and relatively easy to spread on your hair without lots of runny, bright red mess.  digitalinnovationshow  provides you more information.

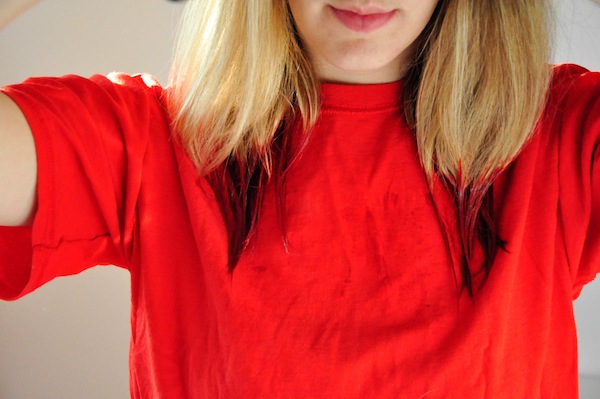
BE WARNED! The stuff does stain! Make sure that you are clothed and surrounded by things that can get messy!

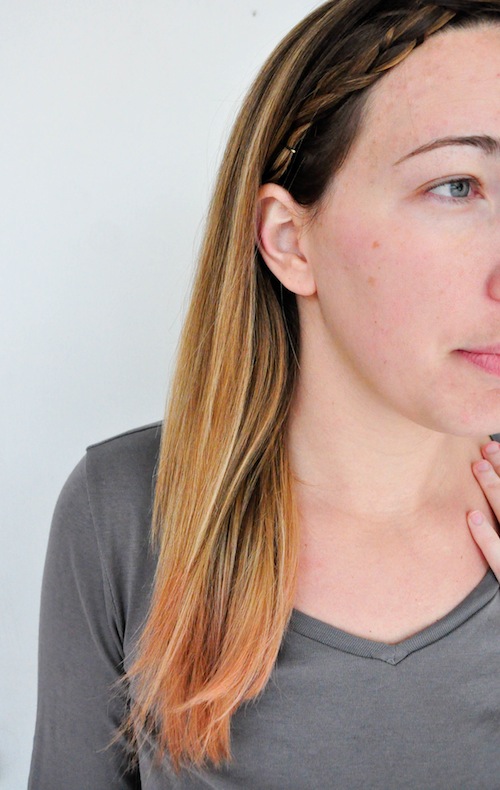
2. Once you have your mixture, slap on some plastic gloves to protect your skin and apply to the hair that you would like colored. I did just the bottom 2-3 inches of my hair.

3. Once applied, wrap in plastic wrap to protect the color and your house. Pin back or tie back so that you can leave the dye on for at least 2-3 hours (if you want a really deep, rich color, I would recommend up to 8 or more hours before rinsing!)

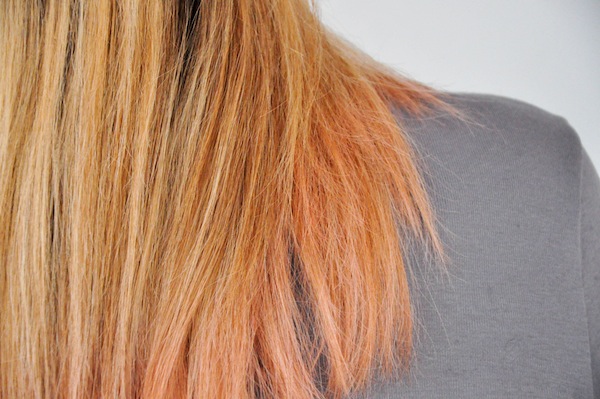
4. When you’re ready to rinse, hop in the shower and be prepared for a bloody mess. It looked like I had staged quite the crime seen as I rinsed out the Kool-Aid. I washed the tips with conditioner, and rinsed until the water ran clear. Then I dried it to see the result. Very subtle – just like I’d hoped. I only left it in 3 hours, so I could have gone for a deeper shade if I’d left the dye in longer.

Fun, no? And best of all, temporary and less intense on the locks than a chemical dye. Also, I can always just chop off the ends of my hair when I am done with the pink and split ends. Natural Hair Dye works
Although, I’m kind of loving this and contemplating a more dramatic dip dye from a professional before a proper cut. What do you think I should do?

Photos: Courtesy of Ashley Weeks Cart

Envelope Liners

Oh my obsession with stationery continues. I’ve designed invitations for a friend’s baby shower (the results of which I shall reveal after the invites have been mailed out so as not to ruin any surprises). While I wait for the printer to deliver the cards, I’ve been prepping the envelopes so I can drop them in the mail promptly.

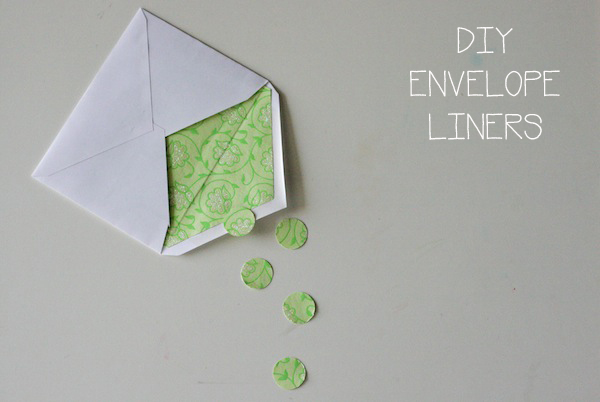
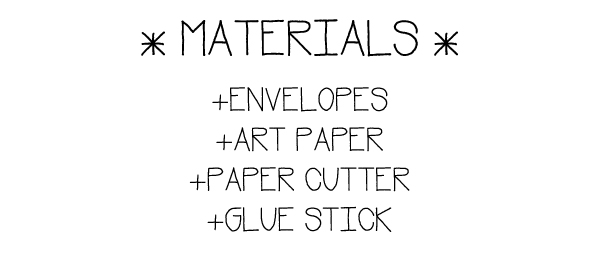
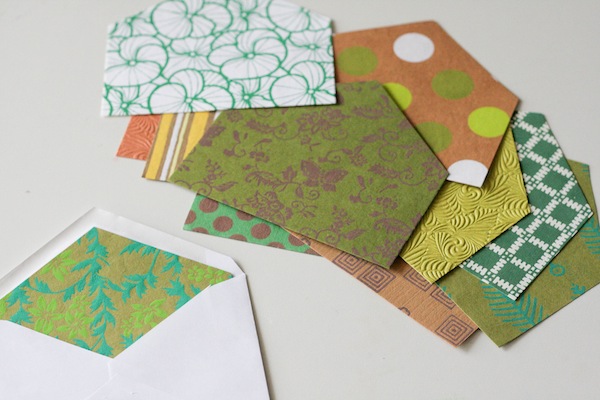
I had a stack  of scrap art paper, and purchased some inexpensive white notecard envelopes, and decided to DIY some liners for the envelopes, in between wiping up sick children’s puke. Yay!

I so adore the playful surprise of an envelope liner. In fact, my wedding invitation was lined with a paper that was embossed with our wedding date. It was such a subtle, lovely detail.

I think this simple DIY provides a similar taste of delight!

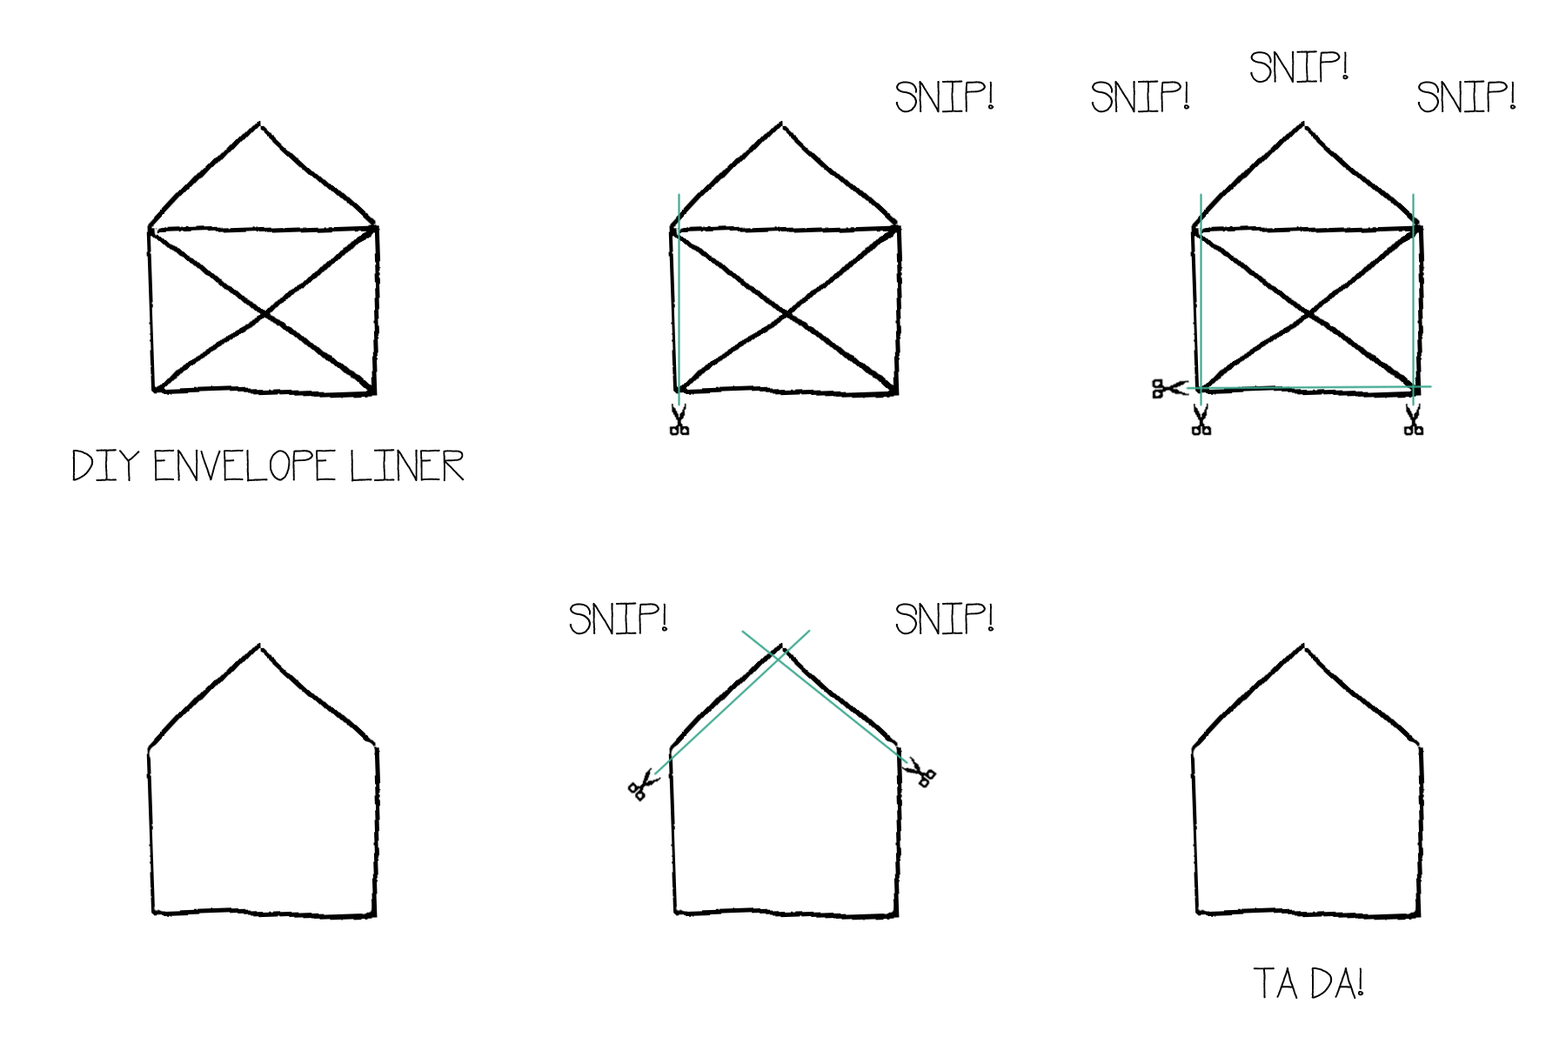
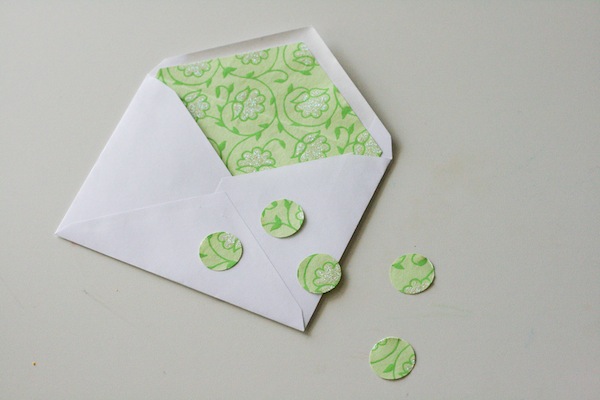
You cut the paper out using a template made from one of the envelopes. See animated GIF for how to cut the envelope to create the template!

You then cut the art paper out using the envelope template.

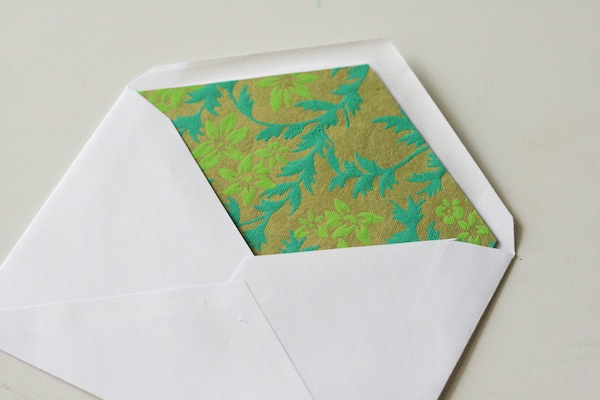
Slide the paper liner inside the envelope…

Secure with a glue stick. Allow to dry…

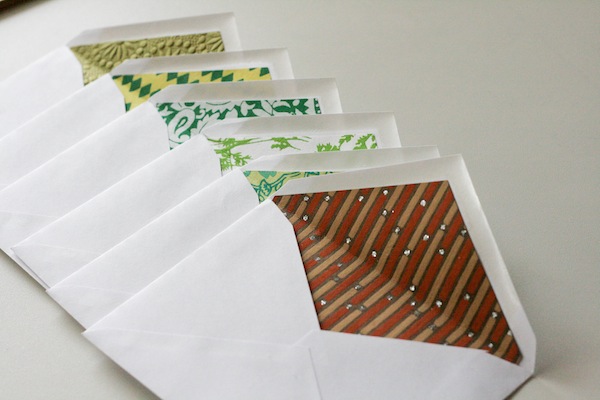
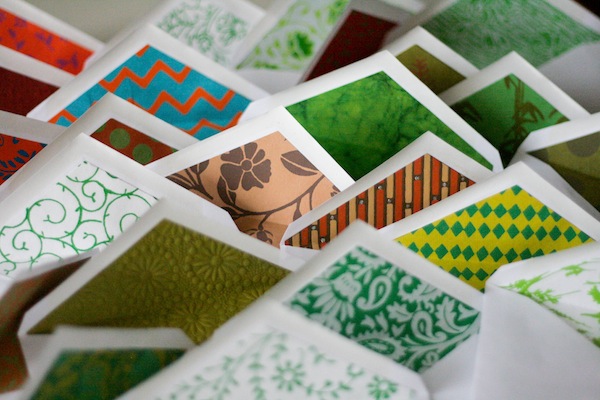
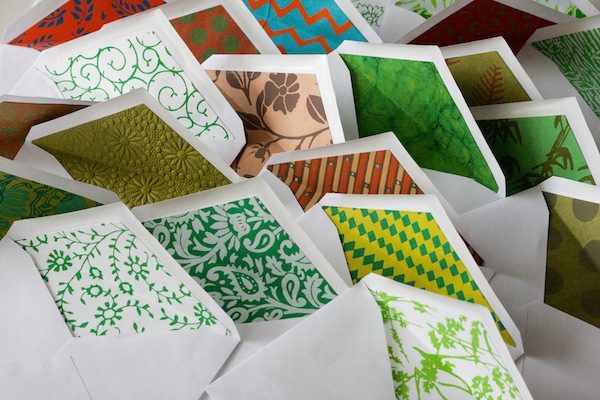
Bam! Envelope surprise!

I am drowning in a sea of colorful envelopes. And I love it.

With the excess paper from cutting out the liners I created jumbo confetti using a circle punch. Yet another unexpected treat hidden inside the envelope!

Photos: Courtesy of Ashley Weeks Cart

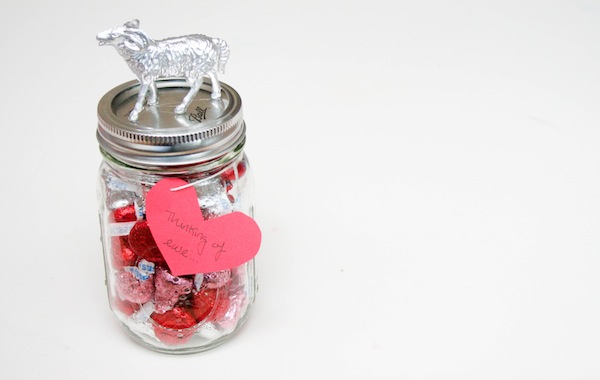
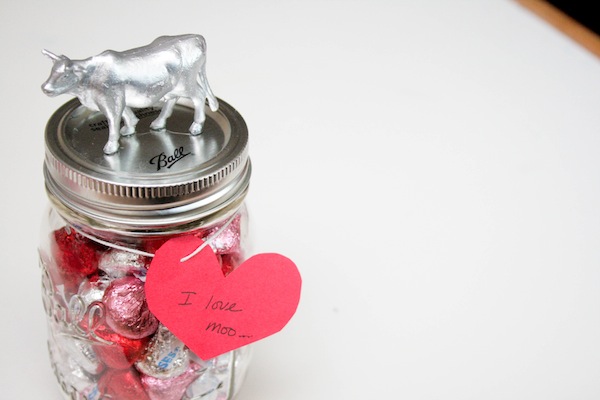
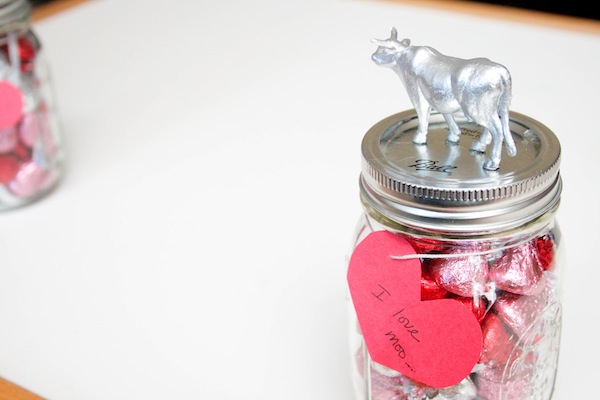
Animal Jar Valentines // made with love

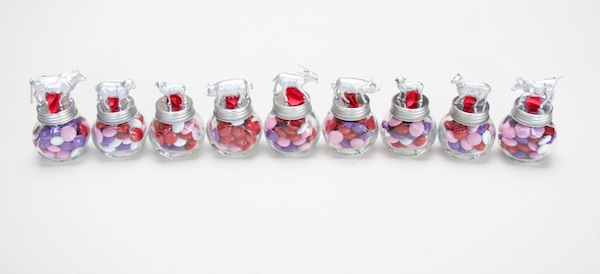
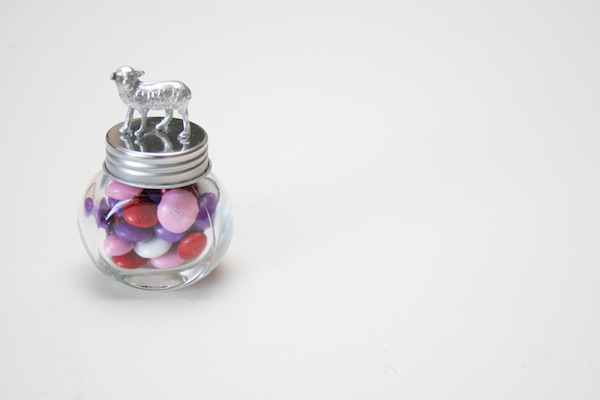
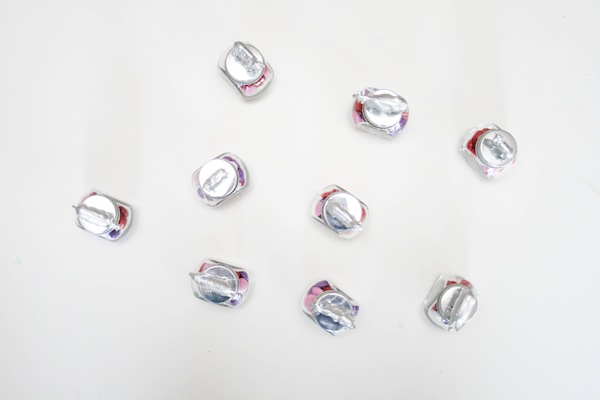
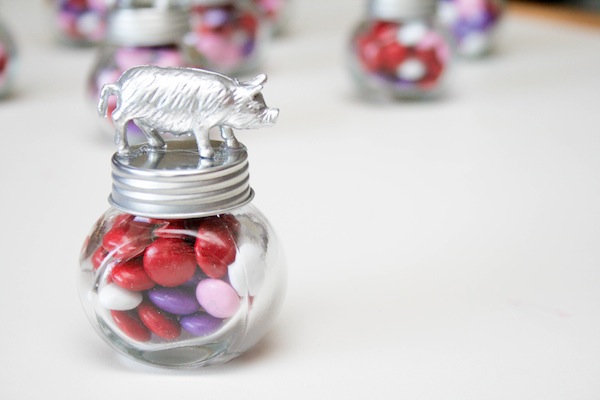
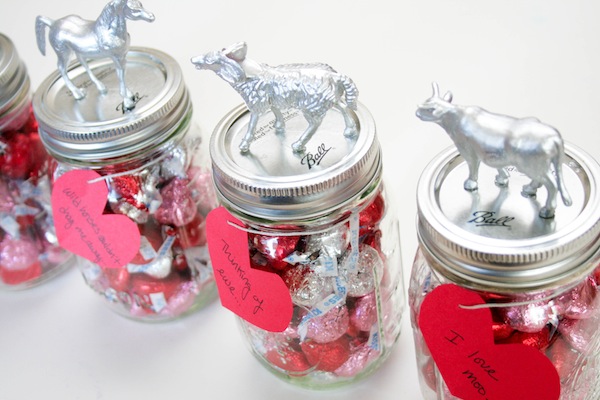
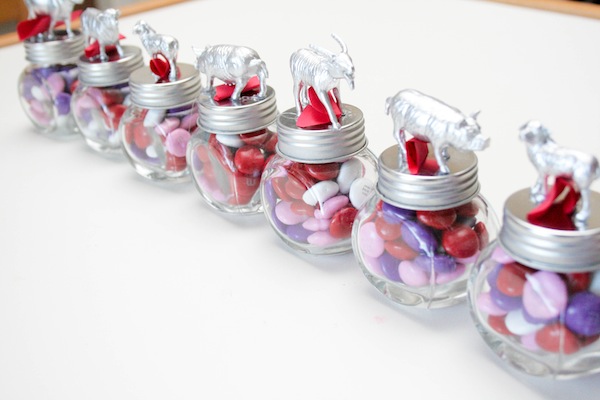
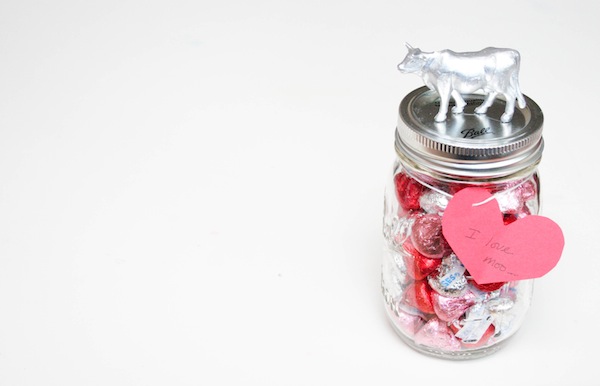
I’m pretty dang pleased with this DIY, if I do say so myself. I made a series of Animal Jar Valentines, filled with Hershey’s kisses and M&Ms to give to friends and my coworkers on Tuesday. They are highly adorable, no?

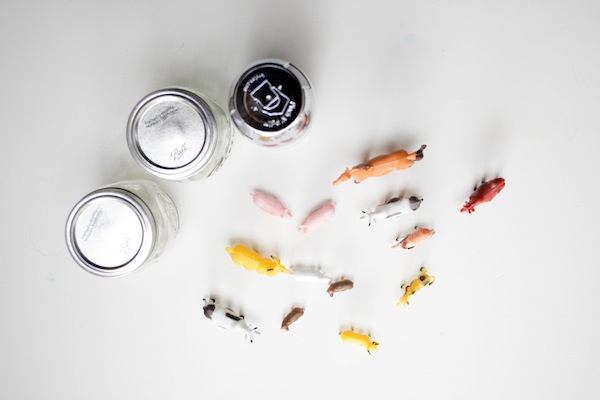
You can use old glass peanut butter or jam jars. Or for a smaller option, baby food jars would be perfect. You can also go out and purchase small jars like I had to. I found these little ones at Michael’s and used mason jars for the larger option.

Sunny proved to be an expert jar filler. Only occasionally sneaking treats for herself.

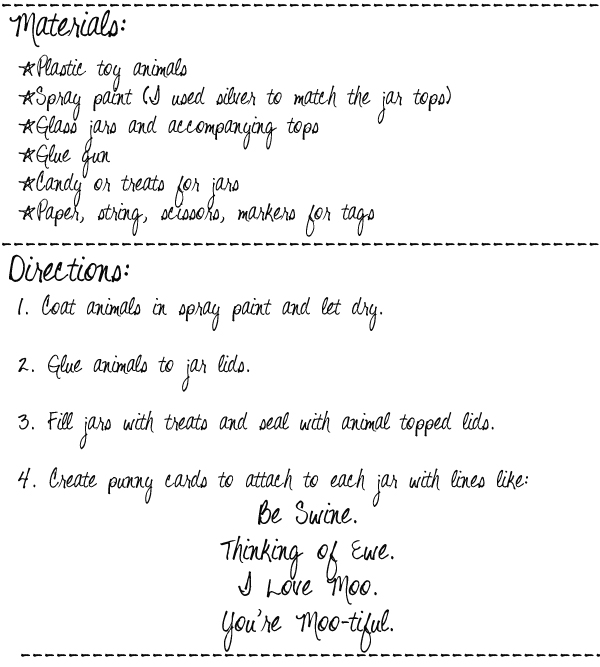
James and I had fun brainstorming punny tags to accompany each jar. I bet you can guess what he recommended I use for the Pig (i.e. pork) jars. I reminded him that that might not be so appropriate for my coworkers to receive. So we went with “Be Swine” instead.

These would make adorable party favors, too. I imagine that I’ll be doing this little project again in the not so distant future.

Photos: Courtesy of Ashley Weeks Cart

Toilet Paper Roll Heart Stamp // made with love

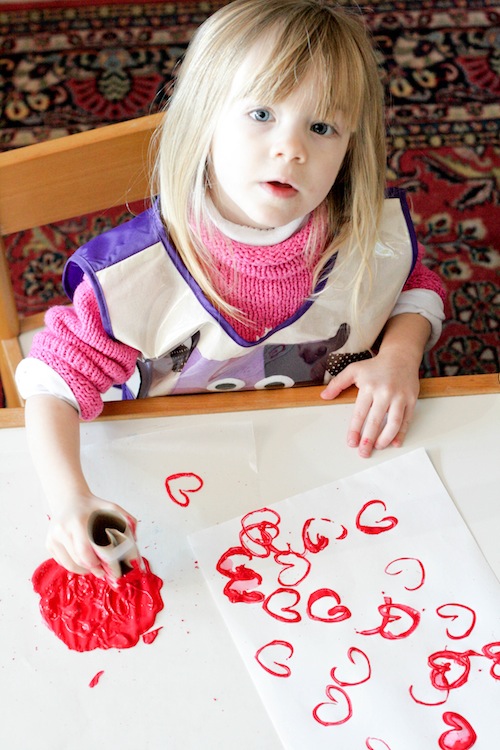
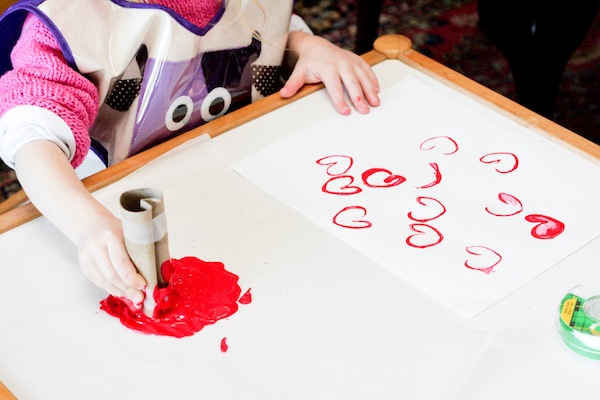
As promised, here is another tutorial that Sunny and I tackled together last weekend. This was such a fun activity for her, and really easy to manage as the parental supervisor.

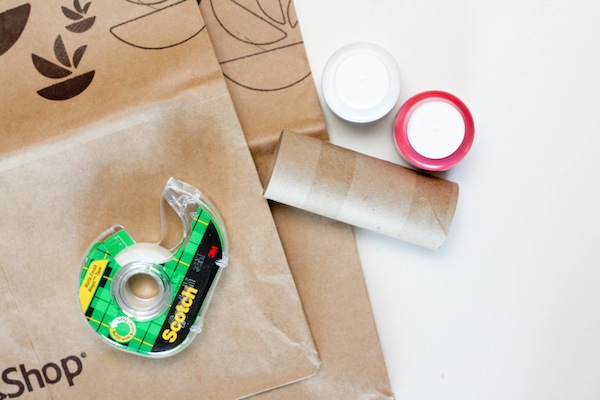
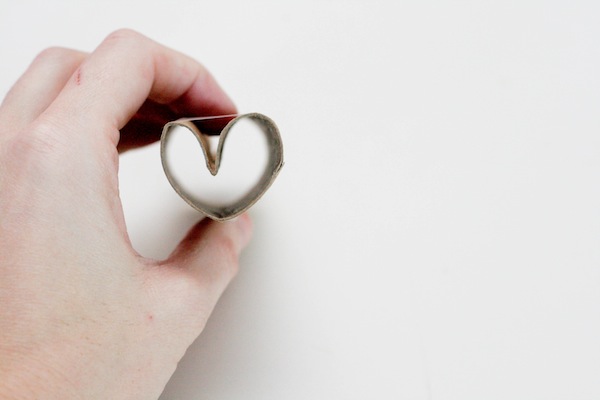
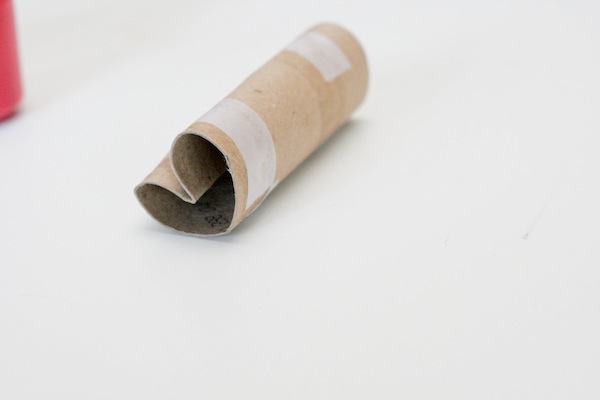
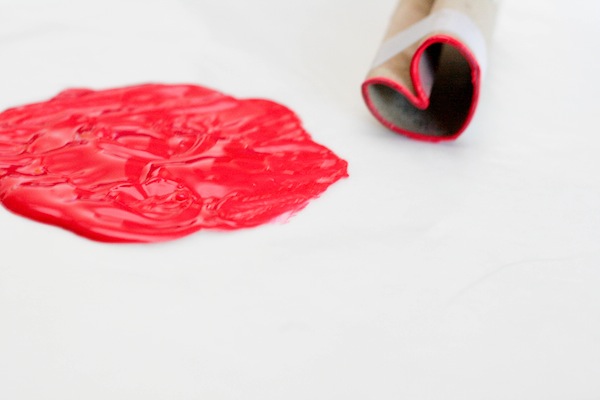
We created a heart stamp using a toilet paper roll and a piece of Scotch tape. Don’t you love a DIY when it is honestly that basic? I sure do!

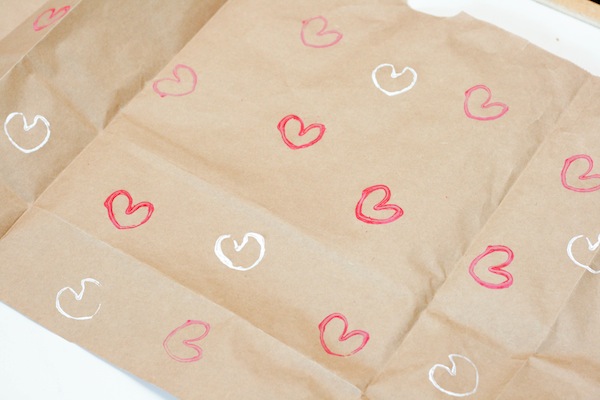
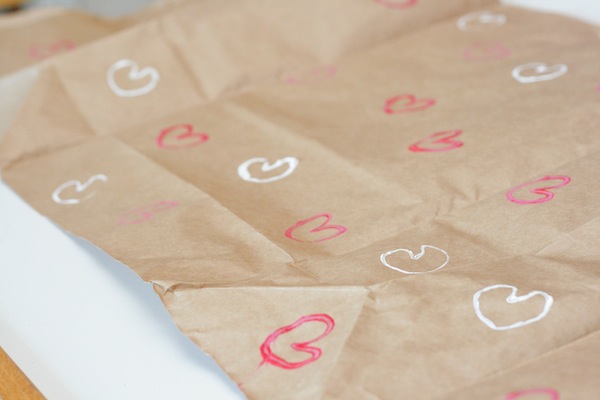
I poured some of Sunny’s washable paint onto a piece of wax paper and let her get to stamping. We stamped some sheets of paper and then some old grocery bags to make wrapping paper for James’ Valentine’s Day present.

I’m grooming Sunny to be the ultimate crafter, can’t you tell?

A sweet, lovely DIY that gives such a nice effect.

Photos: Courtesy of Ashley Weeks Cart

Cloth Diapering 101

I think cloth diapering is thebombdotcom.

Okay, before you click away screaming, bear with me a moment.

I’ve been on the cloth diapering bandwagon since Sunny was an infant, and over the course of my time blogging have been asked a number of times to talk more specifically not just about why I do so, but how. And so, I’ve finally gotten my baby shit together to properly tackle a post on this subject, complete with a giveaway to jump start, or enhance, your cloth diapering, or even just diapering, experience. It might be tough to find newborn baby gifts, especially if you want something exceptionally special and unusual. Clookies new mum hamper singapore has a wide selection of baby hampers to pick from.

GO ME!

Let’s start at the very beginning, shall we?

Why? Why did I decide to cloth diaper?

I wish I could say it was because I was so intent on saving Mama Earth, by treading lightly on her dwindling O-zone, rather than stomping on her yard with years worth of baby shit and diapers.*

(*Frightening fact: Traditional disposable diapers take around 300 years to biodegrade. This means that no traditional disposable diaper has actually biodegraded yet… ewwwww. That makes my skin crawl!)

But while that is a lovely side effect of this choice, it was by no means the motivator.  Honestly, it was because cloth diapering is far cheaper than disposable diapering. And when I was 25 years old, pregnant, and a graduate student, I was open to any experience that might make this whole baby-having-thing a more economical experience. And cloth diapering is one of ’em. Along with making my own baby food and breastfeeding. All lovely choices for many other reasons, but also lovely on the bank account. (I dig this chart for breaking down the cost differential of cloth vs. disposable. Of course those numbers will vary family by family, but it gives you a sense of the potential savings).

Also, after cleaning up the aftermath of a Hanna-shredded disposable diaper, complete with those creepy, bright blue absorbent sticky balls that live inside of the diaper and squarely on a baby’s crotch, I liked the idea of having my child’s tush covered in an all-natural fiber rather than chemical-filled sponge.

Don’t get me wrong, we still use disposable diapers. Particularly for bedtime as, due to all those crazy chemicals, the diaper works so effectively that the baby doesn’t wake when she wets herself in the middle of the night. The potential health risk is outweighed by the health benefit of a solid night’s sleep. Much like I said in this post, I stand by the mantra, “Everything in moderation.” The more hardcore cloth diapering mamas of the world would call me a fraud, but sometimes convenience wins. And I’ll be the first to admit that.

ANYWAY! Back to the whys….

Cloth diapered bums are sickeningly adorable. Period. Fluffy and adorable and badonkadonk.
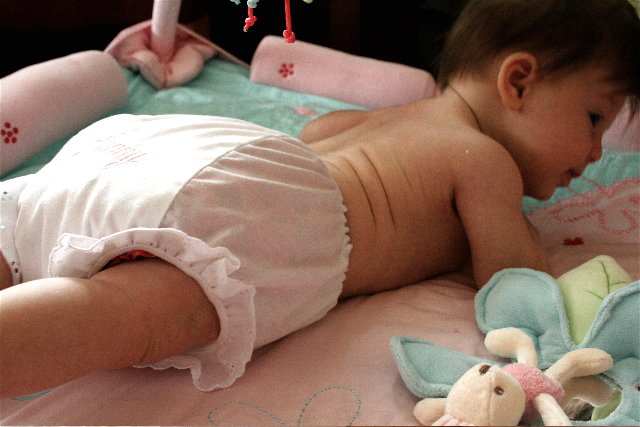
The cover choices are a delight, and add joy to a demand that is otherwise not.
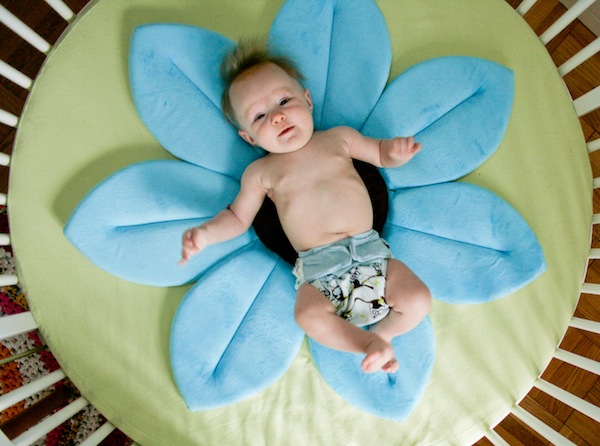
So, yes, for economy and cuteness and health and the love of Mama Earth, on the cloth diapering train I climbed.

How? How do I approach cloth diapering?

I could give you the long drawn out story about how I arrived at my current cloth diapering habits, but it’s truly unnecessary. After some trial and error and easing into the process with a diaper service in L.A., I’ve now landed on a cloth diapering method that works wonderfully for me and my family. And it goes like this…

First of all, since we no longer use a diaper service, we invested in a solid, energy-efficient washer and dryer. I love them. Note: For more efficient drying, I highly recommend the use of felted wool dryer balls. You can purchase them via the wonders of a Google search or follow my DIY tutorial here.

The rest of our gear is as follows:

1. Heavy Duty Diaper Pail, $50
2. Two XXL (14 gal) Diaper Pail Liners and a Small Wet Sack for the diaper bag, XL $20, S $7
3. 18 Indian Prefolds in Infant Size, 18 Indian Prefolds in Regular size, Infant $1.50 per diaper, Regular $1.75 per diaper
4. 6 Grovia Shell Covers (I prefer the snap closure, as the velcro is a pain in the wash. And snaps stand up to a toddler well), $17 per cover
5. Rockin’ Green Soap, $16
6. 15-20 Reusable Wipes, $1.25 per wipe
7. Mother Herb Baby Wipe Concentrate, $10
8. Carbon Filters, $4
9. Mother Herb Baby Powder, $8.50

That’s about $300 worth of gear to get started. Of course, you can hold off purchasing the regular-sized Indian prefolds until baby has outgrown the infant size. We transitioned Courtland around 2 months, but we have monstrously large children, so I’d imagine that 3-4 months is average. Fortunately, we’ll be able to use the regular-sized prefolds until Courtland is potty trained. Woo!

The great thing about the Grovia shells is that they are a one-size fits all, so you don’t have to continuously invest in diaper covers. And given that diaper covers are one of the pricier items, this makes a huge impact on savings. I am seriously in love with the Grovia covers. You use the snaps across the front of the diaper to expand the shell as your child grows. It is brilliant. If Sunny were still in diapers, this cover would accommodate her nearly 3-year old bum. And we’ve been successfully using these covers on the smallest snap closure since Courtland was a newborn.

A note about the Indian prefolds: You’ll want to purchase these in advance of baby’s arrival and “prep” the prefolds in the washer and dryer. Essentially, you need to hot wash and dry the cloth 5-8 times in order to shrink the cotton and get maximum absorbancy from the diapers. Just a head’s up!

THE PROCESS:

It’s sickeningly easy. Promise. And you’ll wow your friends (which I always find amusing as it is seriously so simple!)

1. Line your diaper pail with one of the large wet sacks, and load the carbon filter into the round hole on the pail’s top to help control odor (although I honestly find that there is minimal smell. The pail really seals it in). You’ll have the second large wet sack on hand for when you dump this load into the washing machine. (Obviously your baby keeps needing her diaper changed even when there’s a load of diapers in the laundry.) I also keep a small wet sack in our diaper bag for when we’re cloth diapering “out in the wild.” You can always just use a plastic bag, although the wet sack is more sustainable and can be tossed in the wash with the rest of the cloth diaper loads.

2. To prep your cloth wipes, mix up a solution of the diaper wipes according to the directions. Put the solution in a sealed plastic container (like an old disposable diaper wipe holder) and fill with a number of cloth wipes. It’s useful to have these already soaked and on hand for when baby is changed.

3. To diaper baby, lie the prefold down against the Grovia shell, with the thick center panel of the cloth of the prefold lying against the center of the cover. See diagram for how to fold.
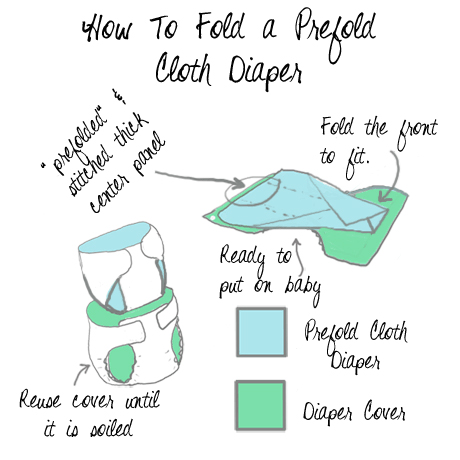
IMPORTANT: Be sure to tuck all the cloth inside the cover, especially the pieces that tend to stick out the leg holes. If you don’t, baby will get damp because the cloth will soak the clothes. If it’s safely tucked inside the cover, unless baby pee’s a lake, she’ll be dry.

Note: We purchased snappis to hold the prefold in place, but we’ve found that the Grovia shells do a bang up job of holding the prefold in place so there is really no need.

4. When baby is wet or soiled, you’ll know much sooner than with a disposable. Baby will feel it right away and let you know. Or you can always do what James calls the “dip stick test,” and use your finger to see if the diaper is wet. Hey! You’re a parent! Bodily fluids don’t scare you!

5. When you change baby, just drop the wet or dirty prefold directly into the diaper pail. If the cover has not been dirtied, just lie it out to air and use a dry cover. If the cover is soiled, drop it directly in the pail as well. Once baby starts solid food, you’ll need to drop the poop into the toilet before throwing it in the hamper for laundering. Prior to solid food, no need! Seriously! And even once the poop is a little more, um, real, just get the larger pieces into the toilet. No need to scrub the diaper. Just plop, then drop. Not too scary. Promise. I mean, shit is shit. You’re going to be dealing with it regardless.

6. When you have only 5-6 clean prefolds left in your arsenal, it’s time to fire up the washing machine. Remove the wet sack from the pail and dump all of its contents, including the bag, into the washer. Fill the pail with the second large wet sack so you can continue to cloth diaper during the wash.

7. The first cycle should just be a cold wash, NO SOAP. I opt to do a prewash or second rinse to really get all the gunk rinsed out of the diapers.

8. For the second cycle, run a HOT wash, with a scoop of Rockin’ Green Soap. It’s the stuff of magical elves. AMAZING! I also run a second rinse here to be sure that the diapers are fully cleaned.

9. I then toss everything, but the covers, into the dryer. To keep up the elasticity of the covers, I choose to air dry them, but they can certainly be tossed in the dryer if you need a clean cover, STAT.

10. If there are stains on the cover or prefolds, you can purchase a soap like Imse Vimse Diaper Stain Bar to help remove the spots. Stains don’t bother me, as the diapers are going to be repeatedly soiled, so it’s not really worth the scrubbing effort to keep ’em stain free. Although, I occasionally do use Mother Earth’s bleach, the sun. On a bright day I’ll lie the covers and stained cloth out in the sunshine and I’m always amazed by how quickly those spots disappear.

And that’s it. For realz. Not too crazy or labor intensive or poop covered, eh? And best of all, I rarely, if ever, experience blow outs when my kids are in cloth diapers. When they’re wearing disposables? Forget it! I’m guaranteed to wipe their shoulders clean of feces. So kudos to cloth diapers for actually minimizing my run ins with bodily fluids.

Questions? Leave ’em in the comments and I’ll try to help out! Remember, there’s a number of ways to approach cloth diapering, this is just what works for the Cart household. As always, do your homework and learn what might work best for you! I recommend Cotton Babies to jump start your research.

So you’d like to win a pack of goodies (valued at $80!) to jump start your cloth diapering habits? Well, today’s your day. You can win:
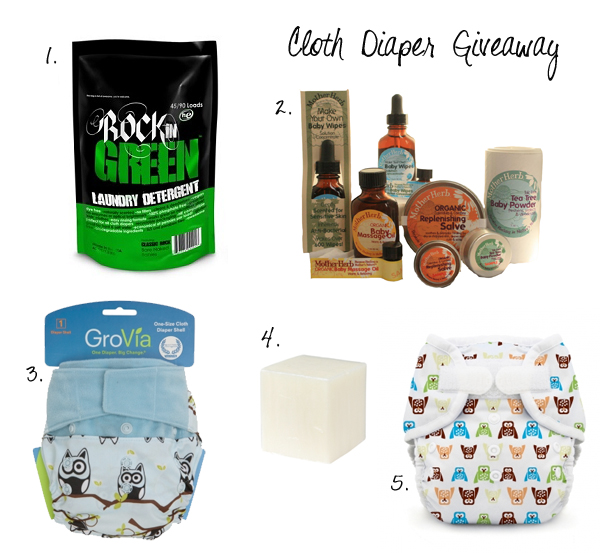
1. A bag of Rockin’ Green laundry detergent
2. Mother Herb Make Your Own Baby Wipes, Replenishing Salve, and samples of Baby Powder and Infection Rejection Powder.
3. An Owl Grovia Shell
4. Imse Vimse Diaper Stain Bar
5. Thirsties Duo Wrap ‘hoot’ shell (3-5 are thanks to Shima Boutique, a beautiful, local shop that is filled with all-natural, organic baby toys and gear. It is my go to boutique for all things mama and baby, and lucky for all of you, they have an online store!)

Here’s how to enter:

• leave a comment below telling me why you want to win this amazing pack of goodies!

for an extra chance to win…
follow me and Rockin’ Green on Twitter, then tweet the following phrase (then, come back here and share a link to your Tweet in the comments): Did you catch @tweetalacart’s mega cloth diaper giveaway with @rockingreensoap. I just entered!: http://blogalacart.com/2012/02/clothdiapering/

another chance to win…
‘like’ me and Shima Boutique on Facebook, then come back here and tell us you like us, you really like us! in the comments.

yet another chance to win…
snap a pic of the babe that will benefit from all these goodies and post to my FB page or post to Instagram and tag me in the post @igalacart.

and one final chance to win…
subscribe to my blog, then come back here and let me know that you’re reading along in the comments.

Make sure you enter a valid email address in the email section of the comment box so I can contact you if you win!
The winner will be chosen next Thursday, February 16th at 12pm EST. Open worldwide. Total Value: $80

GOOD LUCK!
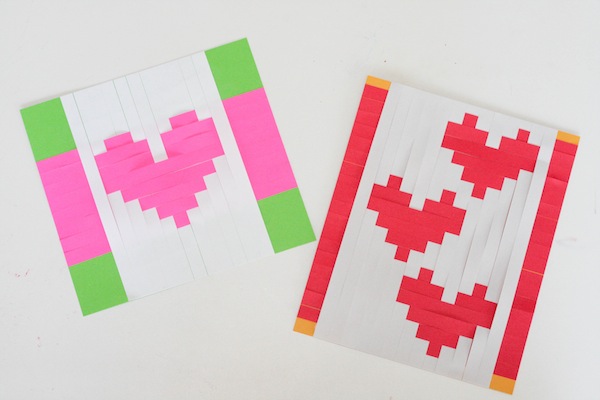
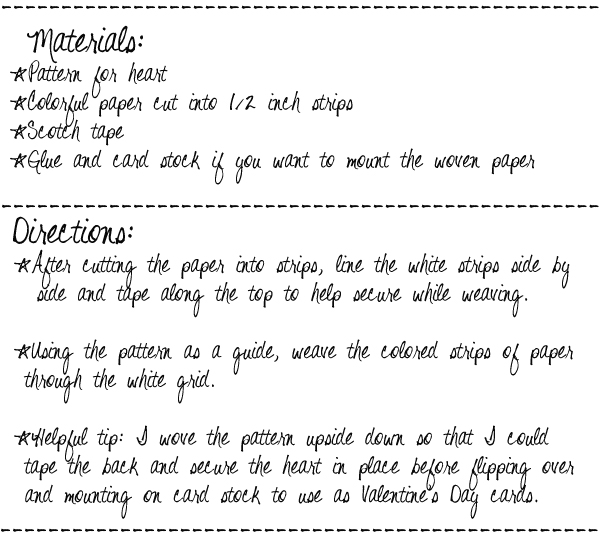
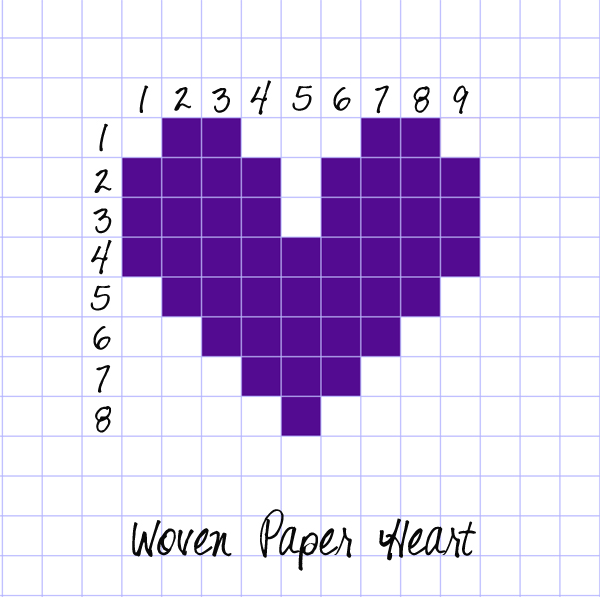
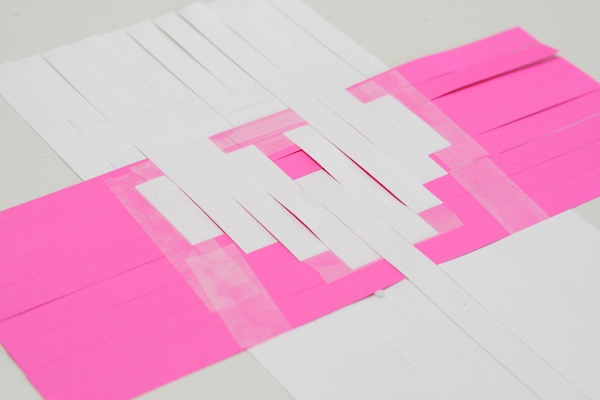
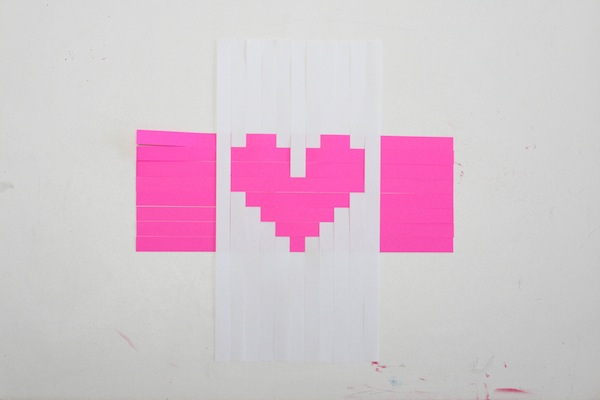
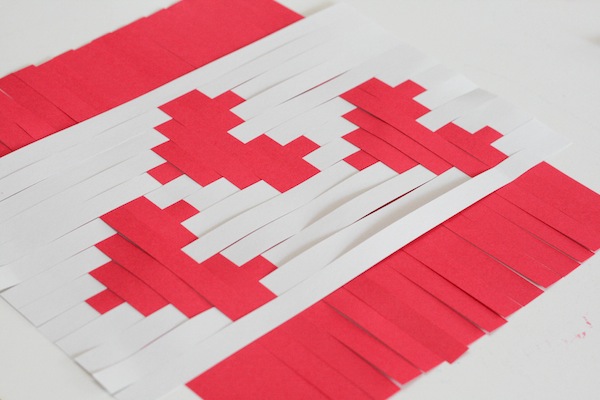
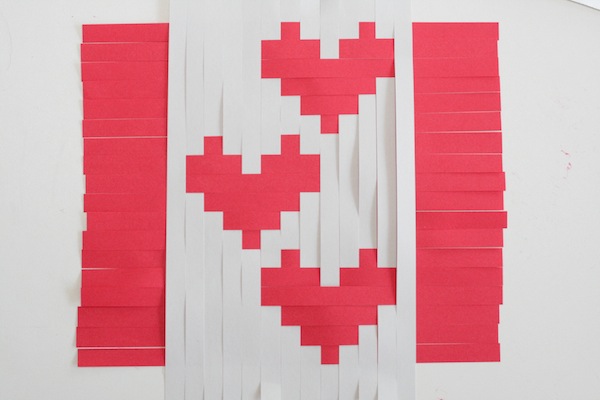
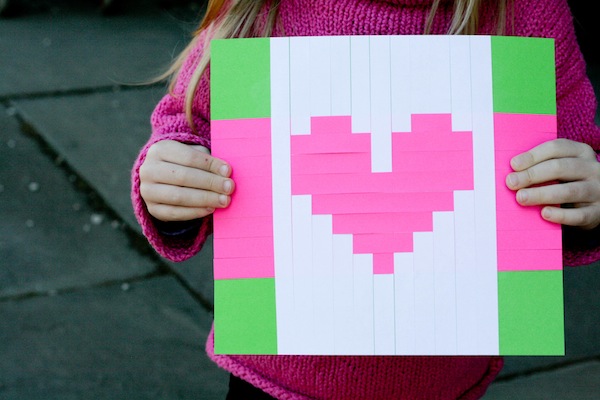
Woven Paper Heart // made with love

Sunny and I spent our Saturday afternoon crafting up a storm in preparation for Valentine’s Day. During this particular project, Sunny joyously glued strips of paper to one another, proclaiming that she was building an “airplane,” while I struggled to restrain myself from cussing up a storm due to the maddening patience it required to weave these hearts.

Was it worth it to infuse my daughter’s vocabulary with a bit more, um, color, shall we say? Absolutely. These Valentine’s Day cards are going to dominate the preschool classroom.

Expect a few more heart-related tutorials in the coming days.

Photos & Design: Courtesy of Ashley Weeks Cart

Wool and The Gang

As you read yesterday, James and I are burning the midnight oil. Very literally. But that of course has not stopped my crafting compulsions. My fingers yearn to knit, y’all.

Did I honestly just write that? I did. And I meant it. Because I am an unabashed knitting nerd of late.

This weekend, after the kids were in bed and James was holed up reading applications, I turned to marathon episodes of “Private Practice” and a sweater kit from Wool and The Gang (they are my current obsession, btdubs). Why go to bed at 9pm like a wise and pro-active sleep-deprived adult when I could stay up knitting until midnight, right before the baby awakes for her first of many nightly feedings? Because reason and sleep deprivation do not coexist. Those two states cannot possibly exist in tandem. It defies logic, which is the hallmark of sleep deprivation.

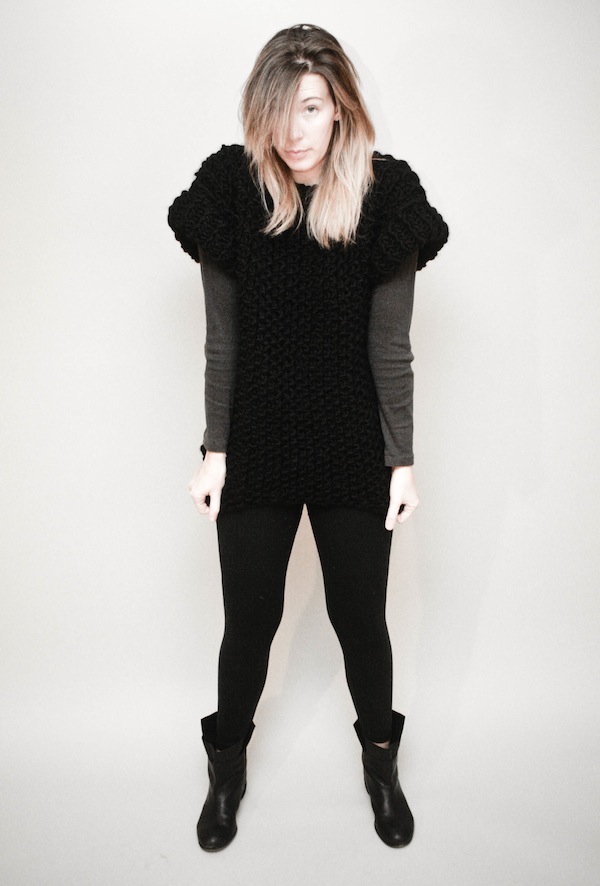
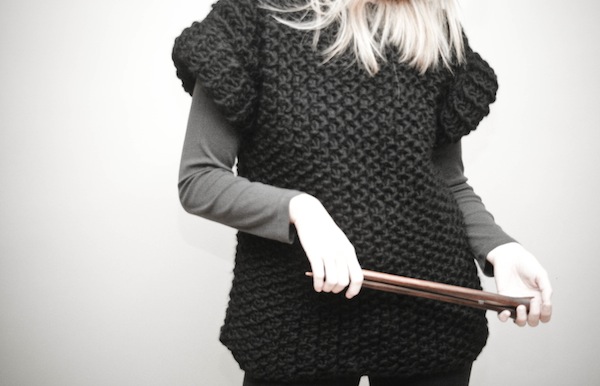
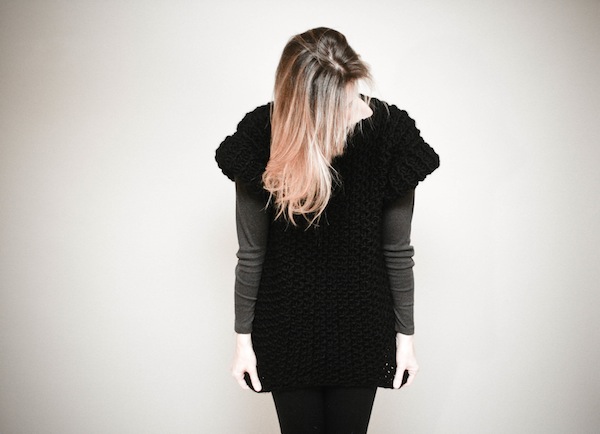
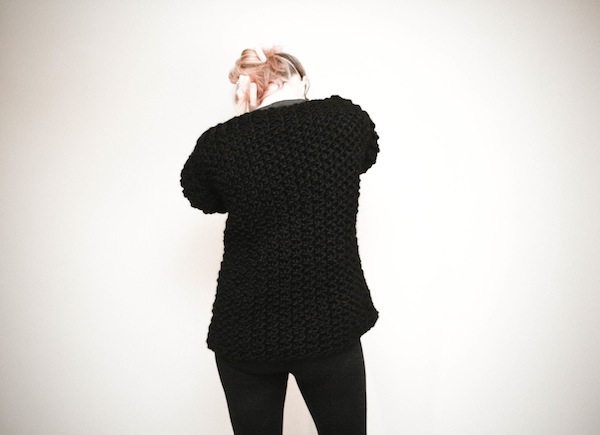
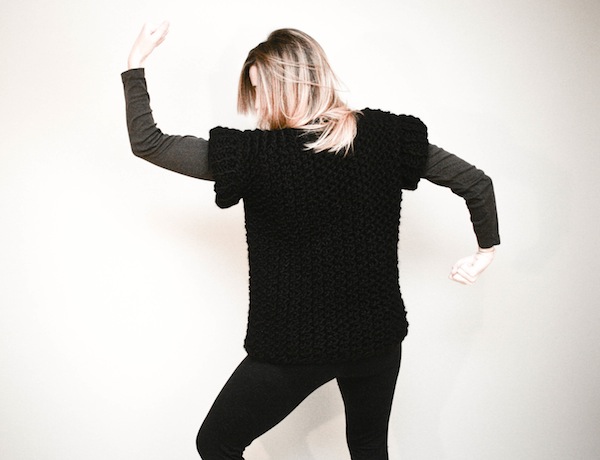
The good news is that I have this cozy, bomb diggity sweater to show for my poor judgment (plus, I’ve never knit an adult-sized piece of clothing, so that’s pretty nerdy cool). The bad news? I now have photo documentation confirming (as though it required confirmation) what a hideous process it is to grow out one’s bangs AND that my roots are in desperate need of some blonde luvin’.

NOTED!
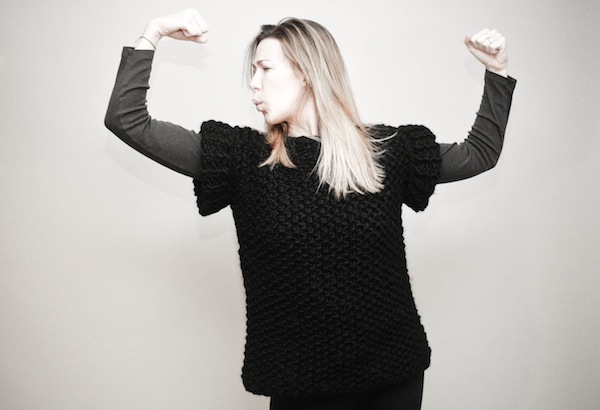
I pounded this project out in two days, thanks to the ginormous needles it required. Seriously, my biceps are killing it right now.

For whatever reason this sweater compels me to flex. It’s something about the chunky sleeves that make me feel like a super strong football player. I’m totally channeling Tom Brady (because I love him (YES I DO!) and he’s the only football player I can name off the top of my head. <Sigh> Way to let embarrassing confessions fly!).

If you’re not a knitter, you can purchase a Ready to Wear version of this sweater here.

Now, off to New Orleans! Alas, I did not pack this sweater because it is essentially the size of my suitcase. And, as I am traveling with the Reverse Peristalsis Extraordinaire (Miss Courtland Whaley herself), I did not want to be responsible for having to hand wash this shit in a hotel sink when it inevitably would get hosed with regurgitated milk. To be honest, I doubt it would even fit in a hotel sink. Size efficient, it is not. Awesome, however? Hell yes.

Photos: Courtesy of James W. Cart

Pom Pom Beanie

As some of you may know, Kimmy and I are phasing out Green Eyed Monster. Thus, I’ll be migrating all of my tutorials and DIYs to this space. I’ll now be sharing all of my scattered interests here. Fun for you! If you aren’t interested in my crafty side, forgo these posts. And if you’re not interested in maternity musings and the onslaught of photos of my family and daily life, forgo those. Easy peasy!

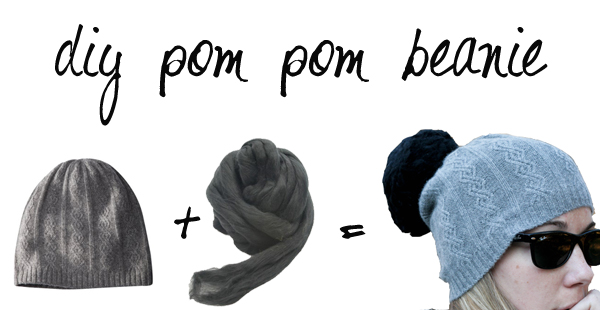
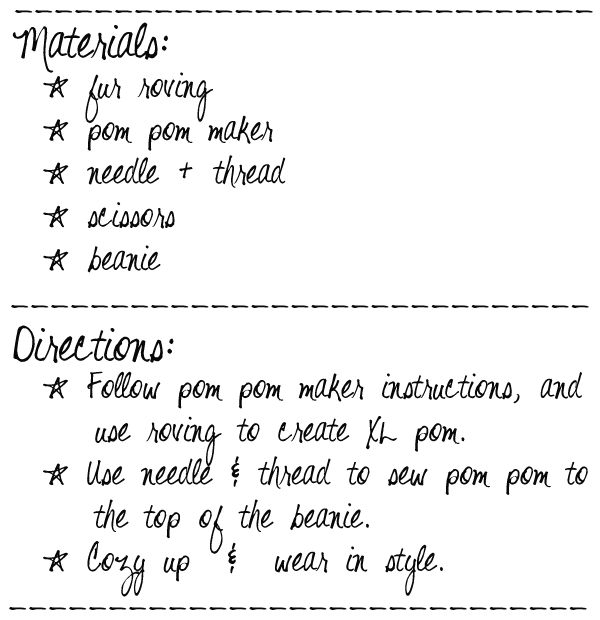
First up, DIY Pom Pom Beanie. This was one of a number of projects I tackled over the holiday break. Definitely the quickest, providing instant gratification. Totes my kind of craft.

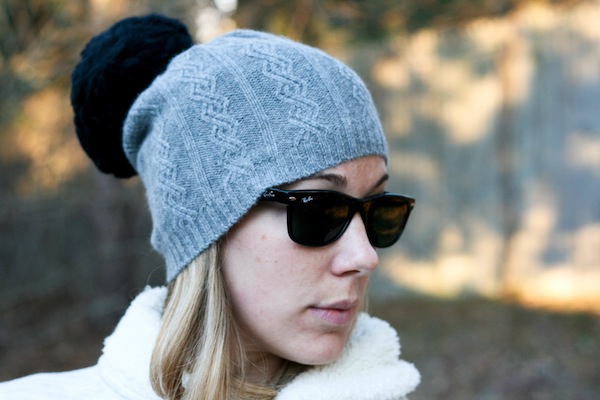
I saw a cashmere beanie with a authentic fur pom pom at a cute boutique in Lenox, MA for $98. Rather than splurge on that item, I opted to scoop up this cashmere Target beanie (on sale for $13 – score!) and use my XL Pom Pom maker and a ball of black fur roving to make up a pom for the hat. With a large tapestry needle and some black embroidery thread, I stitched the pom on the cap, and POM POM! I now have a very similar look, for a fraction of the price.

Don’t forget to socialize: Twitter, Facebook, Instagram (username: IGalaCart), Pinterest and via RSS.