Crayon Stained Glass Hand & Feet Turkey
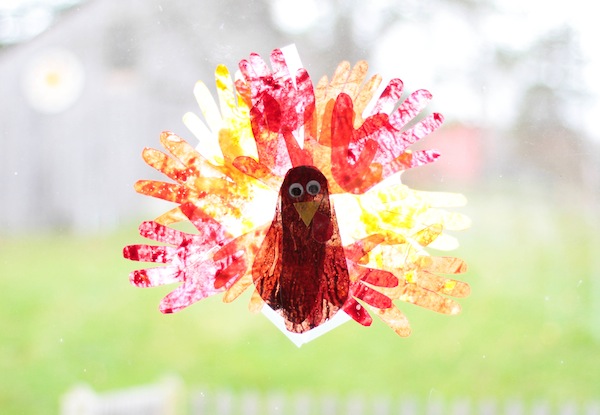
It’s time, my friends. October has passed. The election is behind us. Thanksgiving can now properly come into focus as I ready my belly for the gluttony in two weeks time. We’ll be hosting my family in Vermont, so I’ve begun compiling my recipe/grocery list and planning a festive table setting (duh, we love to set the table in the Ulmer family). Sunny and Courtland helped me with our first Turkey Day addition to the house: Crayon Stained Glass Hand & Feet Turkeys (the longest craft name in the history of DIY)
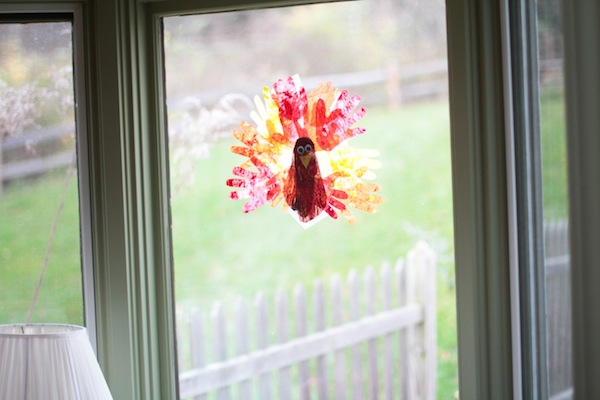
You can always do this project without making the wax paper/crayon stained glass using colored paper, but I liked the idea of the turkey being displayed in the window bay of our kitchen’s breakfast nook!
Materials:
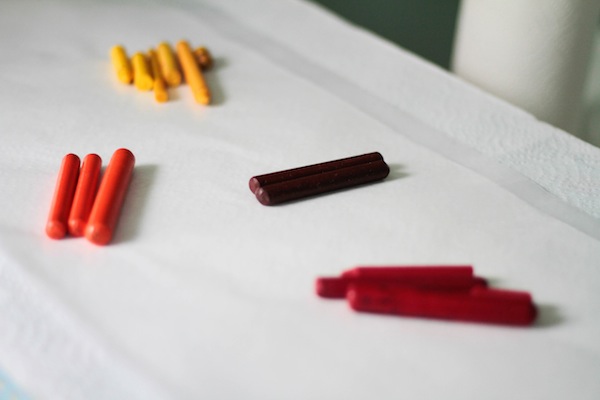
Crayons in the colors of your choosing (I went with autumnal colors: browns, yellows, oranges and reds)
Vegetable peeler or crayon sharpener
Wax paper
Paper towels
Iron
Marker for tracing hands and feet
Scissors
Glue or transparent tape
Googley eyes
Directions:
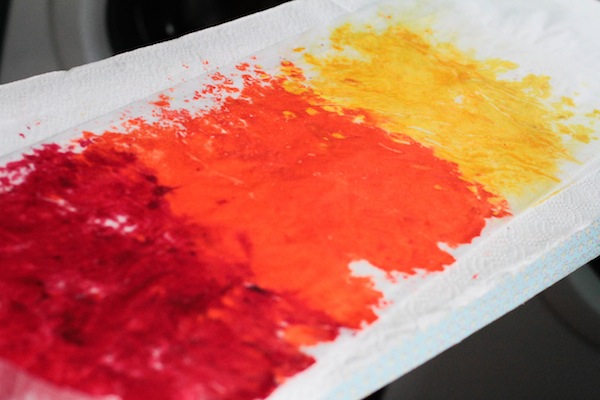
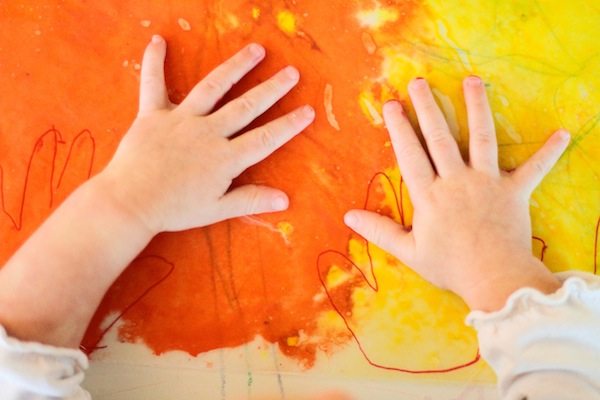
1. Start by using the vegetable peeler or crayon sharpener to grate the crayons into smaller wax flakes or bits. I recommend peeling directly on the sheet of wax paper (with paper towel layered underneath) in the color pattern you want the final ironed wax paper. I chose to color block the crayons, allowing for a little bleed over at the borders of each color.
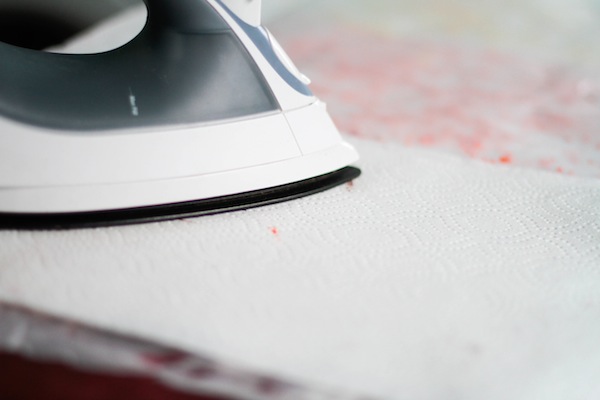
2. Once you’re finished laying out the color, place a sheet of wax paper on top of the crayon, aligning it with the sheet of wax paper underneath. Then place paper towels on top of that to help protect your iron during the ironing process. Using your iron, iron the wax paper, causing the crayon bits to melt and bleed together and the wax paper to fuse
3. Allow to cool.
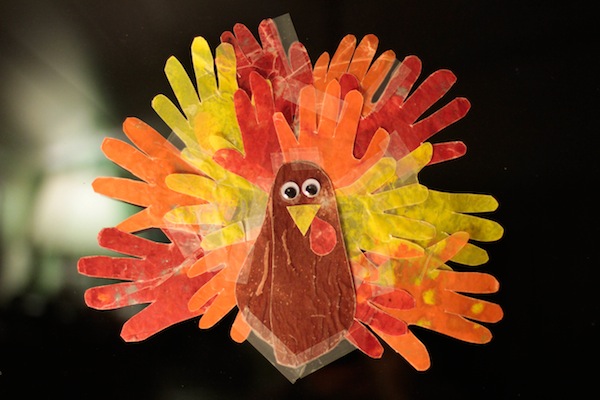
4. Then trace and cut an array of hands from each of the colors. For the turkey body, you’ll want to trace two feet (just the border of the toes, not each individual toe). I used both Courtland and Addison’s hands and then Sunny’s two feet in brown.
5. Once all the hands and feet are cut out, assemble your turkey. Align the heels of the feet for the turkey’s head and spread the bottom of the feet out for the body. I then attached two eyes and a beak and wattle (that I’d cut out from extra wax crayon paper) to the turkey body using Mod Podge. For the plummage/feather, spread the hands around the turkey body, alternating colors. I used transparent tape to secure.
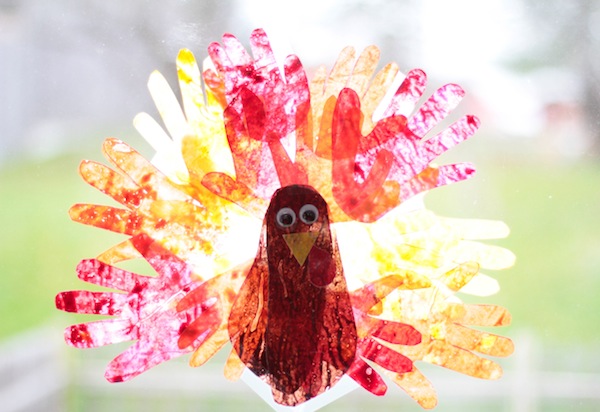
6. I then used the tape to secure the turkey to our window and was greeted in the morning by this lovely, stained glass effect. It’s a nice momento to document your kids’ size and a silly decoration for the Thanksgiving season.
Gobble, gobble!
