Blog a la Cart

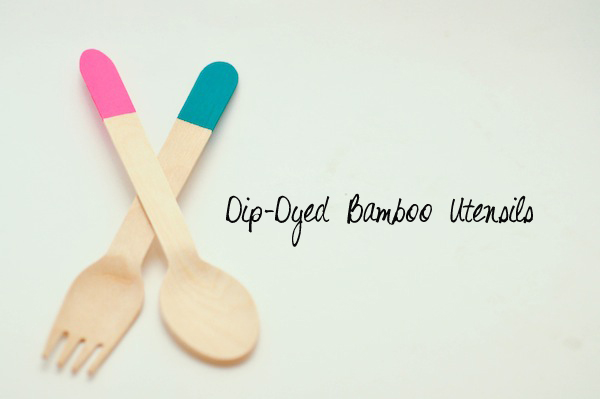
Dip-Dyed Bamboo Utensils

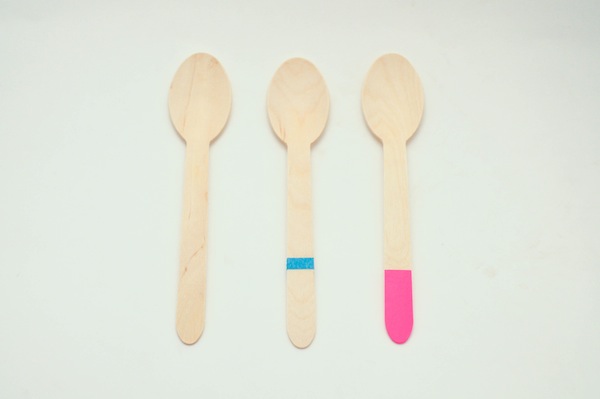
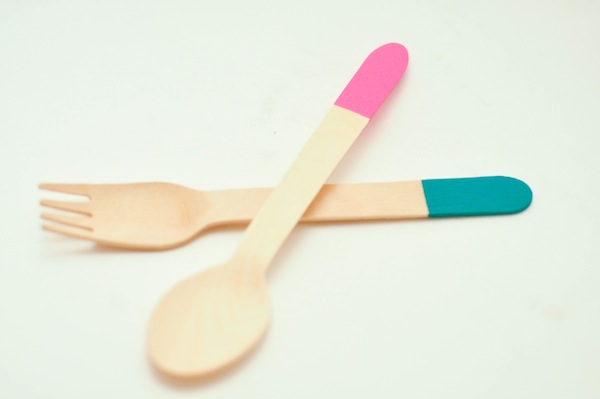
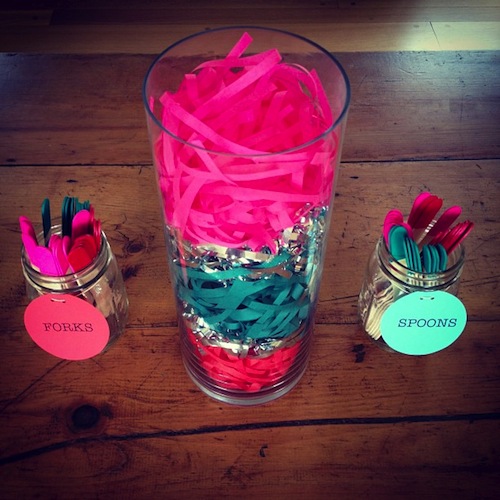
This is one of the projects I tackled for the baby shower. I was taken with the idea of using disposable bamboo utensils, but unwilling to fork out the dough for the pretty painted versions I kept spotting ’round the Interwebs. Enter: DIY Dip-Dyed Bamboo Utensils.

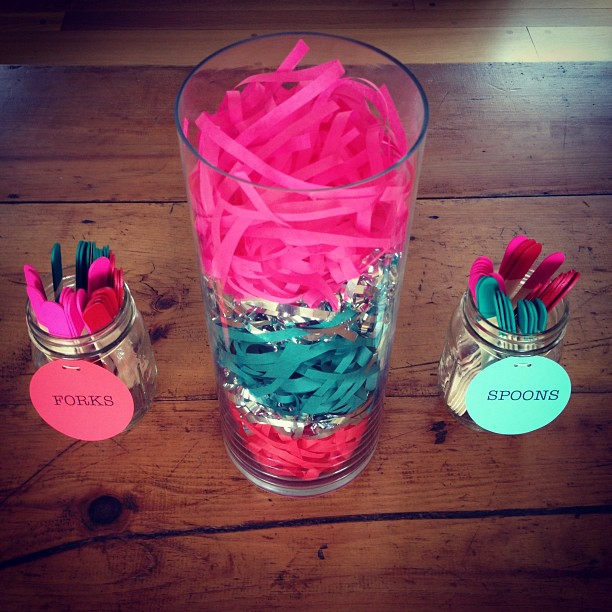
I purchased them in bulk from here. $5.50 for 100 forks? Yes please! Then I selected three small vessels of acrylic paint in the party’s color palette, and during an evening watching marathon episodes of “The Tudors,” I made 30 forks and 30 spoons for the festivities (10 of each color).

MATERIALS:
Acrylic paint
Painters tape
Bamboo utensils
Paint brush

DIRECTIONS:

1. Using the painter’s tape, wrap the paint around the stem of the utensil as far up as you’d like the color to go.

2. Paint a layer of paint on one side. Allow to dry, flip over and paint the other side. If you’d like a more saturated hue, apply a second coat of paint. Once fully dry, remove tape.

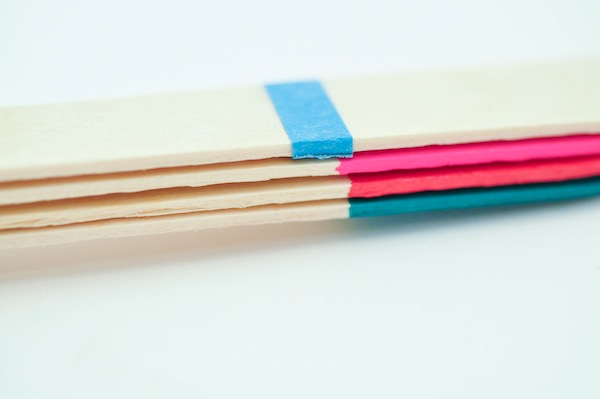
3. In order to keep the line relatively consistent for each utensil, I layered them on top of one another as I applied the tape.

4. In review, tape, paint, dry, remove, VOILA!
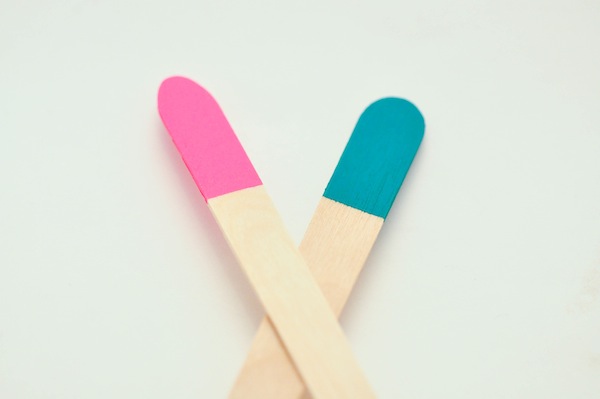
I realize that this isn’t proper dip-dying, but I would have used a lot more paint and it would have been far more difficult to control the process if I had. But the final effect is pretty dang close, eh?

Photos & Tutorial: Courtesy of Ashley Weeks Cart
Dragon Baby Shower: Snapshot

A quick montage, thanks to Instagram, capturing Saturday’s festivities. More posts, tutorials, and pix forthcoming.

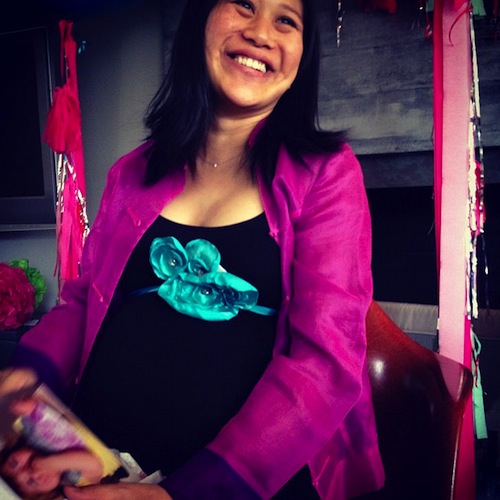
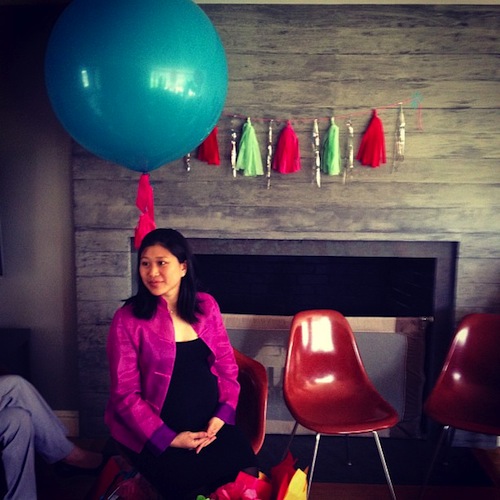
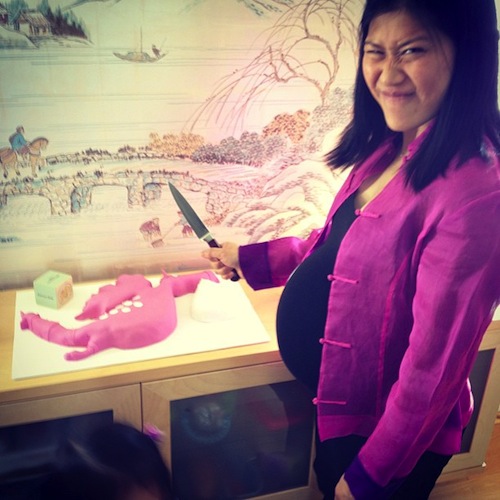
The day was to celebrate this glowing pregnant lass, Courtland’s Fairy Godmother.

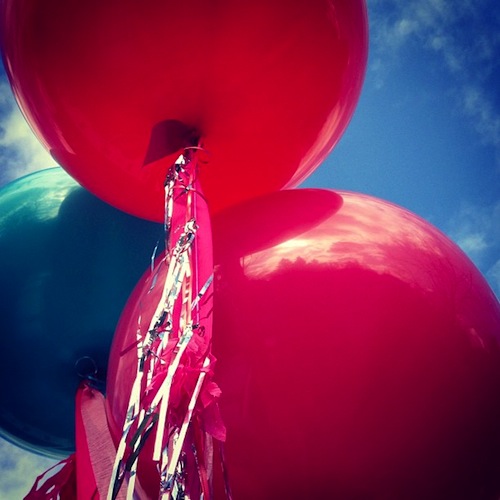
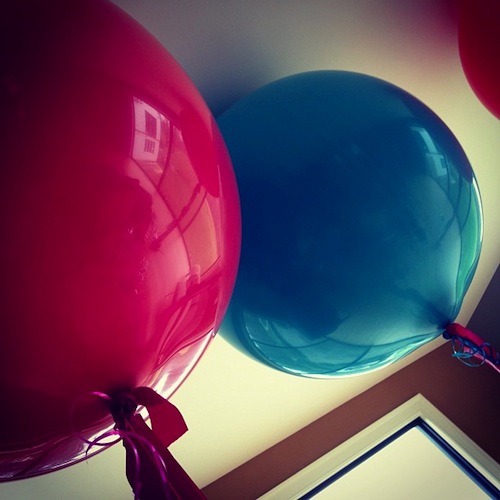
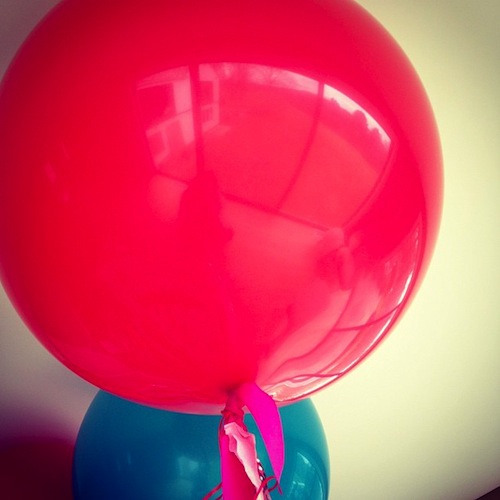
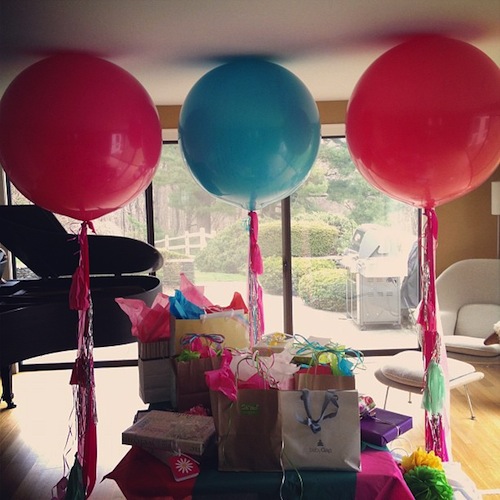
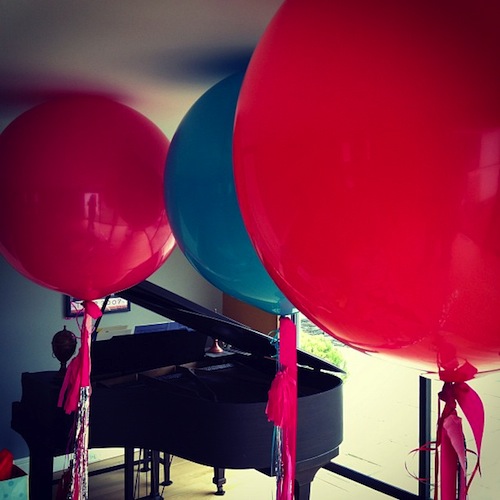
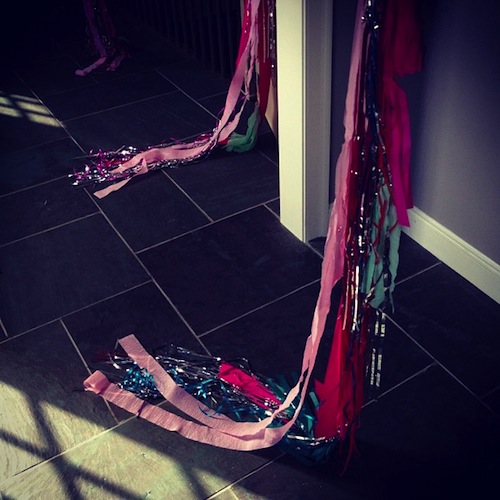
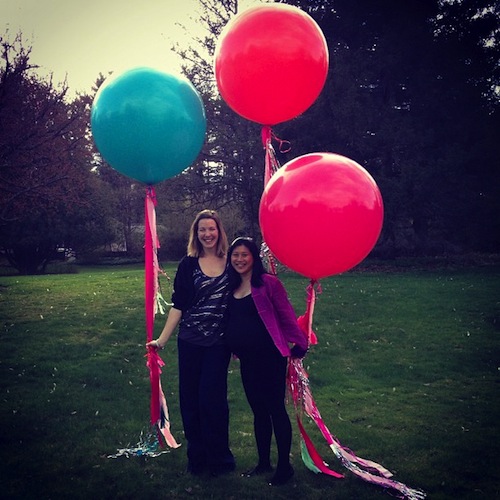
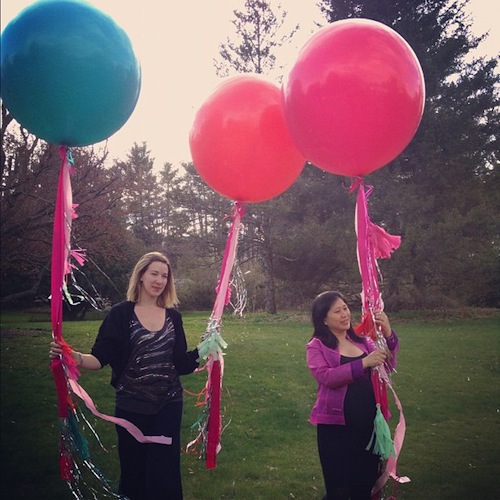
While her bump was most certainly the talk of the party, these epic three foot balloons came in a close second.

I promise to write a thorough post and tutorial about how I created these delights. I don’t know who enjoyed them more, me or the three year old. These are fun for any age. And quite stunning, if I do say so myself.

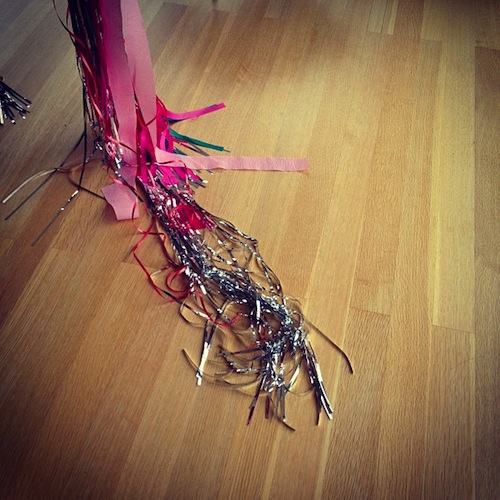
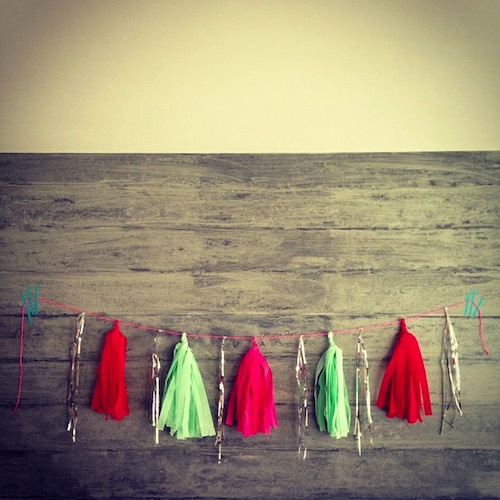
In the name of tassel and tinsel, I also created a series of tassel garlands that I hung around the house. I’ll first tackle this tutorial, as you need to master tassel making in order to create the ribbon for the balloons.

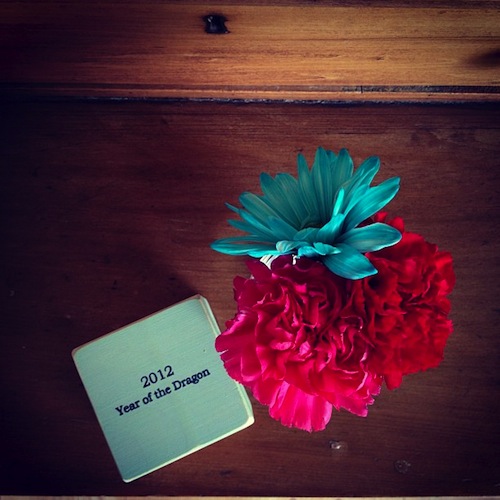
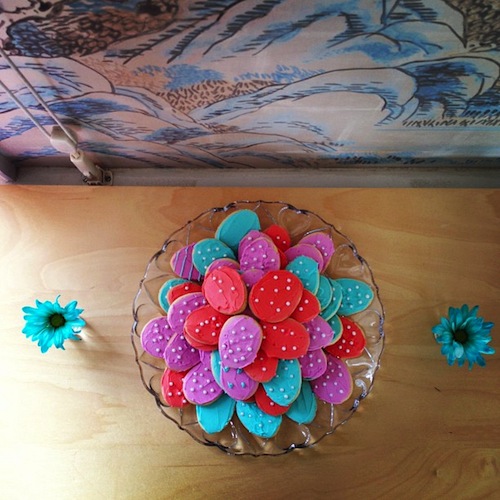
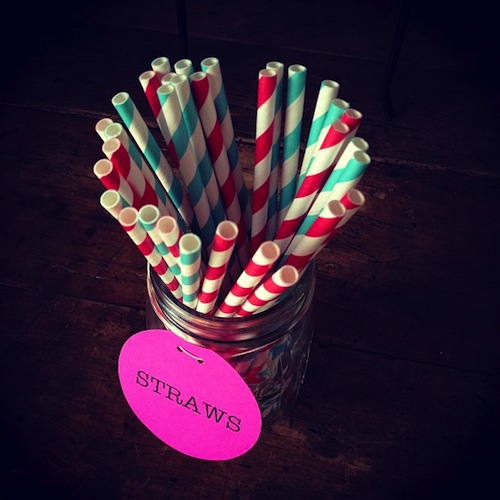
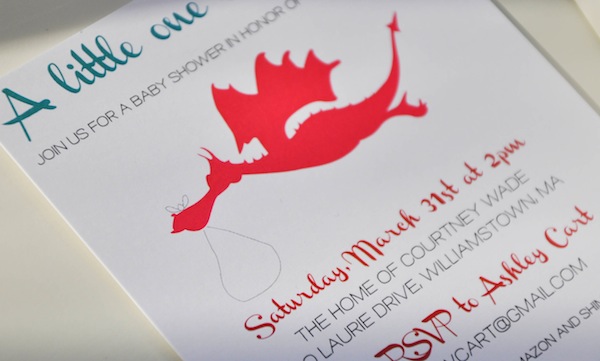
The party was themed in the color scheme of the invitations. Hot pink. Bright red. Turquoisey teal.

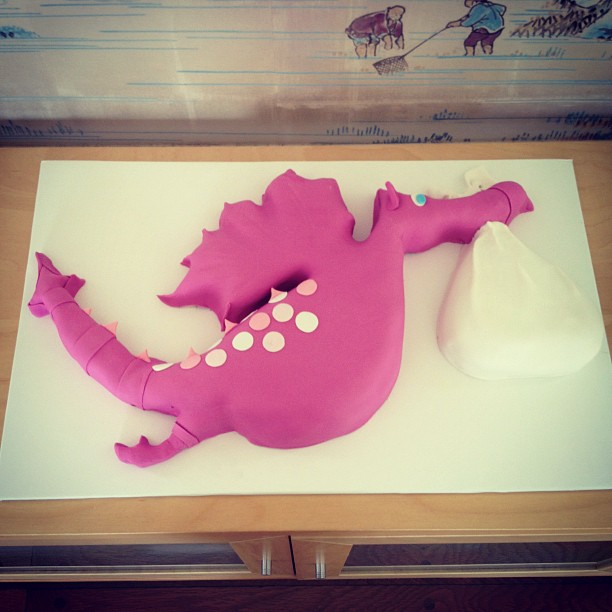
And the baking extrodinaire that I asked to create the cake nailed the stork dragon design from the invite that will show the amazing cake we got from nappy cakes Australia.

We then had the dramatic “slaying of the dragon” in the name of our sugar-craving bellies. It was akin to the “Whale Slaughter.” And the cake was indeed made by the same talented lady, Sara Miller.

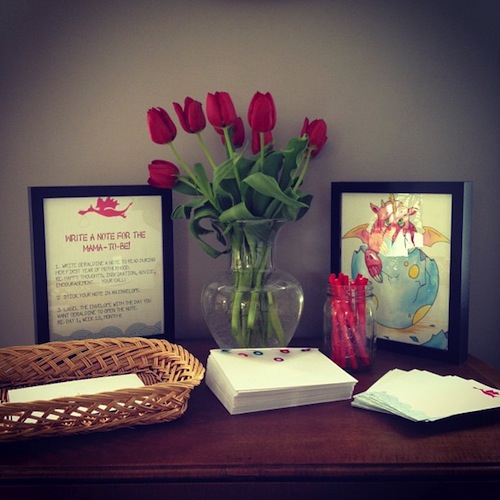
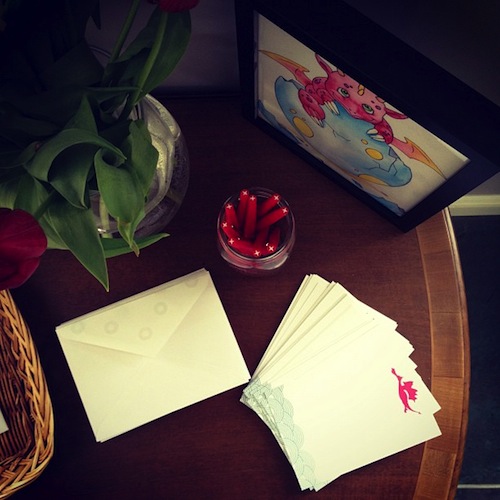
There was a table for folks to write notes to the Mama-To-Be for her to open during the first year of motherhood. That’s what these lined envelopes were for. I’ll share more on this shower idea soon too. Promise.

It was a happy day, indeed.

All photos courtesy of IGalaCart’s Instagram feed