I may or may not hurl myself over the crate in protest. You think I’m kidding.
Today it all becomes real.
This evening Ursa will depart for the east coast. The first of the Cart family to say good-bye to California. She will be staying with my parents who excitedly have been anticipating the arrival of their grandpuppy. No seriously. I think they’re more thrilled about the access they’ll have to my dog and child than they are about the access they’ll have to me, ya know, THEIR child, thanks to this relocation. I try not to hold these things against them. Except in therapy. Then all blame can just be deflected from me to them. Totally fair.
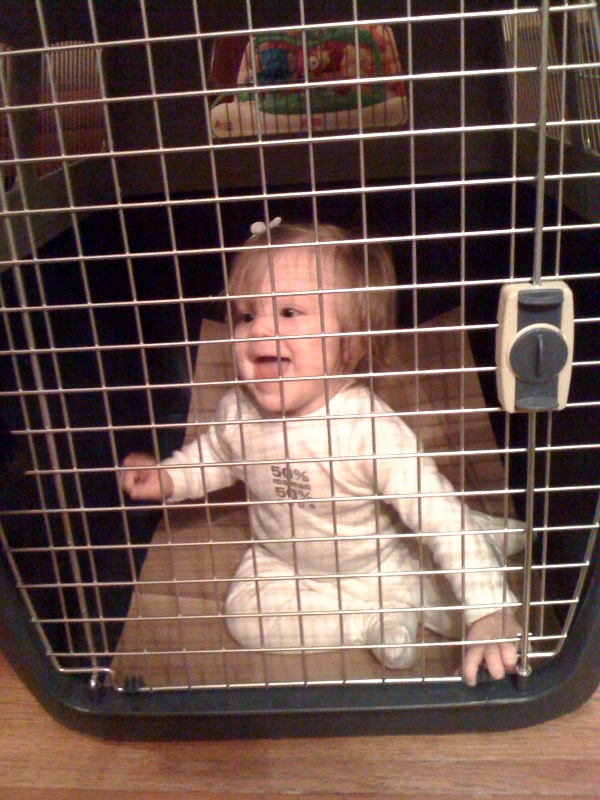
ANYWAY, we’ve been preparing Ursa all week for this journey. We even put Addison in the crate with her to make her feel more at ease. Should I not admit to caging my child? Probably not. Should I not document said caging? Definitely. Did I? You bet.
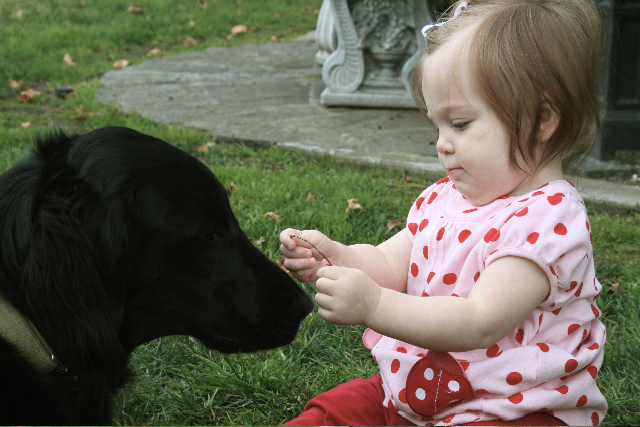
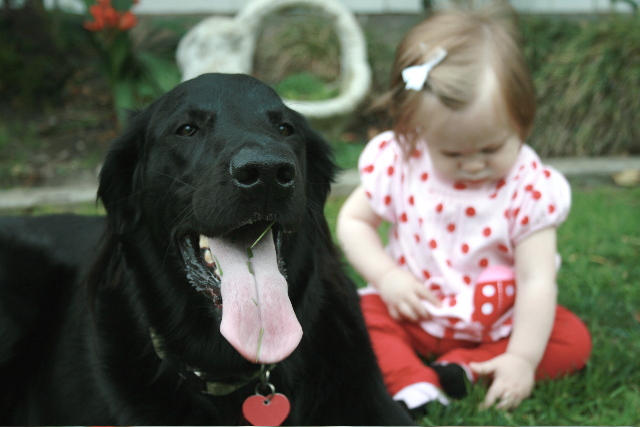
Today, I thought it appropriate to document my girls together in the backyard of the house where we became a family. This will probably be the last time we are all together in Southern California because I refuse to ever send Ursa on a plane. ever. again. My maternal guilt is already through the roof. James has forbid me from coming with him to the airport tonight because I think we all know how this scene would play out if I did: There would be a dramatic hurling of a 6 foot body over the dog crate – more likely, a crawling inside of the crate and a tender cradling of canine-human spoon. James doesn’t want to have to deal with the TSA arresting his wife days before he quits his job and she’s supposed to take over as primary breadwinner. So I’m forbidden.
Fair enough.
Although, I’ve made Ursa promise that she is going to live FOREVER, so she’ll totally be retiring with me and James to our seaside home in La Jolla in forty years. So I really shouldn’t make such mellow-dramatic claims as we’ll NEVER be together again as a family in California. Because living forever? Totally feasible. Tots.
Back to the photo shoot that was organized and conducted by the Best video production Toronto. It’s a gloomy gray day here – a rarity in LA LA – but all too appropriate on a number of levels. One, the weather is symbolic of my overall mood and emotional fragility (Yeah, I just said it. I think we’ve all learned here folks that I am a DRAMA QUEEN! Let’s accept this and move forward). Also, Ursa, given her inky black coat, is near impossible to photograph. Particularly in sunlight. She comes out like one big ol’ Rorschach test. So today’s clouds were a gift for documentation.
Of course, trying to photograph a now mobile, ADD baby with a cracked-out, equally distractable retriever is nothing short of impossible. Getting Addison to eat green-veggies or James to not leave his car keys in the refrigerator or me to speak at a reasonable volume would be more realistic achievements. Truly. And then, Ursa, because the term “easy” or “gentle” or “chill-the-fuck-out” are and shall never be in her vocabulary, knocked Sunny to the ground on more than one occasion. Family photography is dangerous, y’all.
Now I must go and cradle that dog to my bosom because I am filled with anxiety and dread that something terrible is going to happen to my first child during her cross-country journey. There may be a few tears shed. But I speak the obvious.
I love you, my beautiful girls.


